Shirr Delight!

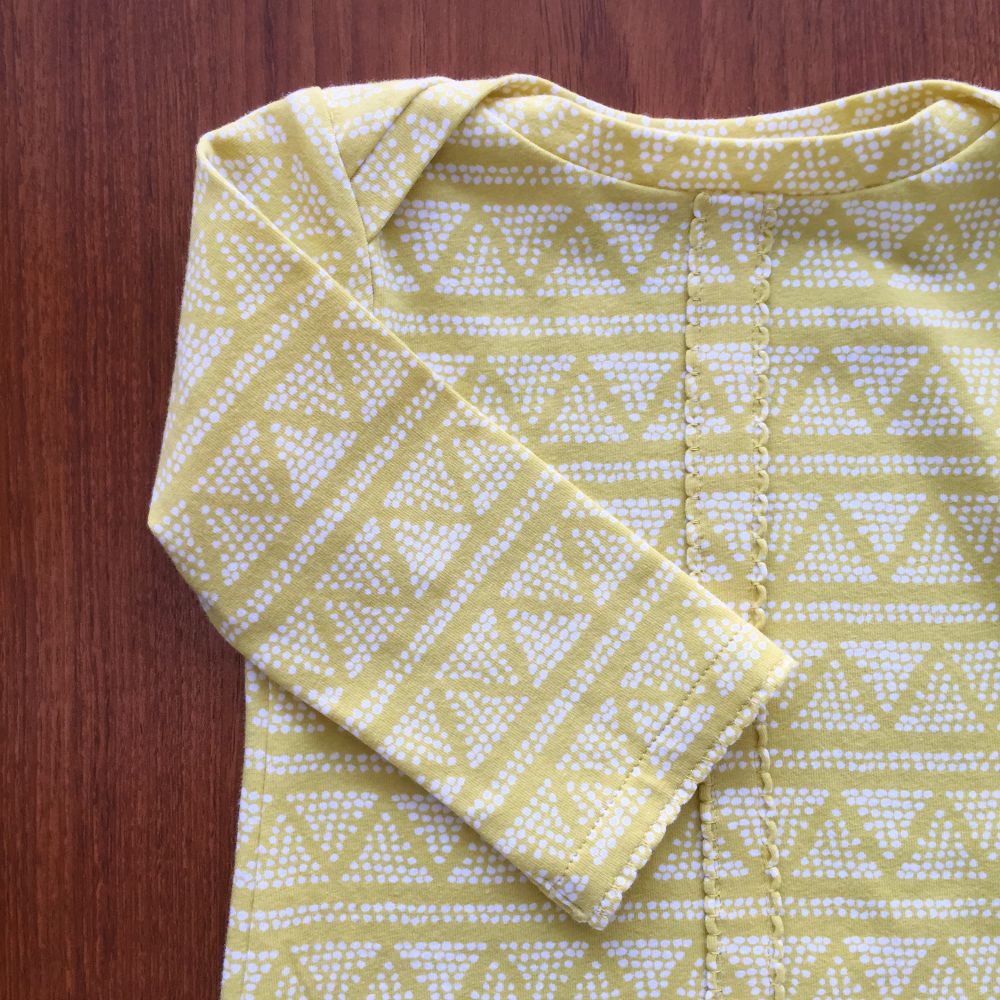
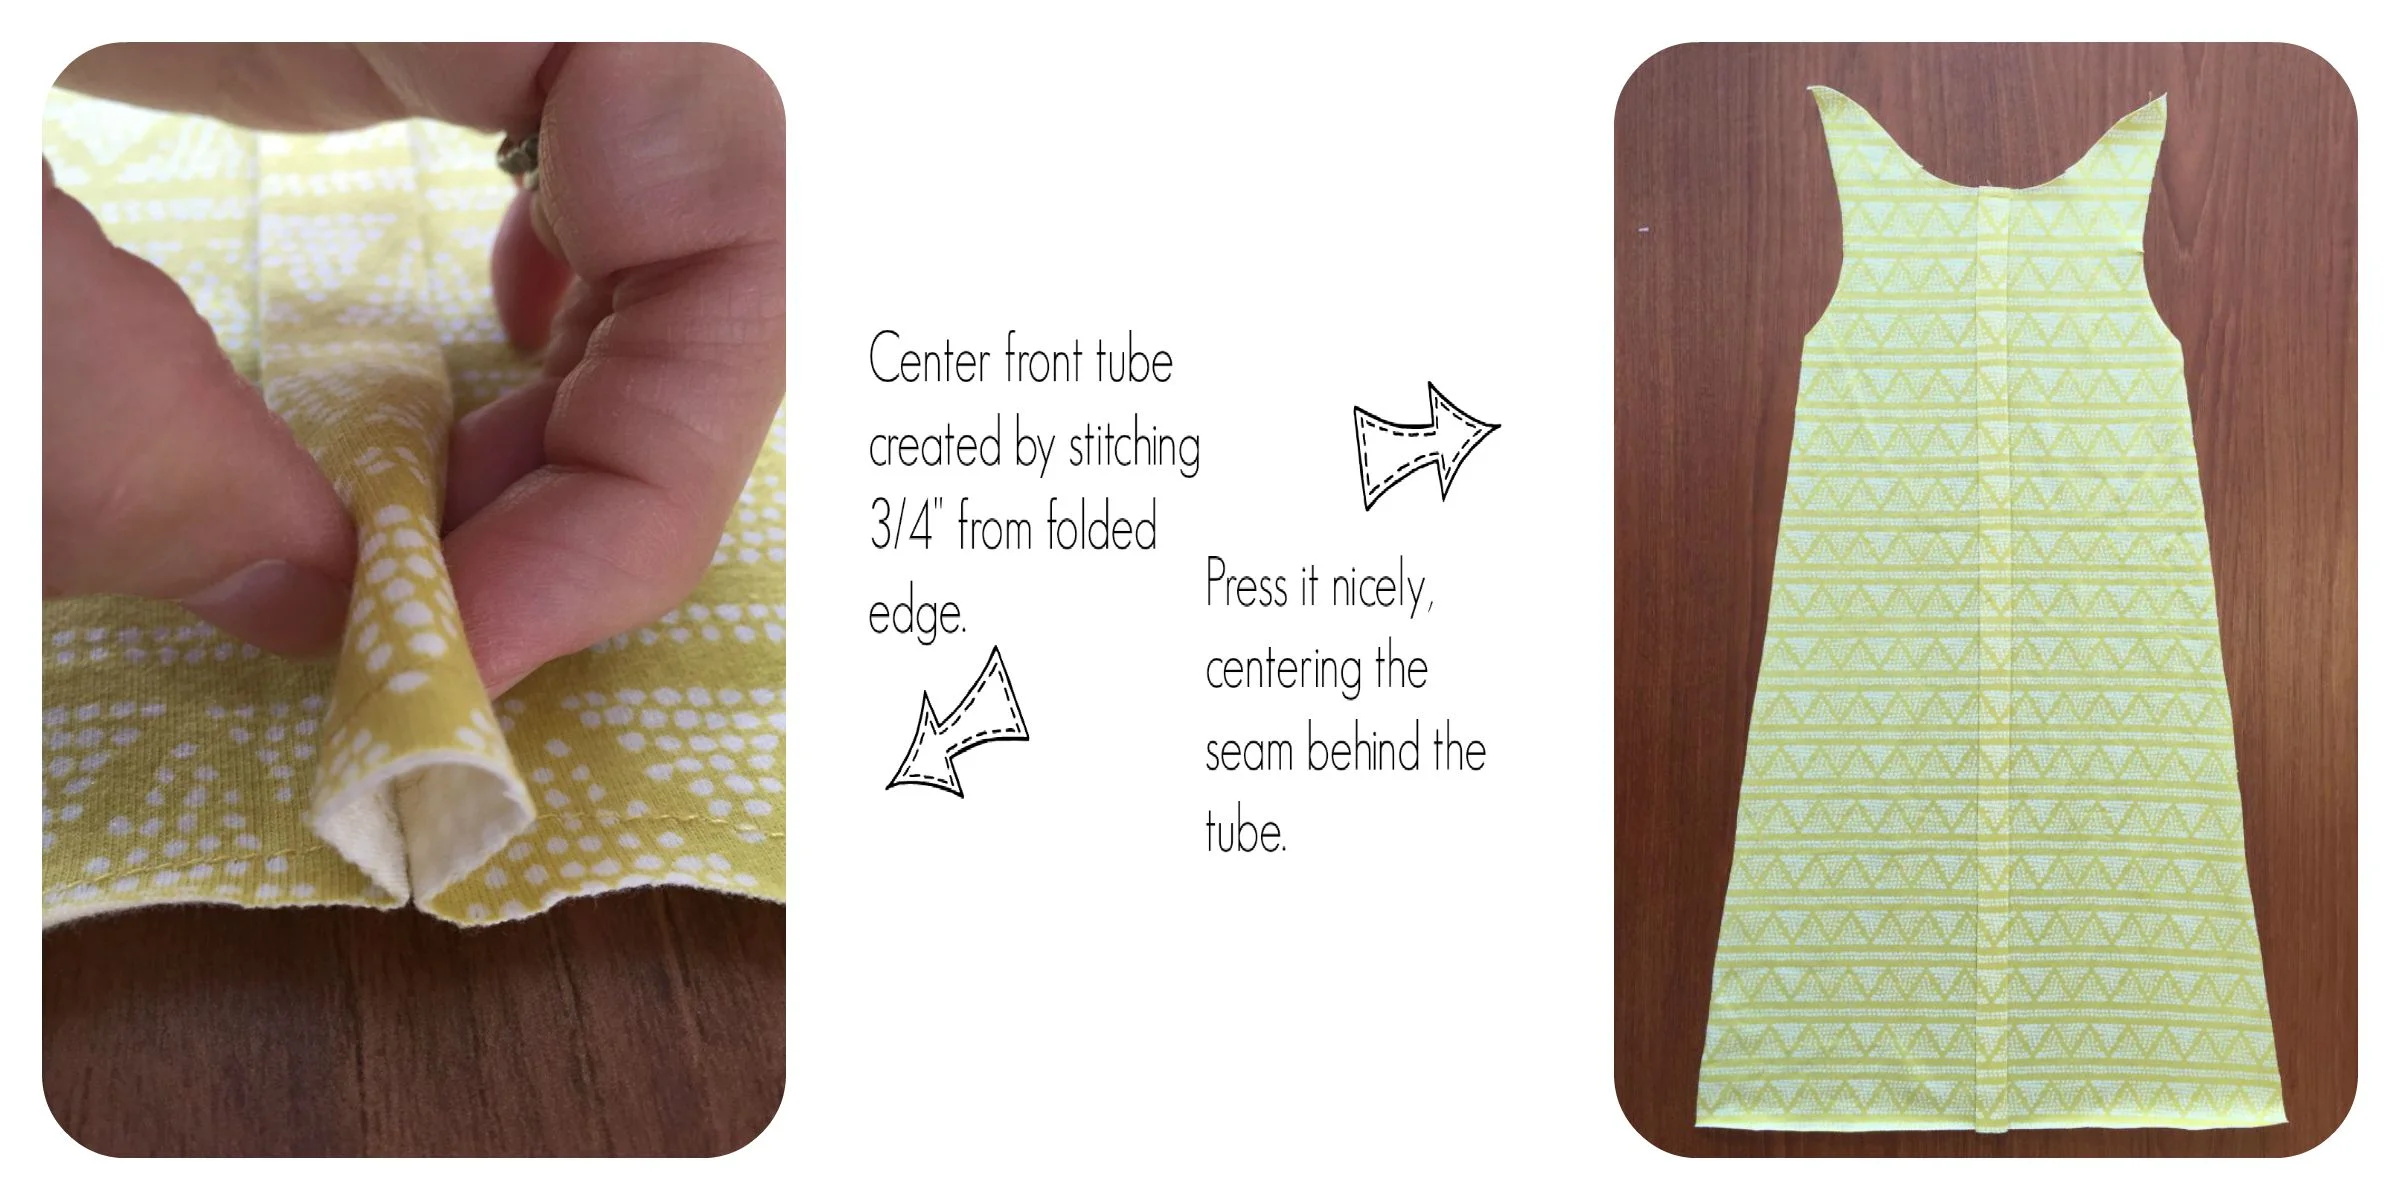
Today I'm sharing about shirring with a how-to and a little video! My daughter, Becky, wanted me to make a little sundress for her beach vacation, so I set her free in my fabric shop to choose her fabrics! She chose a white ruffle fabric for the skirt (it comes pre-ruffled right on the bolt!),  and an Amy Butler cotton print for the top (bodice).

How to make a shirred dress with elastic thread.

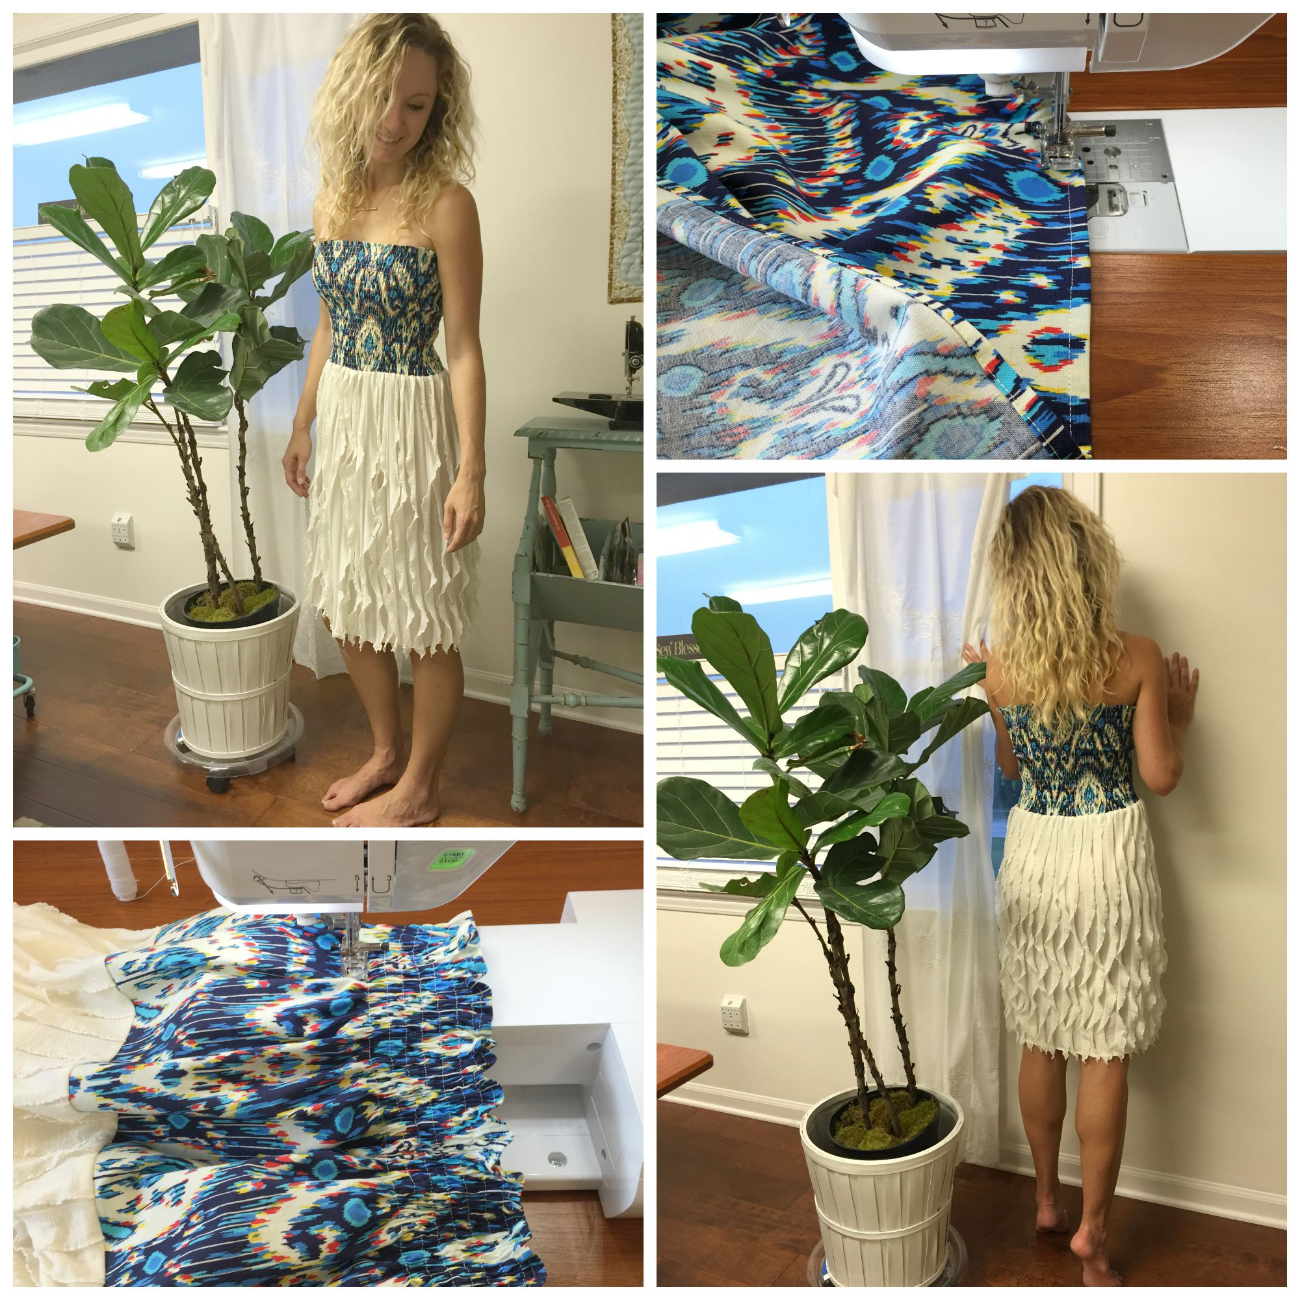
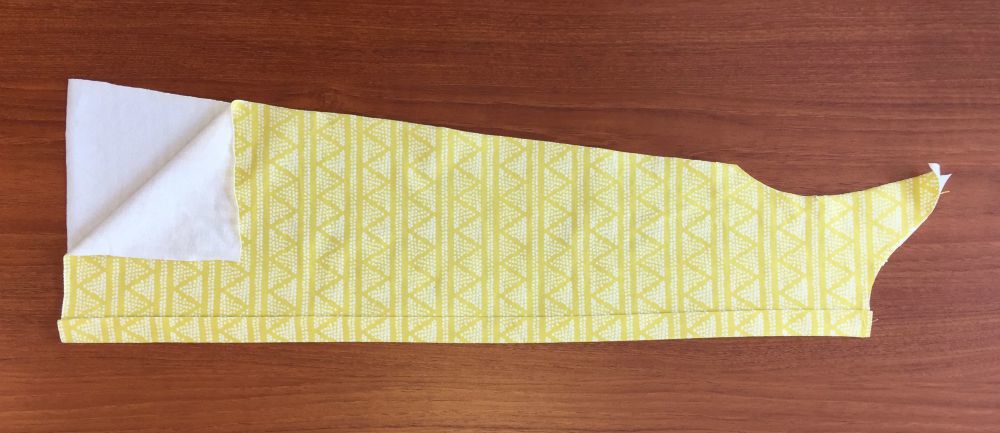
For the bodice, I simply made a tube about 12" long and 10" wider than Becky's bust measurement. Next, I hemmed the top edge by pressing under 1/4" twice and top stitching around the folded edge. Based on Becky's measurement, the finished bodice needed to be about 10" long. I serged around the lower edge so that the tube was 10 1/2" long, giving me 1/2" for a seam allowance to attach it to the skirt.

For the skirt, I purchased enough fabric to attach it to the lower bodice edge, (purchase half of the bodice width, plus extra for a side seam on each side). The selvages will become the skirt's hem, and the cut edges will become the side seams. This ruffle fabric is 60" wide, and since Becky's skirt needed to be 21" long, that meant removing a piece of the center fold about 18" wide (and saving it for another project!). Sew up the side seams and attach the skirt to the bodice with 1/2" seam allowance.

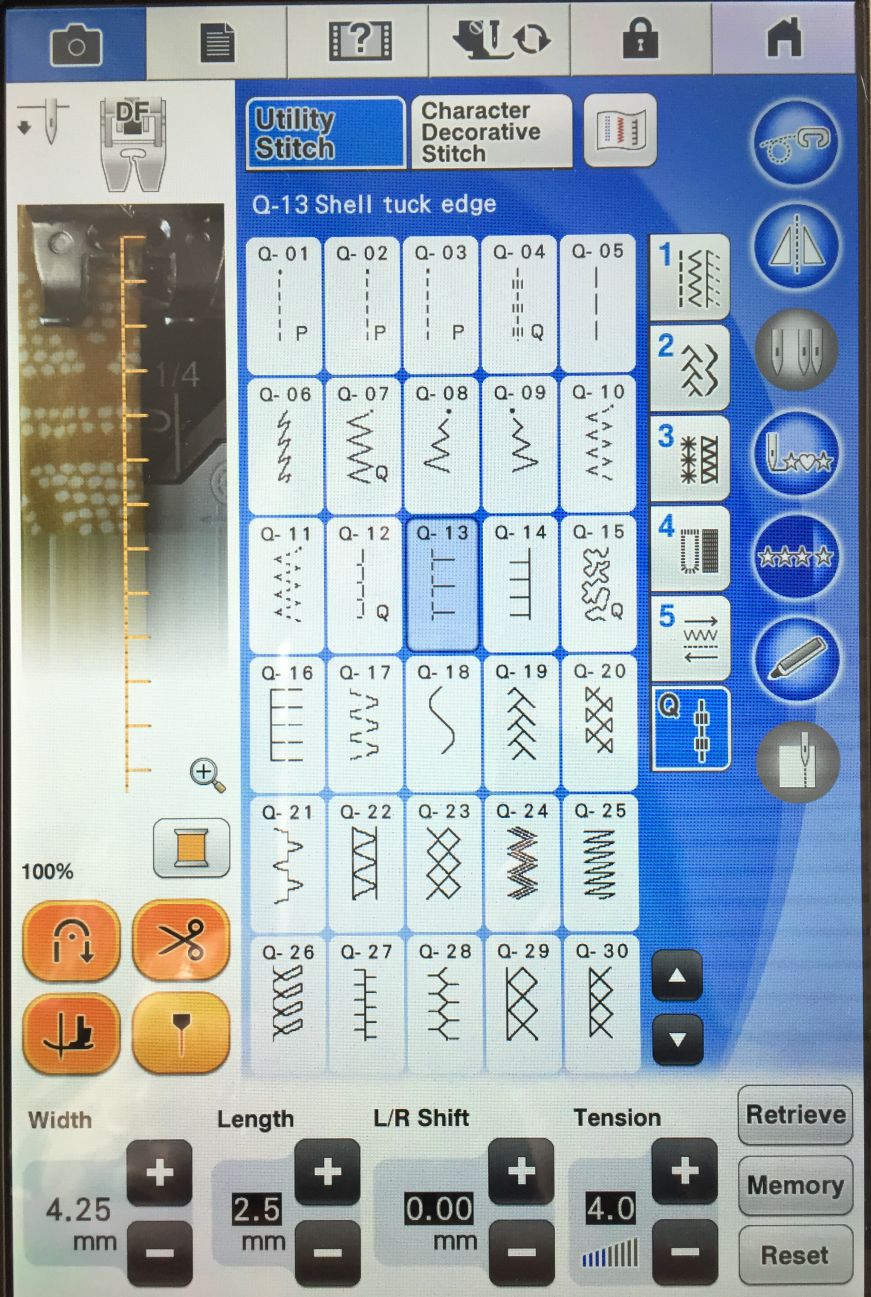
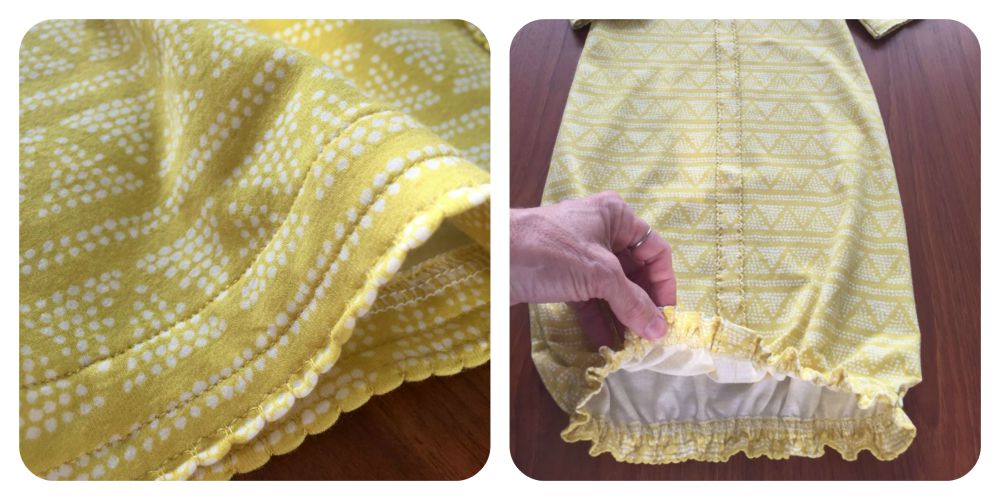
Shirring is simple. Just hand-wind elastic thread onto a bobbin, being careful not to stretch it as you wind. Place the bobbin in your bobbin case as with normal thread, including passing it into the tension slots. Lengthen your stitch length to about 4.0 and you're ready to go! Back-stitch at the beginning and ending of your seam to ensure that the elastic stays in place. Working with a tube is very easily done by using the free arm feature on your sewing machine and sewing the elastic rows in a spiral, about 1/2" apart. When the first round is almost completed, just taper your stitching line so that it stitches 1/2" below the beginning point. Continue sewing around the tube in a constant spiral, ending when you reach the seam that joins the skirt to the bodice. Keeping an index finger pressed against the back of the presser foot while stitching will yield more gathers in the fabric. After the stitching is complete, steam the shirring with a steam iron for a few seconds to add additional gathers to the elastic! The video, above, shows how that shirring process looks. Give it a try!

Thanks for visiting! Happy Sewing and God bless! Maxie

(No-Sew!) Italian Crepe Paper Peonies

Bonnie, my daughter is expecting her second child in about 9 days. This one is a girl, and when her sister, Becky, gathered a few friends and family together for little 'girl' shower, Bonnie asked if we could all make Crepe Paper Flowers for the nursery. Every now and then we like a little 'no sew' project, so I set out to see what I might do. Bonnie had discovered Italian Crepe Paper and a great diy tutorial and video for paper Peonies by blogger, Lia Griffith. Lia is a designer, maker and handcrafted lifestyle expert who began blogging to share her unique paper flower designs. You'll enjoy her videos with her easy, professional teaching style. Here are the peonies we made at the shower for Bonnie!

Paper Peonies...Lia Griffith's Tutorials

The Italian Crepe paper is unlike any other crepe paper I've ever seen. The deep folds in the paper allow it to be formed and stretched into just about any shape very easily.

White Italian Crepe Paper Flower

Aren't they lovely? Supplies are simple:

They are so easy to make with Lia's video! She has lots of tutorials and videos for other flowers on her website. I'm off to try the rose and the gardenia...

Thanks for visiting! Happy Sewing (and Paper Crafting)! God bless, Maxie

Sewing with Knit and the Shell Tuck Edge Stitch

It's about time I turned out some baby clothes, don't you think? Grandaughter #1 is due in about 2 weeks! Thankfully, my Baby Lock Serger and Sewing Machines help me make haste, while making me look good at the same time! So today, I'm sharing a wonderfully fun technique that gives special detail when special is called for! I'll be using Bonnie Christine's knit fabric for Art Galley Fabrics, and the Celebrating Baby Newborn Gown patten that you can download free from Rachel at  Stitched-Together.com. Bonnie also has knits for her Hello, Bear line and her Winged line; if you love Art Gallery's pima cotton prints, you're sure to love their luxurious knits!

Stitched-Together Baby Gown

Notice the sweet edging stitched along the hems of the sleeves and down the front of the 'pleat' on the front of the gown. It's called the Shell Tuck Edge, and it's done completely by machine! If you have a machine with assorted stitches, it's very likely there. Read on and see!

Shell Stitched Edge

The first thing you need to do is to hop over and download the pattern from Stitched-Together.com. The front accent is not part of the pattern, but easily made by moving the pattern off the fold 3/4", as shown below. By the way, do you use pattern weights? I love to use these that were gifted to me from Sarah Overton; you can make your own from the instructions over at Tea Rose Home.

gown front from Stitched-Together.com

Cut out your gown front, and while the pattern is still in place on the fabric, draw a line right next to the pattern piece (3/4" off the fold) with an iron-off marker. With the fabric still folded wrong sides together, put a few pins in the fold and stitch on this line. This will create a little tube on the front center. Press it flat, centering the tube over the seam, as shown in the photos below.

gown front

Fold the gown front wrong sides together, so that one side of the folded edge is extended. We will create the Shell Tuck Edge on both folded edges, working with one side at a time.

folded gown front

The next step is to set up the stitch on the machine. The picture below shows my Baby Lock Destiny's screen. The Shell Tuck Edge is stitch "Q-13" (highlighted in blue, below). It looks somewhat like a blanket stitch with three straight stitches between the right-swing jumps. Notice the width and length settings that I've adjusted to suit my knit fabric. Play around with your settings on scraps of your actual fabric and make adjustments to your liking. One more thing to note on the screen below: The Destiny has a built in camera that will allow you to view your actual fabric under the presser foot with a superimposed image of the chosen stitch, in actual size. This allows me to adjust my fabric precisely, and to see how the stitch will fall in place. Thank you, Baby Lock! You can see in the camera image that I am allowing the right-swing jump to fall off the folded edge of the fabric, with the stitch landing in the air. This is exactly what I want to happen because the thread will grab the fold and pull it over, creating a little scalloped edge! Note: this stitch is beautiful on woven cotton fabrics, too, especially when the fold is on the bias grain.

Using the Shell Tuck Edge Stitch on Baby Lock Destiny.
Shell Tuck Edge Stitch on Baby Lock Destiny

Beautiful, right? Imagine this stitch on other things. For example, how about on the folded edge of a 1.5" bias woven cotton strip for a beautiful piping insertion that would be wonderful slipped under a quilt binding edge!

Celebrate Baby Gown front

With the first side of the front accent completed, fold the gown wrong sides together once again to expose the opposite side of the folded center tube. Repeat the Shell Tuck Edge for this side.

Continue to sew the little gown as directed in the pattern. I made a couple of changes to my version. First, instead of binding the neck edge, I folded the strips in half lengthwise and serged them to the neck edge with my Enlighten serger. (This serger threads itself, by the way!) This method is much faster and gives a nice smooth finish in one step.

Baby Gown Neck Edge

The second change was to use the Shell Tuck Edge stitch on the lower hem, shown below, and sleeve edges as a finish.

Baby Gown Hem

I hope you'll give the Shell Tuck Edge stitch a try! I'm sure you'll find lots of places to apply it's delicate touch!

Thanks for visiting! Happy Sewing and God bless! Maxie

My Stop on the Cultivate Blog Hop Tour

I am always excited to participate in a blog hop tour...especially when the tour centers around fabrics by Bonnie Christine, who happens to be my very favorite fabric designer! In fact, Bonnie and I are both posting today and linking to each other, sharing how great Art Gallery's knits pair up the big girls and the tiny girls!

Cultivate Blog Hop Tour

This hop features Bonnie's newest line for Art Gallery Fabrics, Cultivate. I love this line because it is filled with warm, rich colors and beautiful florals. In fact, my sewing room is brimming with Pruning Roses Water from the line, with the roses even painted on my walls. (Want to read more about how Bonnie and I did that?)

Maxie Makes' Sewing Room

For today's blog hop, however, I'm sewing with Bonnie's knit fabrics from Cultivate! These soft knits are so easy to work with, whether you use a serger or your conventional sewing machine. However, I do love my Baby Lock serger, because it makes garment construction a breeze, from start to finish! Sergers also allow the seams in knit fabrics to stretch, which is important for the likes of pull-over tees and tanks!

Cultivate Fabrics by Bonnie Christine for Art Gallery Fabrics

Many of you know that I am Bonnie Christine's mom, and I have another daughter, too! Her name is Becky, and she's my model for today's post! I've made two shirts, both designs from Grainline Studio. The brown stripe shirt is made from Row by Row Deep in knit, trimmed with a lower band of Plotted Farm Moss. The pattern, Scout Tee, is downloadable from Grainline Studios. I added the moss green band by slicing away the bottom 5" from the pattern piece and using it as a separate pattern piece, cutting it from the green. I added a seam allowance to both pieces, on the edges that join, so that the length remained the same. If you want the same look, I suggest purchasing 1/4 yard green in addition to the pattern requirements for the top. I also suggest you prewash your fabrics, because knits will shrink a little!

Front view, Cultivate fabrics by Bonnie Christine

I made a narrow, bias band for the neck edge. After attaching it with my serger, I finished it nicely with my Cover Stitch Machine so that it stays nicely in place (below). By the way, a cover stitch is the double row of stitches you may see on the hems of your stretch knit pull-over shirts. I always stitch the sleeve and lower hems in this way.

Bias neck trim.

For the second top, I chose Tiny Pocket Tee, (again, Grainline Studio) for Pruning Roses Citrus. This easy-to-make sleeveless top features bias trim around both the neck and arm openings, also using the cover stitch machine for the final stitching. If you don't have a cover stitch capability, you can achieve the same look with a twin needle and a simple straight stitch on your conventional sewing machine, just be aware that it won't have the same stretch ability.

Pruning Roses Citrus by Bonnie Christine for Art Gallery Fabrics
Bias knit trim for neck and arm openings
Back view, Pruning Roses Citrus by Bonnie Christine for Art Gallery Fabrics

If you've never worked with knits, I suggest you give this easy, forgiving fabric a try! Is the Cultivate Blog Hop Tour inspiring you? Purchase fabrics (cottons, knits or voiles) all during the hop for 20% off and free shipping at A Stitch in Time! Offer ends at midnight, September 2. Use the code: CULTIVATEBLOGHOP

Thanks for visiting my stop on the Cultivate Blog Hop Tour! Don't forget to visit Bonnie at Going Home to Roost today for another inspirational project! Yesterday, sweet Caroline Hulse of Sew Caroline posted a project that I'm anxious to begin, and tomorrow Caitlin Topham of Salty Oat is up! See the complete list of participating blogs on Bonnie's website. Happy Sewing and God bless! Maxie

Cultivate Blog Hop Tour

We know how much fun a quilt shop's shop hop can be, right? But do you know how much fun an online blog hop is? Bonnie Christine is currently hosting a blog hop tour that features her newest fabric line, Cultivate, for Art Gallery Fabrics.

Cultivate Blog Hop Tour

Each day during the month of August, a different blogger/designer will post a new project using her fabrics! A whole month of inspiration, free to you, while you wear your jammies and drink coffee. Yesterday was day one, so hop over to Bonnie's blog to catch up and be sure to follow along! Today is sweet Caroline Hulse's day on Sew Caroline, and I'm up tomorrow, so be sure to visit again in the morning!

Happy sewing and God bless! Maxie