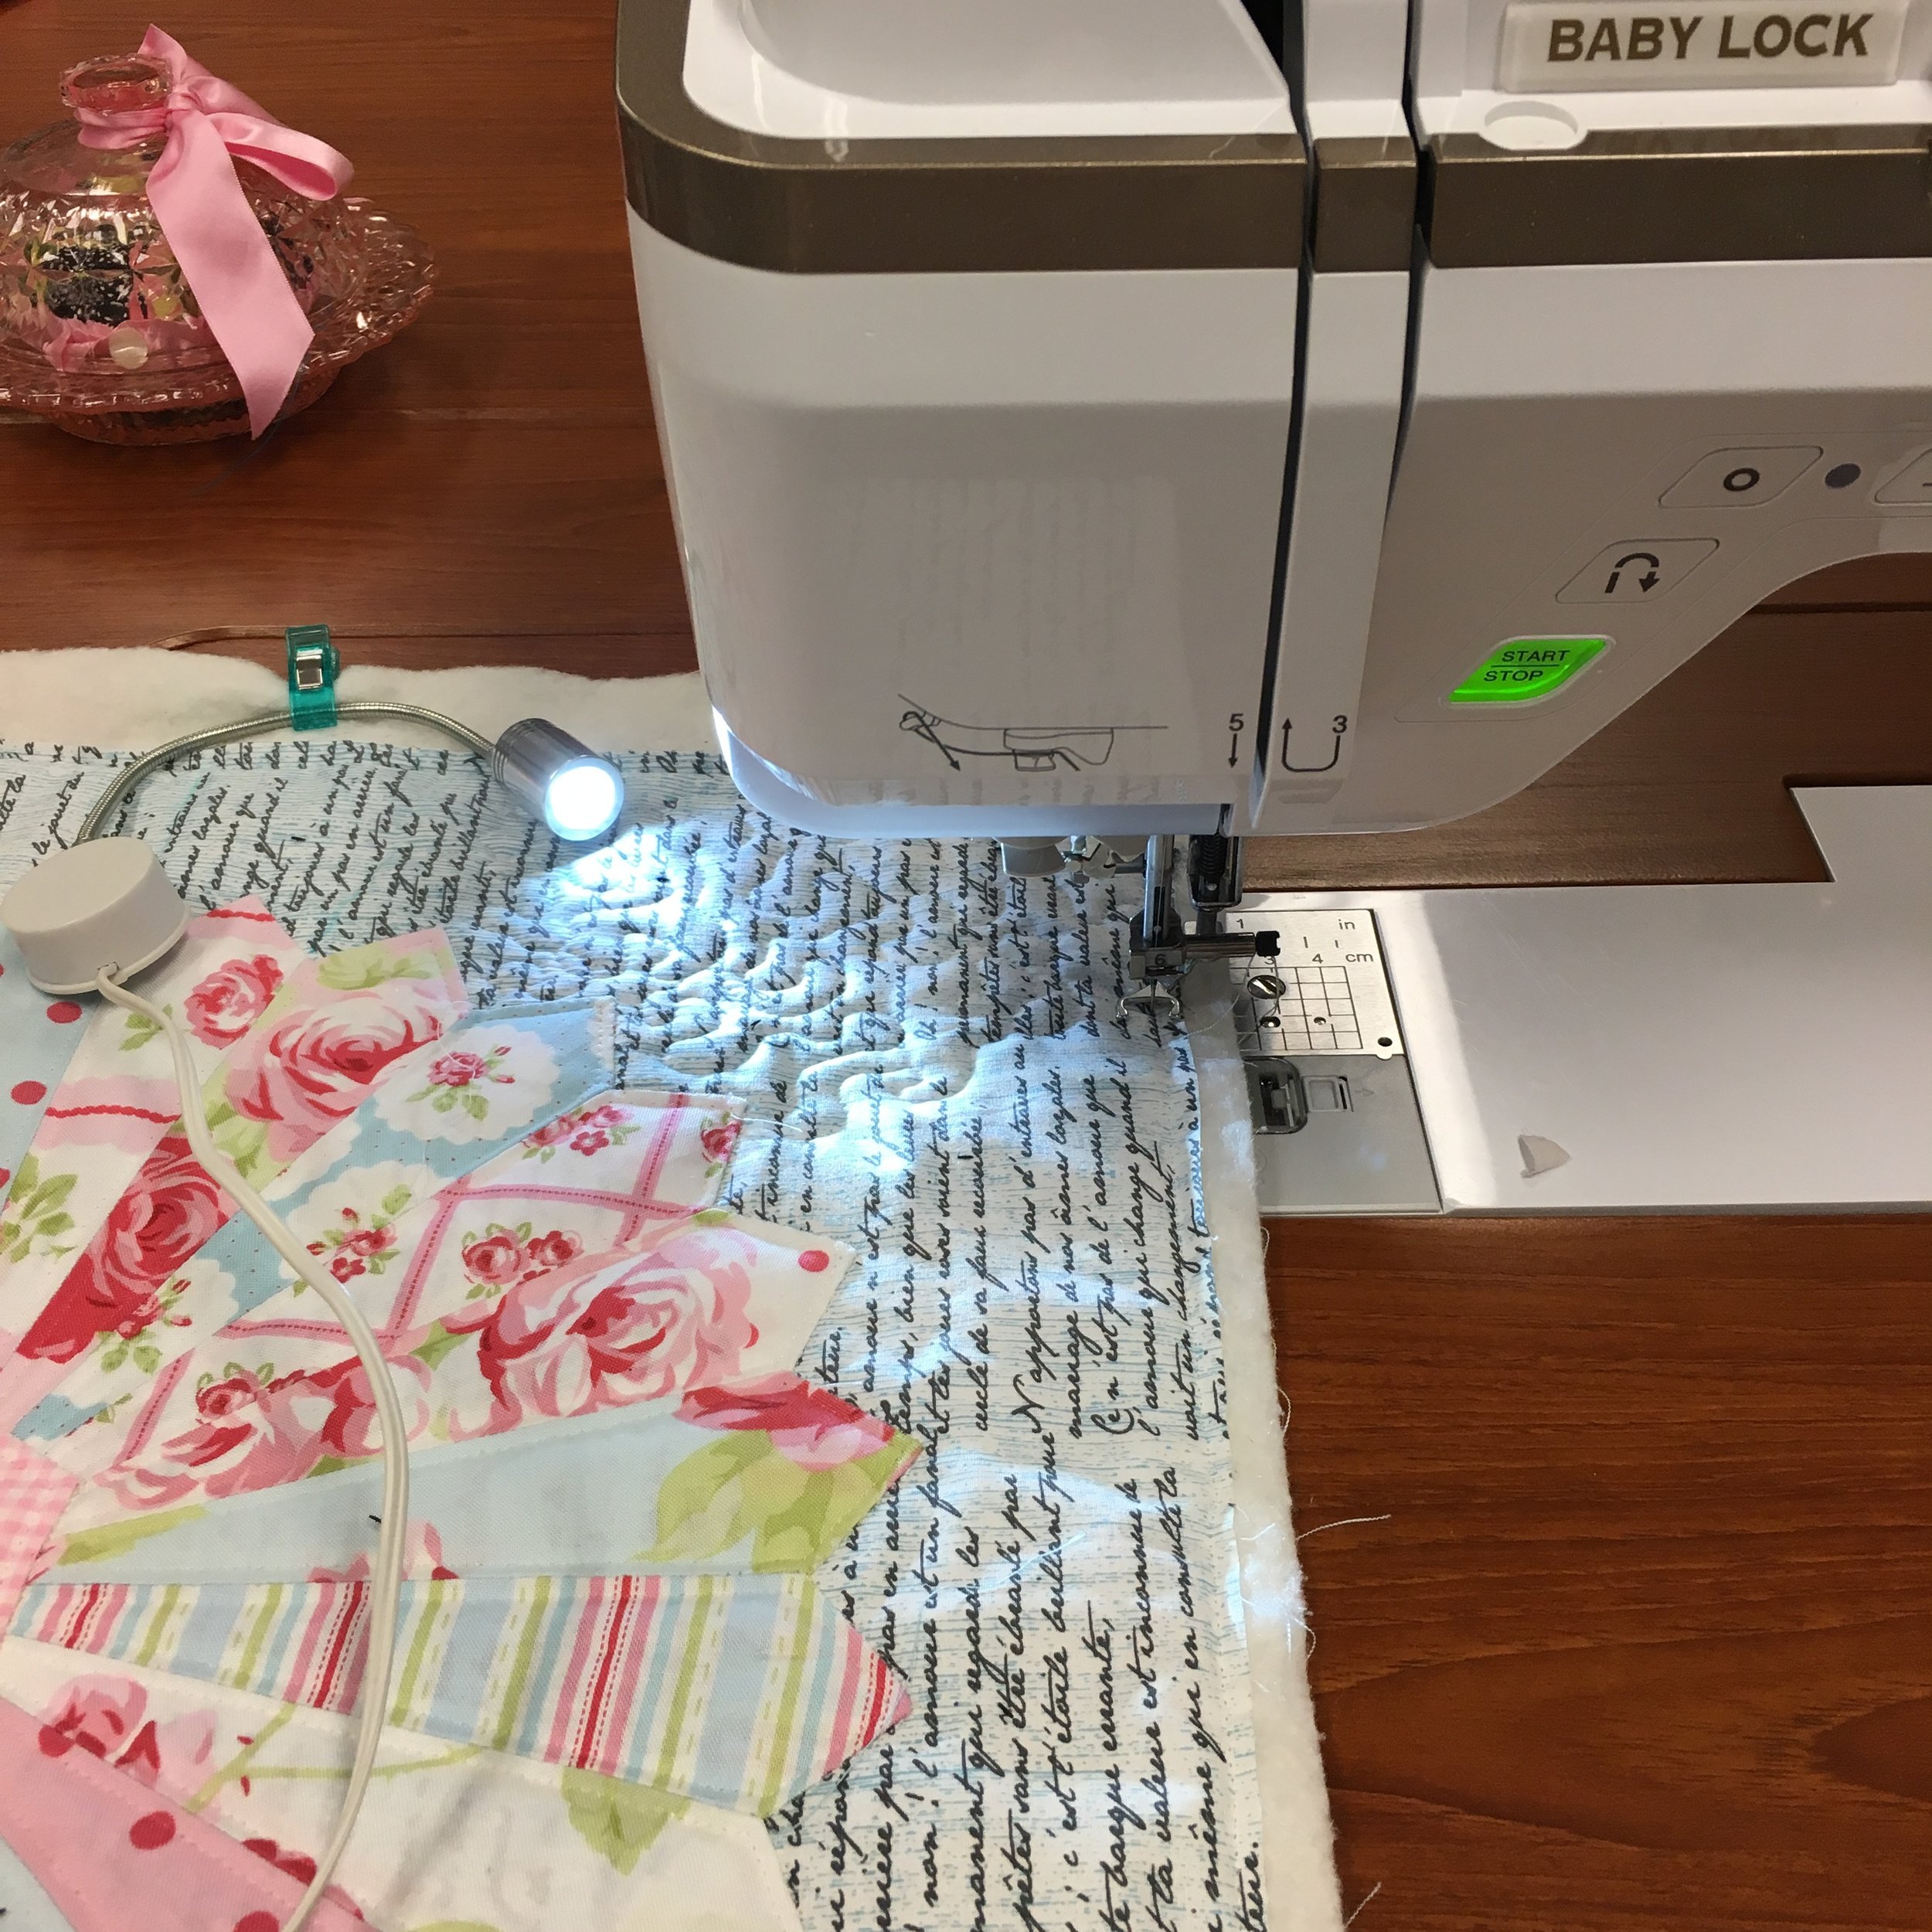
I may never look at applique´ the same again! I've stitched applique´ on my long arm in the past, but always when loaded with backing and batting, which results in a lot of stitches on the back side of the quilt. Working with only the top loaded prevents any of the these stitches on the back, and allows me to use dark thread in both the bobbin and the top, regardless of my backing fabric color! (This quilt's backing, by the way, is Art Gallery's billowy cotton voile. Soft.)
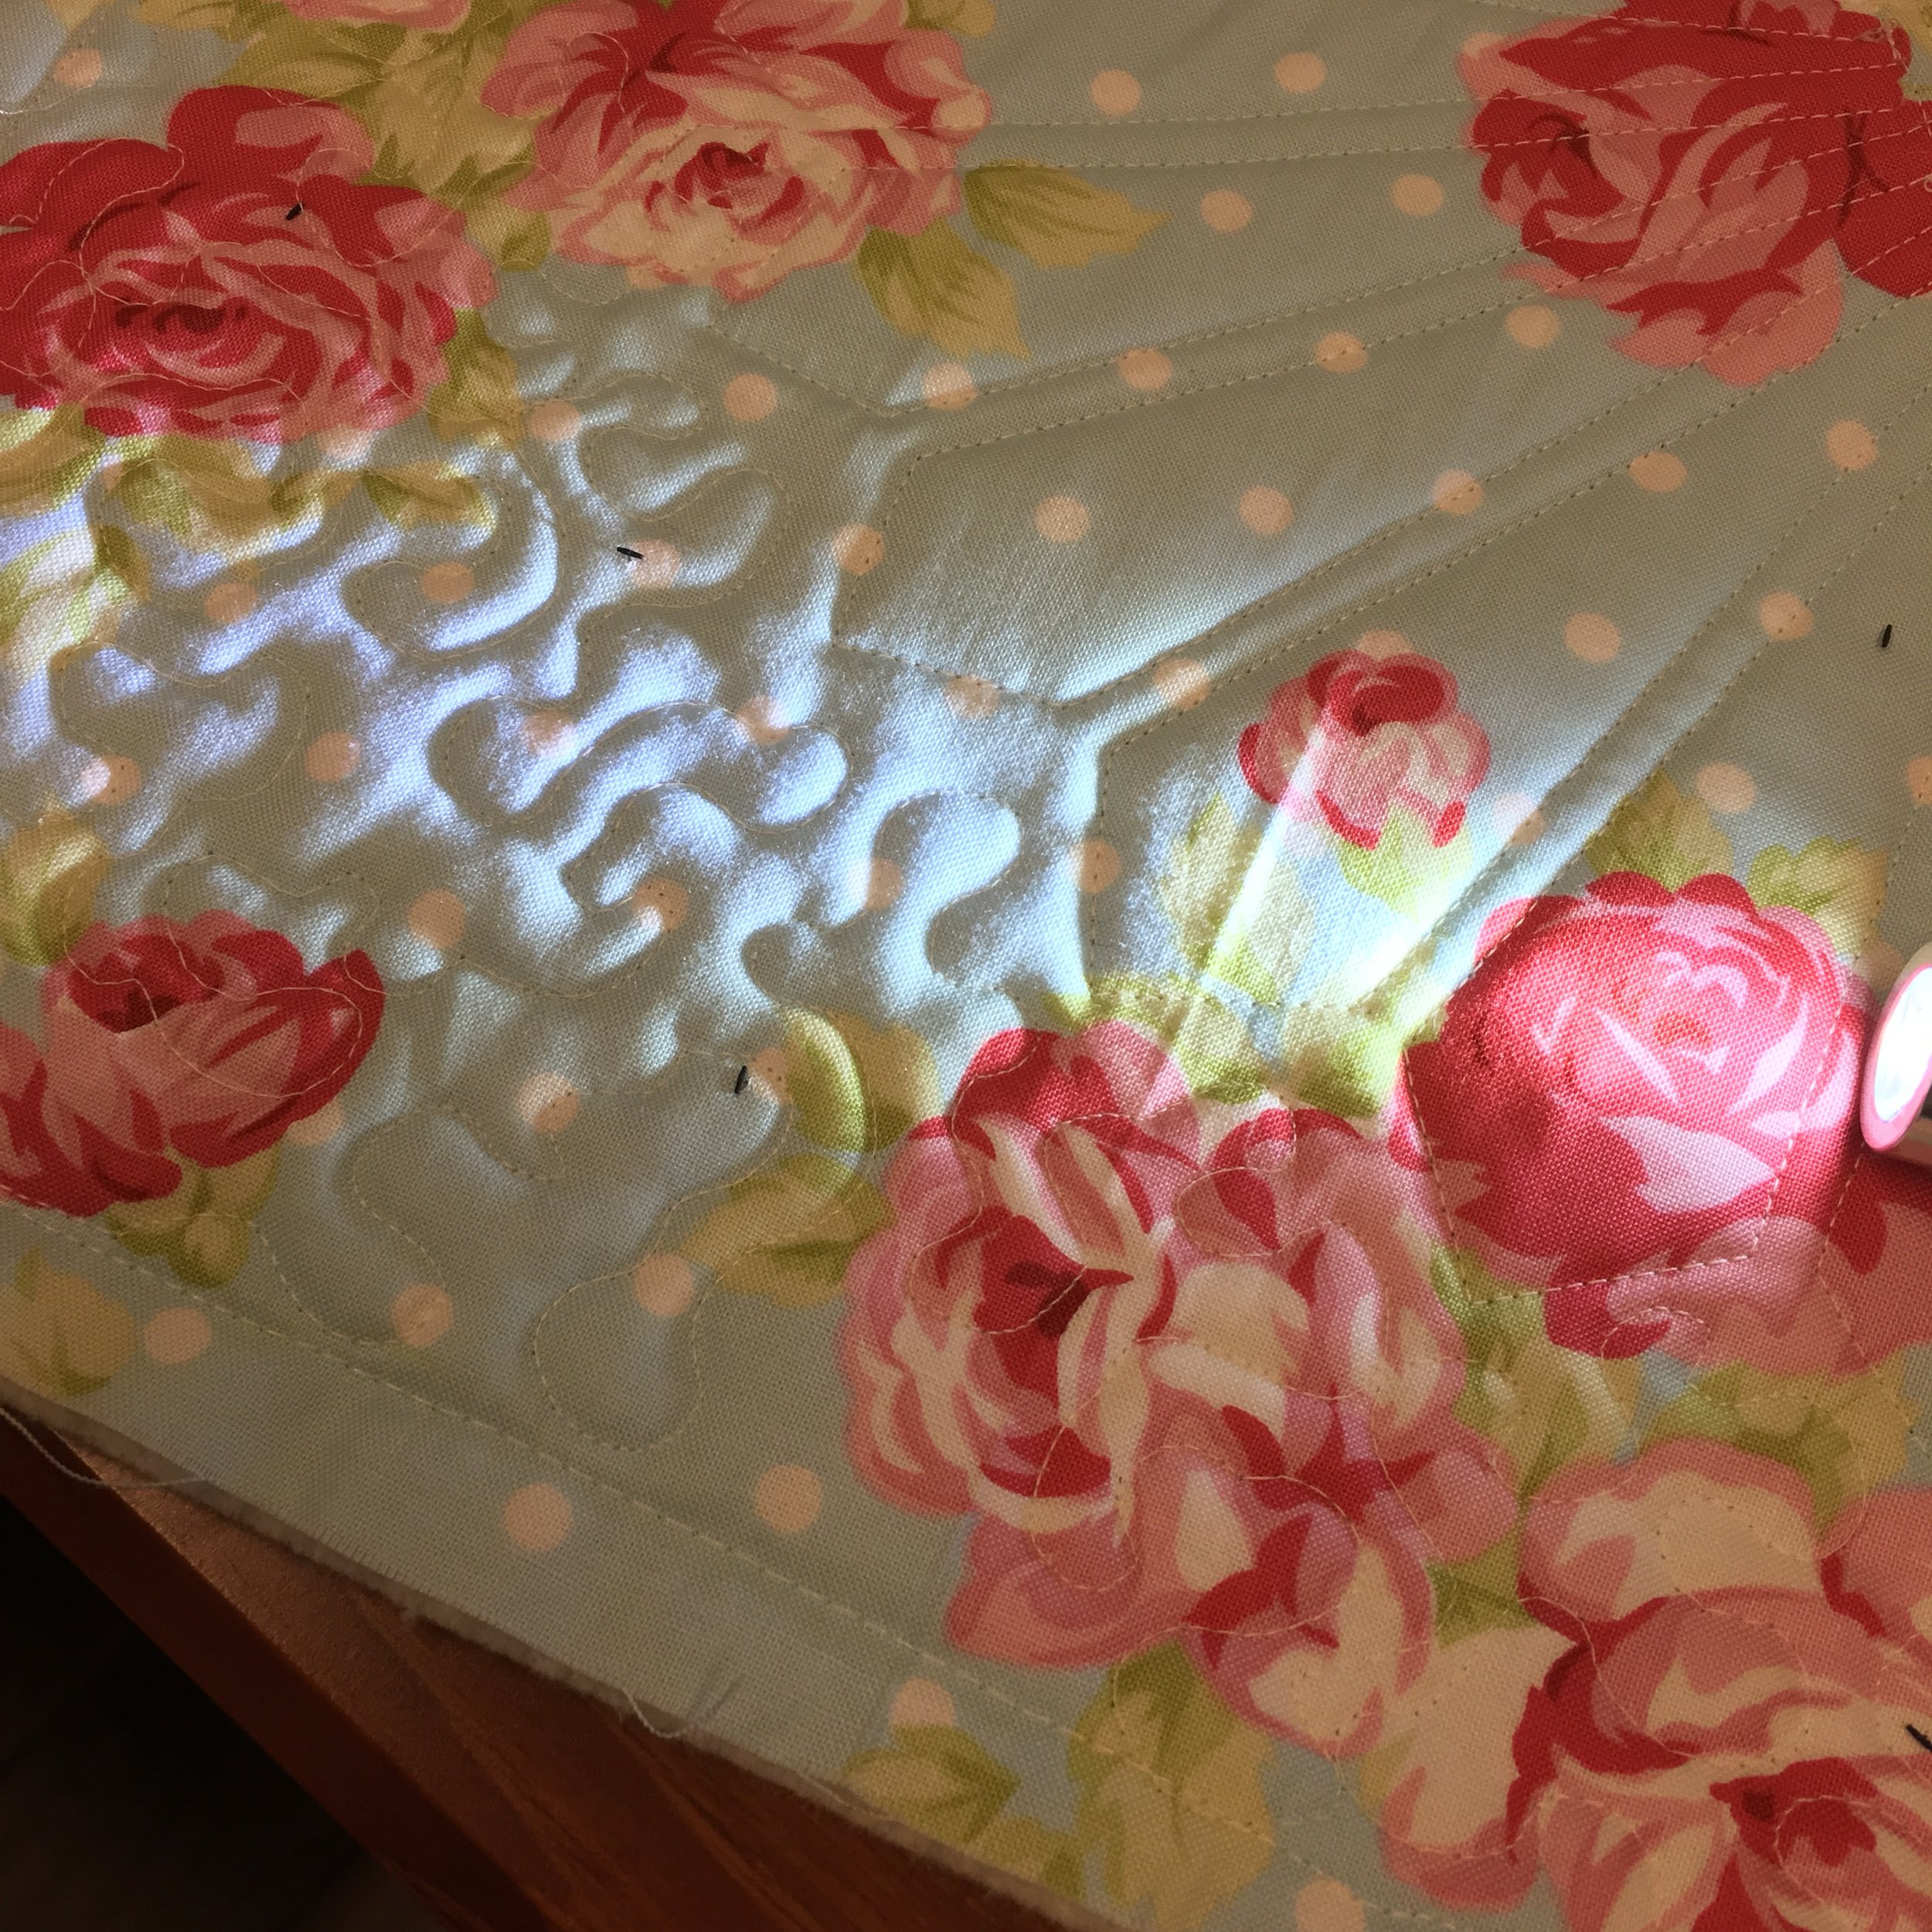
For the quilting, I chose a free-motion woodgrain design in Superior Thread's clear Monopoly, allowing me to stitch over the Buck Heads without conflicting with the applique´stitches. Straight lines or simple meandering would also be great with that same thread.
So, go ahead, order my kit (here) and whip up a Buck Forest quilt for your own little woodland adventurer!
PS...Want a little back side view of making a quilt kit?
There were so many details to work out in creating this in kit form, and I began with contacting Custom Pro-Dies to make a die that would allow me to cut each buck head accurately and quickly. That required a letter of permission to the die company from Bonnie Christine before they would even agree to make the die. That's right. Bonnie gave me exclusive rights because I gave birth to her.
Even before the die was ordered the quilt and yardage had to be determined. I work in Electric Quilt, so I downloaded Bonnie's fabrics into the program so that I could use the actual fabrics I wanted for the quilt. As soon as the die arrived I began the sample. I fused Lite Steam-a-Seam 2 on the back side of every buck fabric prior to running it through the die-cut machine. The machine will handle about 3 layers, so that required about 5-6 passes to cut sixteen Buck Heads.
After all the Buck Heads were ready, I cut the background fabrics to size and fused the heads in place. I use a steam press in my studio, which makes all the fusing more efficient and it results in a good, strong bond. This is how the rest went:
- Make the quilt top.
- Write a rough draft of the pattern as I sew.
- Stitch the applique´ on my HandiQuilter long arm machine.
- Reload the quilt with batting and backing. Quilting time!
- Bind the quilt.
- Photograph the quilt for the pattern. (This involved a trip to the Biltmore House in Asheville, NC!)
- Edit photos.
- Figure fabrics for X number of quilts and place an order with Art Gallery Fabrics.
- Order a boat load of Lite Steam a Seam2.
- Cut Buck Head fabrics and Steam a Seam to size for each block, 16 per quilt kit.
- Fuse Steam a Seam to each fabric, one by one.
- Run fabrics through die-cut machine.
- Cut fabrics for background blocks, sashing, outer border and binding.
- Prepare final draft of pattern and order copies.
- Assemble and package quilt kits.
- Begin dreaming about the next quilt I'll make...
Happy Sewing! Thanks for visiting! God bless, Maxie


