
How the internet changes things. Even our vocabulary, right? Take the word pin. To a quilter, it's a very important sewing notion. To someone perusing the internet, it's an image uploaded to the photo sharing website, Pinterest. Users can upload, save, sort, and manage images—known as pins—and other media content (e.g., videos and images) through collections known as pinboards. I have pinboards on Pinterest, and I invite you to follow Maxie Makes there! (And, by all means, please feel free to pin images from my blog!) But for a moment, let's talk about a quilter's pin!
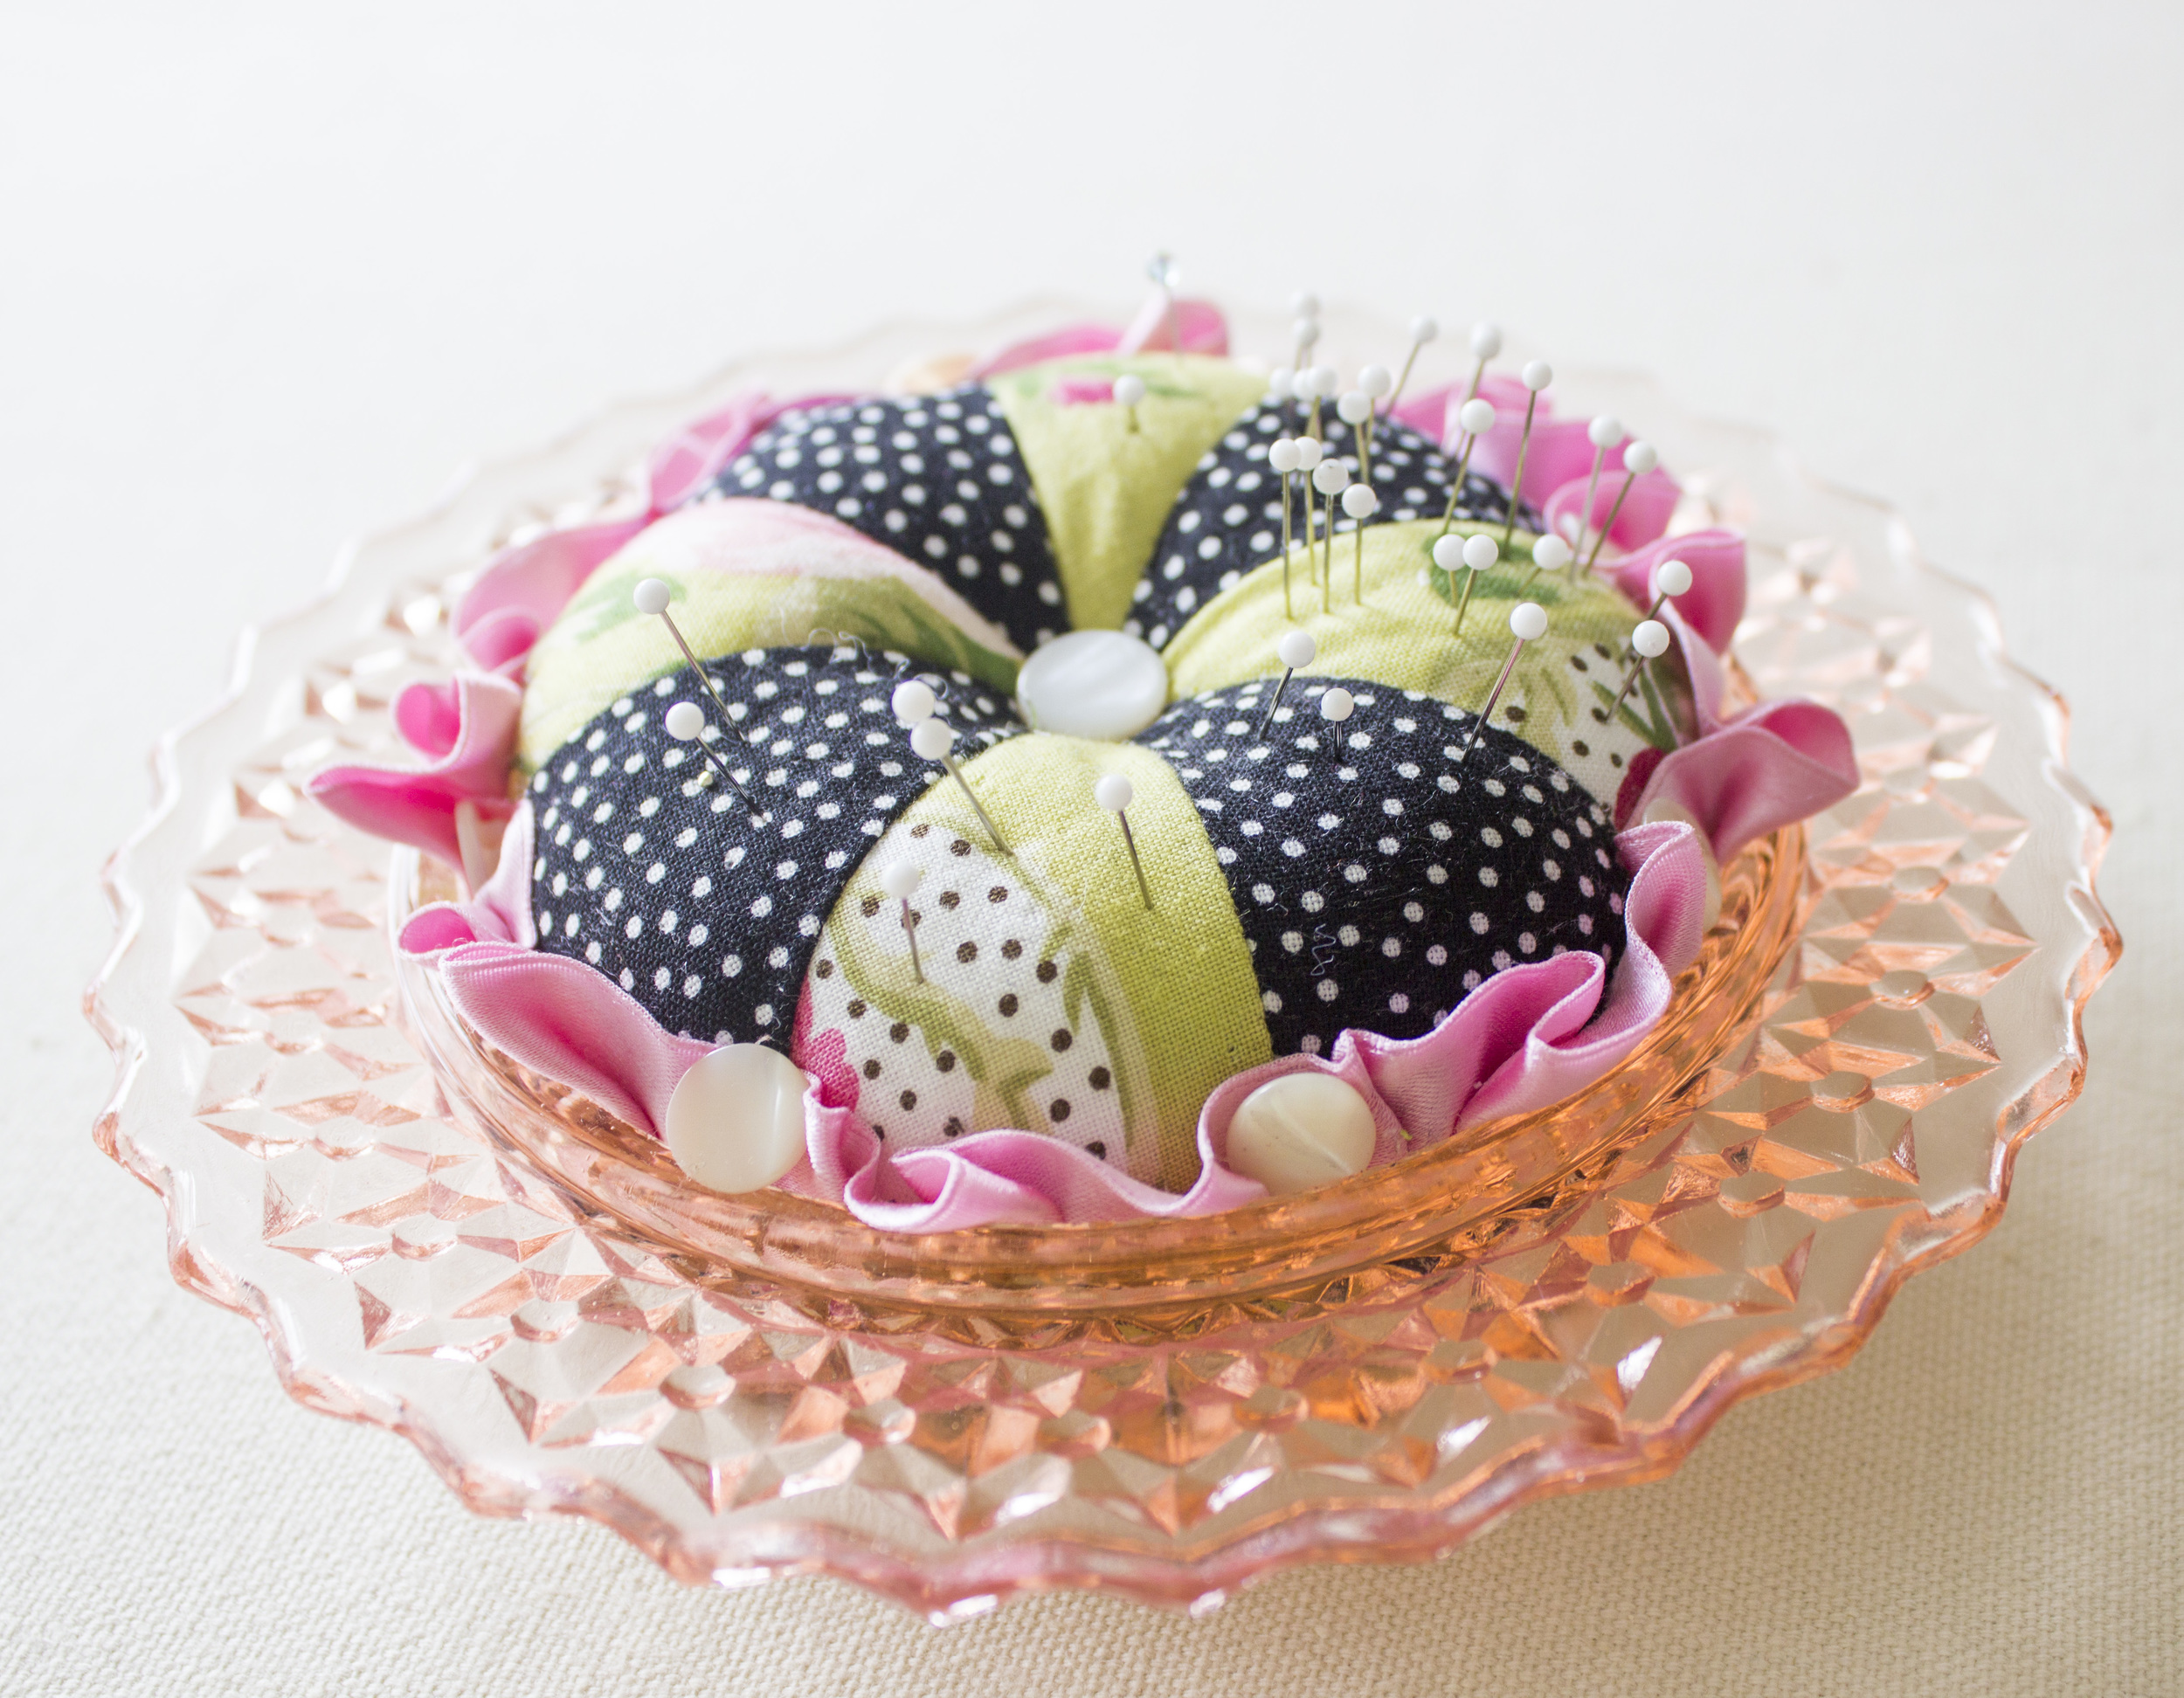
This little pincushion is filled with my very favorite pin, made by Collins. (I'll tell you how to make the pincushion below!) They are very fine nickel plated, with glass heads. Did you know that some pins have plastic heads? This can be disastrous if you accidentally iron over one. I know. I tossed out my plastic pins long ago and began the search for the perfect glass head pin. After a lot of trials, I finally settled on this pin and it's been my favorite for years. It's very fine, yet strong enough to remain straight when I need to use it as a tool of sorts. They are 1 3/8" long, which seems perfect when pinning everything from quilt squares to clothing to home dec and tote bags. My favorite. But not Judy's.
Judy is a long time employee at my quilt shop, and a very excellent quilter and teacher. She does a lot of paper piecing, and when it comes to meticulous piecing, she's scrupulous. Her favorite pin is Clover's Fine Patchwork Pin because they are a little longer (1.41") and a wee bit thinner. She feels the size of the pin allows her to pin with greater accuracy. However, the wee bit thinner-ness causes it to bend more easily, and that's why I choose the Collins pin. Judy obviously doesn't use her pins as tools, as I do, so these just fit her criteria better.
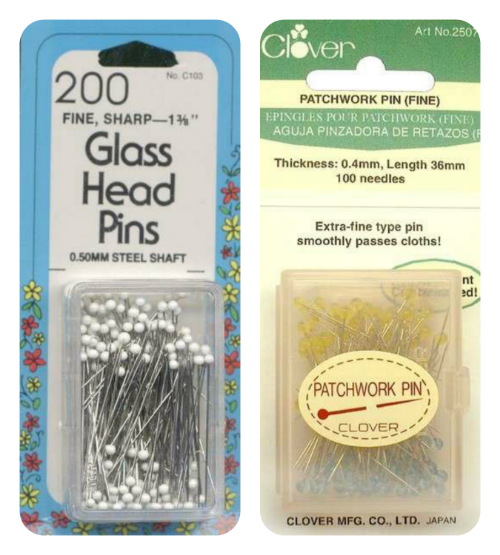
My pins are on the left, Judy's on the right.
So...you choose for yourself your favorite pin! How about making two of these beautiful pin cushions, one for each kind! I have both listed on my shopping page.
How to make the Pin Cushion:
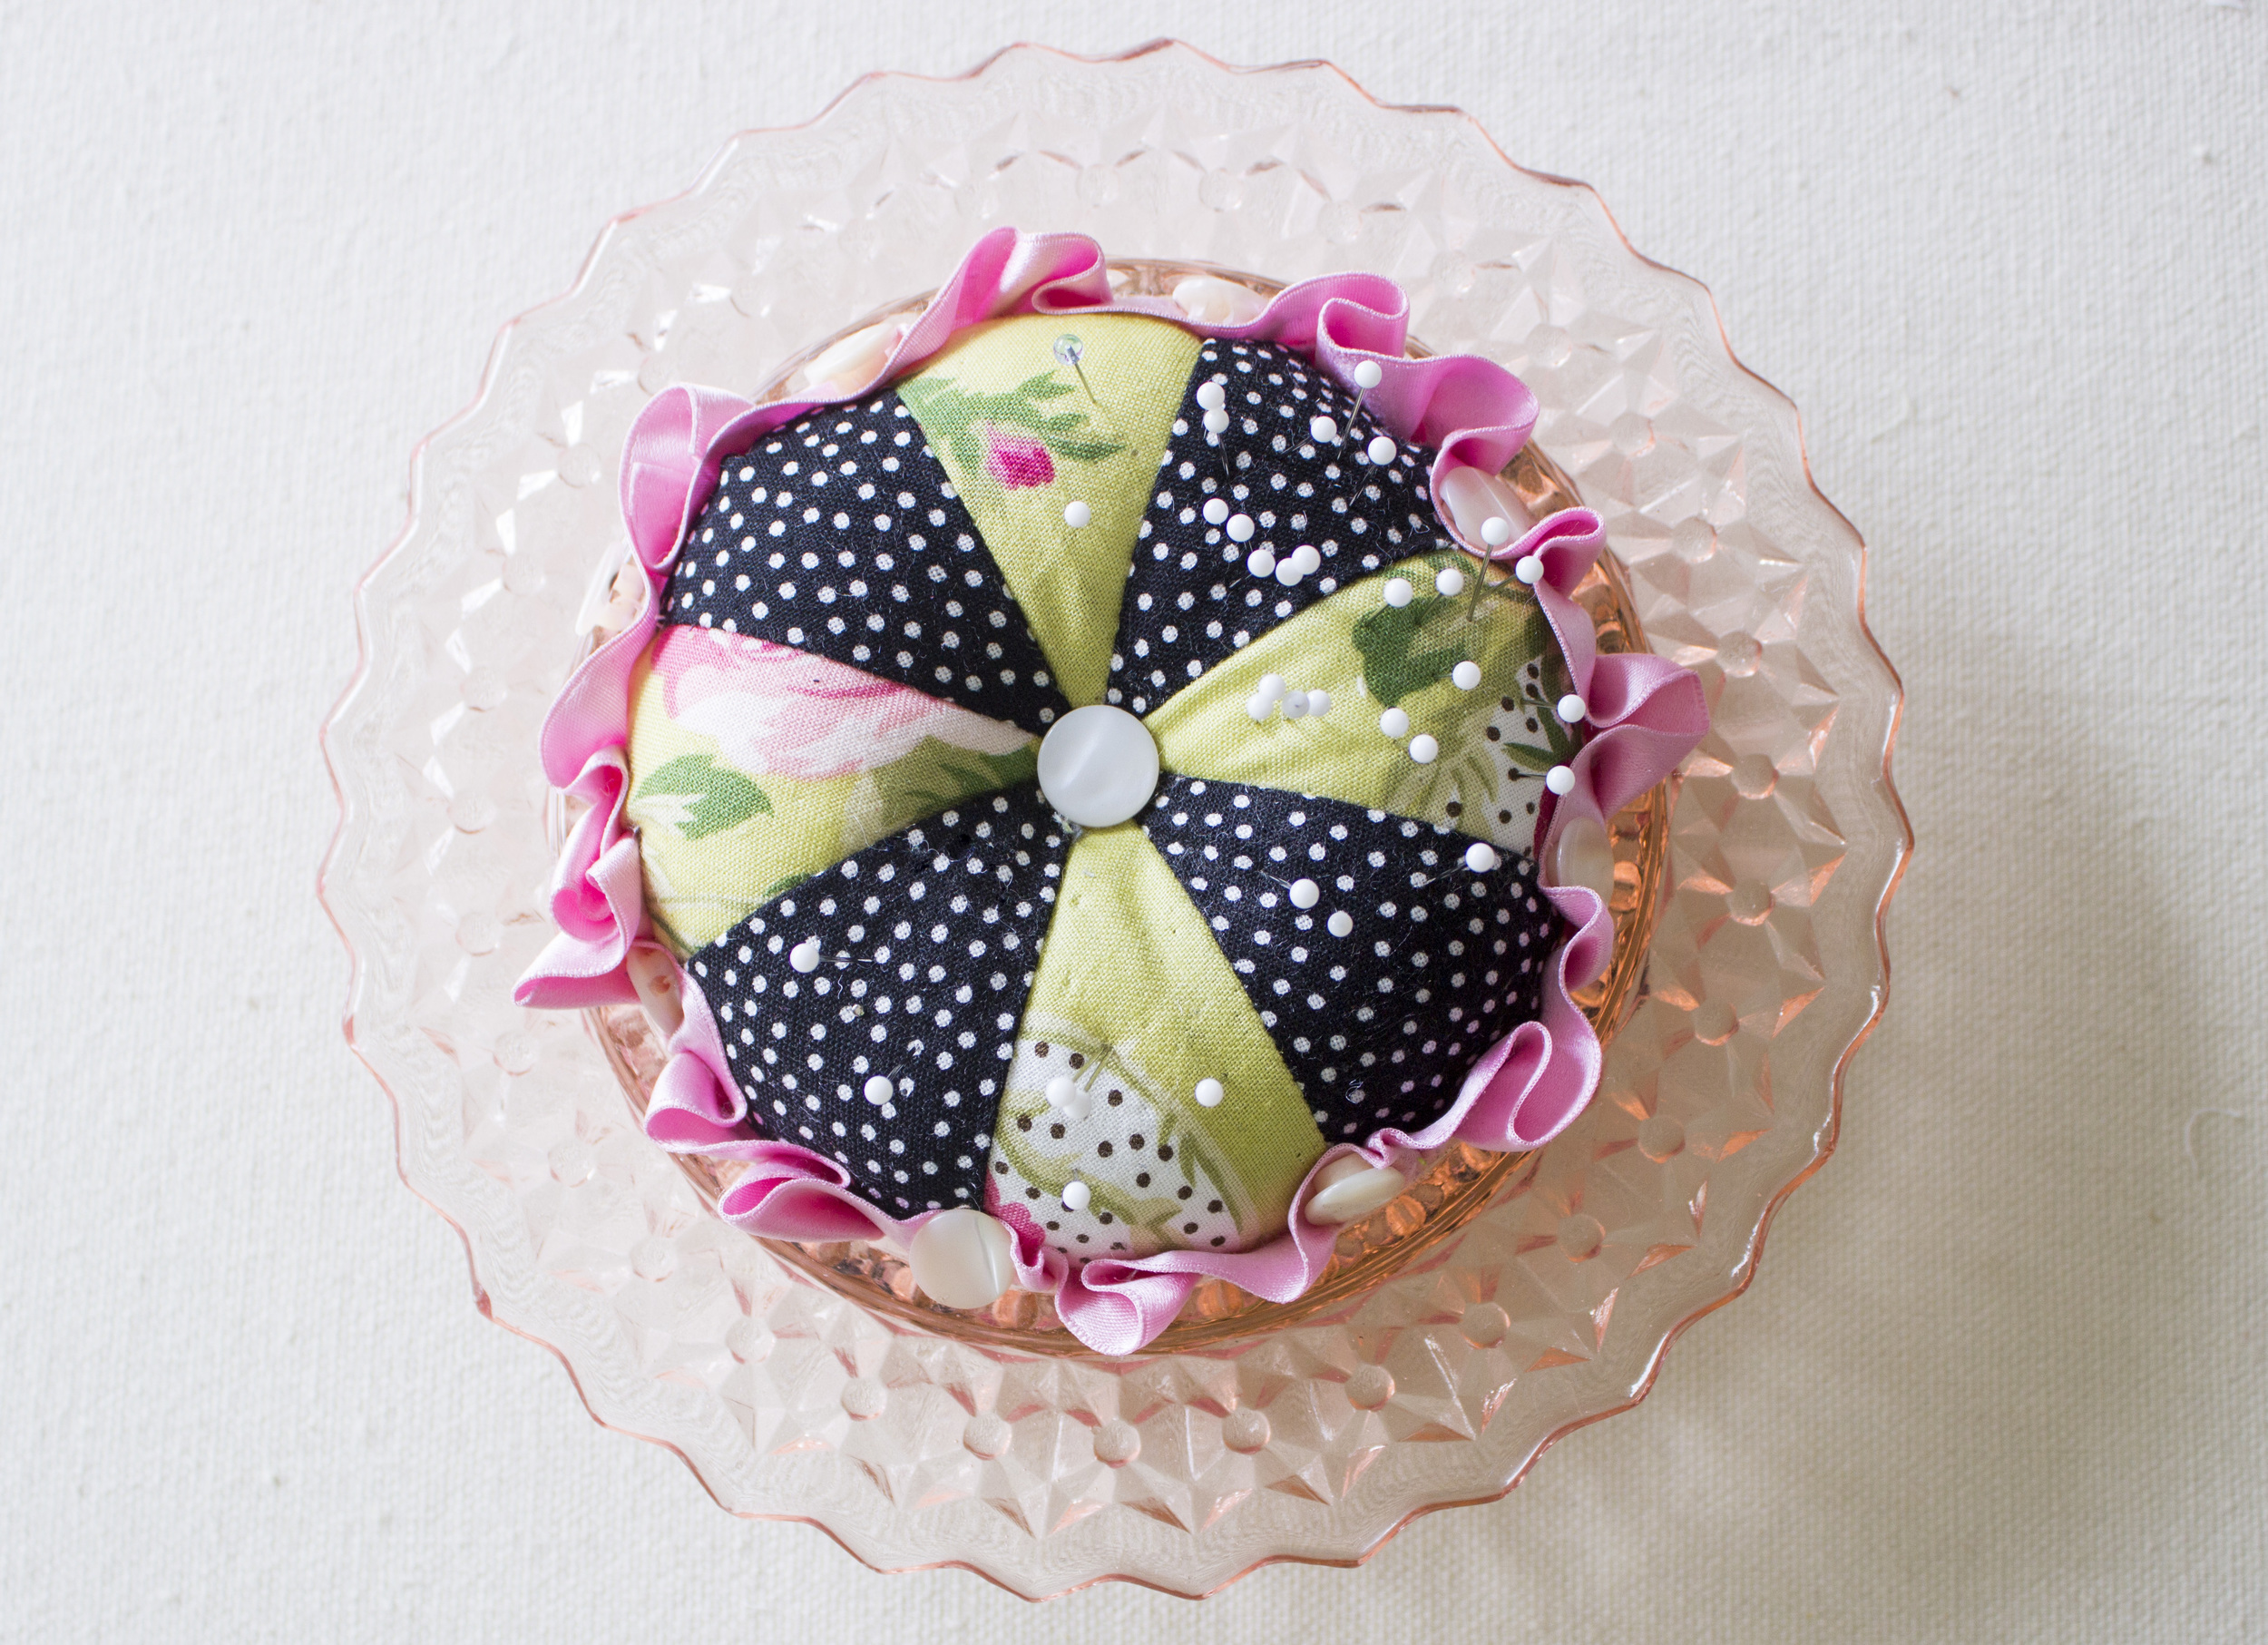
This pin cushion was made in a depression glass dish. I do have the lid for it, but I usually don't cover my pins, so if you find a deal in an antique shop just because the lid is missing or broken...grab it! The fabric section is simply a pinwheel block, made from four half square triangles, and trimmed into a circle. I stitched very long stitches around the outside edge of the circle so that I could gather the edge, and I left the needle and thread attached. Add a handful of stuffing (I love to use left over wool batting scraps for this) and pull up the gathering threads a bit. Stitch across the circle to secure and tie off. Sew a button through the center to depress the center a bit. Next, I covered a cardboard circle with matching fabric and placed it in the bottom of the dish, with the pretty fabric facing down. (This is only necessary if your dish is transparent.) Then, after gluing pink gathered ribbon to the edge of the pinwheel pouf, I glued it into the dish with a glue gun. Have fun!
Thanks for visiting and happy sewing! God bless, Maxie
