
So...we moved into our new loft apartment this week! It's been a long 2 years in the renovation, but we are finally just about finished. My sewing space was the first thing to be finished, because I record the Maxie Makes videos there. You can read all about how my daughter, Bonnie and I made that space into my little corner of the world.
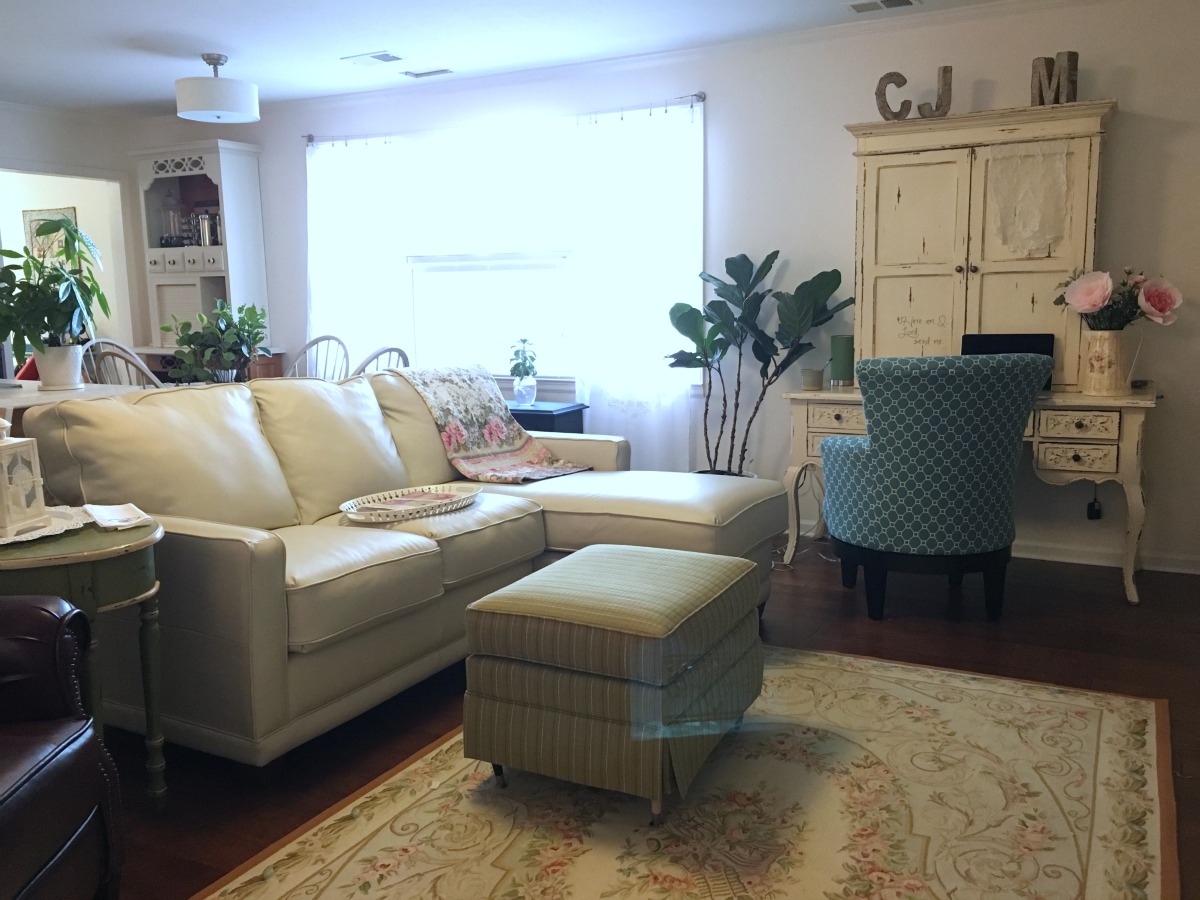
But, after it was all said and done, I hated my ottoman. Ugh. (That's short for ugly.) Agree?
Transformation complete!

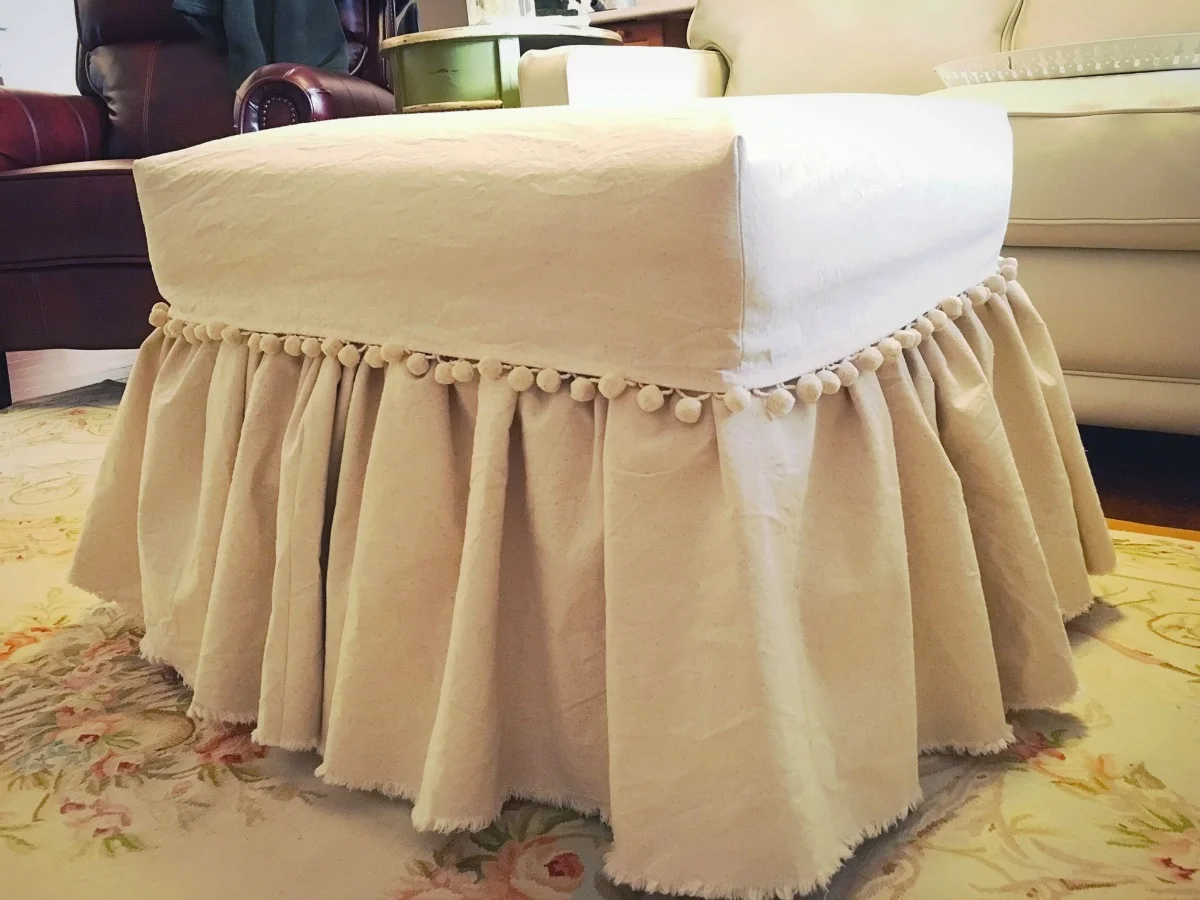
How? With a little bit of simple canvas, pom pom trim and elastic! I made a two piece slipcover. Here's how:
Supplies:
- About 3 yards 58" wide cotton canvas (prewash...it will shrink...and most likely, it will wrinkle so much that it can't be ironed out, which I adored)
- Enough pom pom trim for the perimeter of the ottoman.
- Enough 1/2" elastic for the perimeter, plus an additional yard for tying.
- I measured the top length and width of my ottoman. I also measured the depth of the drop I wanted, which I decided to be 6 1/2" before hemming. I cut a rectangle the measurement of the top with 6 1/2" added on all four sides.
- I measured for the skirt, planning to let the bottom edge ravel and not hem it. If, however, you want to hem your skirt, be sure to include that in your measurement. My ottoman has two sections attached to each other at the middle area. This middle allowed me to sandwich the top of the ruffle between the top and bottom section, nestling it in the crease. I measured the bottom section and added about 1" to tuck inside the crease between the two sections. If you work with an ottoman that doesn't have this option, you could use velcro attached to the ottoman and the top of the ruffle.) I tore 4 canvas pieces, width of fabric. Because I gathered the skirt with elastic, I didn't fuss too much with how much fabric to gather; I just knew I wanted lots of gathers, and four sections would give me a little more than twice the measurement of the perimeter.
- Next, I boxed the corners of the top by cutting away a 6 1/2" square from each corner and stitching those cut edges together. Using a zipper foot, I attached the pom pom trim to the edge by stitching it to the right side, upside down, then flipping the seam allowance to the inside, allowing the pom pom trim to hang down. I also top-stitched the edge to give it a crisp look (first photo below).
- Because the canvas is thick, I made a casing at the top edge to run the elastic through. For this casing, I cut 2" strips, sewing enough of them together to fit the top edge of the skirt fabric. I pressed the long strip in half, lengthwise, then attached it to the top of the skirt with a serger, (middle photo, above). Serger is optional, but heavenly! I pressed the seam allowance toward the skirt and top-stitched it in place (third photo, above).
- Using a safety pin attached to the end of the elastic, I fed it through the casing. I allowed about 20" of elastic to extend out both ends of the casing for tying together.
- Placing the skirt around the mid section, I nestled the casing into the crease and pulled the elastic tight, evening the gathers on all four sides. I tied the ends of elastic together, into a bow so that I can easily remove the skirt for cleaning and trimmed away the excess elastic ends.
- Last of all, I placed the top section on, snugging the pom pom trim over the mid section to hide the crease where the casing fit. Tip: I placed a double layer of cotton quilt batting on the top of the ottoman to smooth over the existing piping, and I stuffed the top corners with wool batting to completely fill in the corners.
Ugh-ly ottoman: history.

Thanks for visiting! Happy Sewing and God bless!
