Sewing: Repurpose, Up-cycle and Repair!

I love re-purposing things into something else, and starting with something that is already a finished product can save you loads of time! Take these sweet little bathrobes made for my sweet little grandchildren!

Terry Robes from Towels

When I couldn't find nice terry on the bolt (Really? I own a fabric store! No terry in stock!) I resorted to the softest terry towels I could find. I  found both a blue and a white that were large enough to make robes for Bear and Ollie. When I laid everything out on the cutting table I discovered that I could take advantage of the finished edges by laying the pattern pieces at the edges of the towel, allowing for facings and hems to be disregarded.

Layout of pattern piece on the edge of the towel.

See how the robe front piece is placed over the edge of the towel? The facing fold line is right on the finished edge, as is the actual hem line, which means I won't have to face or hem the edges! (I used Simplicity 8224.)

Robe layout.

You can see in the above photo that the sleeve and back pieces are also laid with the actual hem line at the edges, so no hemming anywhere!

Finished Robes made from Terry Towels

Finished in record time! Complete with a little belt, simply serged around all edges and attached at center back so it will never be lost!

Repurposed Sweater

And then there was this not-so-foxy sweater. It was a great sweater, but didn't fit me well. I hated to let go of it, so I repurposed it for Bear! I used the very same method of slipping the pattern pieces over the finished edges so that I didn't have to hem the sleeves or the lower edge. He loved it so much Bonnie could hardly get it him out of it for bedtime!

One more project...one of my daughter's beloved shirts sadly acquired a stain on a pocket. After 3 different stain removers didn't do the job, our last resort was bleach, which took the stain out along with the dye in the fabric. The stain was now replaced with a white spot! Removing the pocket was out of the question because the spot went through to the shirt front.

Shirt with stained pocket.

The back of the shirt has a lace yoke, so I decided I might be able to cover the pocket with lace. From my stockpile of old doilies, I found a beautiful lace runner that blended nicely. Placing the pocket underneath, I cut out a piece large enough to cover all four sides. Note that, once again, I let the finished edge help me along the bottom of the pocket! A fabric glue stick held all the edges in place for pinning and sewing it back in its original locale on the front of the shirt. Note: the top of the pocket is larger than the bottom to allow for an open, relaxed look. I re-attached it over the original stitching in the square shape to allow for the same finished look. Click on the pictures below to enlarge for detail.

Lace pocket

What do you think? No need to throw something out just because of a stain or ill fit! And you can repurpose things to be completely different things by using a little imagination!

Happy sewing and thanks for visiting! God bless! Maxie

A Prima Diva Wallet for Me!

Like most of us that love to sew, many of my sewing projects are made for others (or for shop samples), but occasionally I get the urge to have a party in my sewing room and I'm the guest of honor. Something else that I rarely do is to take a class. And I love learning new things. So when Sarah Overton offered a weaving class at my shop I clocked out and sat in!

Weaving

So everyone in class finished successfully with Sarah's instruction using the Wefty Needle from Tara Curtis. What a great tool this is! Weaving has become very popular, and with lots of different patterns offered by Tara, the results can leave you with a plethera of woven chunks to sew into just about any project you can dream up. Now we just needed to decide what we wanted to do with our beautiful woven masterpieces! I decided on the Prima Diva Wallet pattern from Sew Many Creations. Sarah had made this bag and I just loved how it looked both practical and gorgeous! I found the pattern directions well written, with plenty of extra tips for guaranteed success.

PrimaDivaFront1.jpg

The fabrics I chose were from a variety of lines and companies. The front weaving consisted of a print from Maureen Cracknell's Nightfall and Katarina Rochella's Imprint, both for Art Gallery Fabrics, and a navy blue with gold metallic from Rifle Paper Company for Cotton and Steel

Prima Diva Wallet Inside

The inside pockets were made using a variety of Art Gallery Fabrics, including a new print from Pat Bravo's line, Heartland. Just look at all those pockets! I count 9 in all, with 12 more sized for credit cards! I can fit my cell phone, lipsticks, etc. all in this one handy little bag.

Click to expand images.

Prima Diva Wallet with Woven Front using Wefty Needles

Oh, and that clasp? It's a breeze to attach, so don't be afraid! Now, go get yourself some Wefty Needles and make a beautiful Prima Diva Wallet! That's my advise, take it or weave it.

Thanks for stopping by! Happy Sewing and God bless! Maxie


Furry Friends Finished!

I making good on my promise to share these furry friends after they were given away as birthday gifts to my two grandchildren, Bear and Ollie! They were so much fun to make as 'in the hoop' projects by Dolls and Daydreams. I used dreamy cuddly fabric from EE Schenck, which was wonderful to work with!

These little critters are big! I used the 8 x 12 hoop, but Dolls and Daydreams includes sizes for smaller hoops in the file. My finished size, head to toe, is about 17".

Dolls and Daydreams In the Hoop Stuffed Toys
Big Caribou Reindeer by Dolls and Daydreams

As every part laid in place my smile grew bigger and bigger! This one is for Ollie Doe, my granddaughter, and her fabric body is from Bonnie Christine's line, "Hello, Ollie" for Art Gallery Fabrics. Of course, the fabric on Bear's Monkey is from "Hello, Bear"! What else would a grandmother do?

Tips on making stuffed toys in the hoop?

  • Keep tape handy for holding things in place. I used masking tape, but painter's tape and even scotch tape work well.
  • Cut furry fabrics outside and shake them well before bringing to the embroidery machine. You don't want all that fuzz to make its way down inside your machine.
  • When you've got all the limbs and ears, etc., assembled onto the hoop, tape them in place well so that they don't shift during stitching. Place tape on the stitching line because it helps the embroidery foot to glide up and over bulky parts.
  • For the last stitching (with the body back placed face down over everything) cover the whole piece with sticky tear-away stabilizer. This prevents the embroidery foot from getting caught against a stuffed limb as it moves around the hoop. It easily tears away after your finished. See below.
  • See the previous post for a short video on making the limbs.
  • Keep a sweet dog close by.
Dolls and Daydreams In the Hoop Stuffed Toys

Be sure to check out Dolls and Daydreams In the Hoop projects, as well as their sewing projects. Her instructions are great and her designs always stitch up beautifully!

Thanks for visiting! Happy sewing and God bless! Maxie

Sewing with Furry Fabrics

Birthday celebrations for both my grandchildren are coming up this week and I'm happily sewing away! I'll share my projects after the gifts are given, but in the mean time, here is a little video about my secret for turning tubes right side out!

In this video Maxie shows you how to turn stuffed animal limbs right side out using the Fastube. This tool can be used to turn purse handles, clothing straps, belts, piping and more!

I use these Fasturn Fabric tube turners for all sorts of things...purse handles, spaghetti straps for clothing, piping, and these little critter limbs! I've had mine for about 30 years, but the company hasn't changed them one bit, thank goodness! There are six sizes in the complete set, allowing for just about any project. They aren't listed on my website, but I do carry them in my quilt shop and I'll be happy to get a set for you, so just email me if you want more information.

I'd best get back to work if I'm going to finish this in time for the party, but come back to see the finished project!

Thanks for visiting. Happy sewing and God bless! Maxie

Quilting with Clear Monopoly Thread

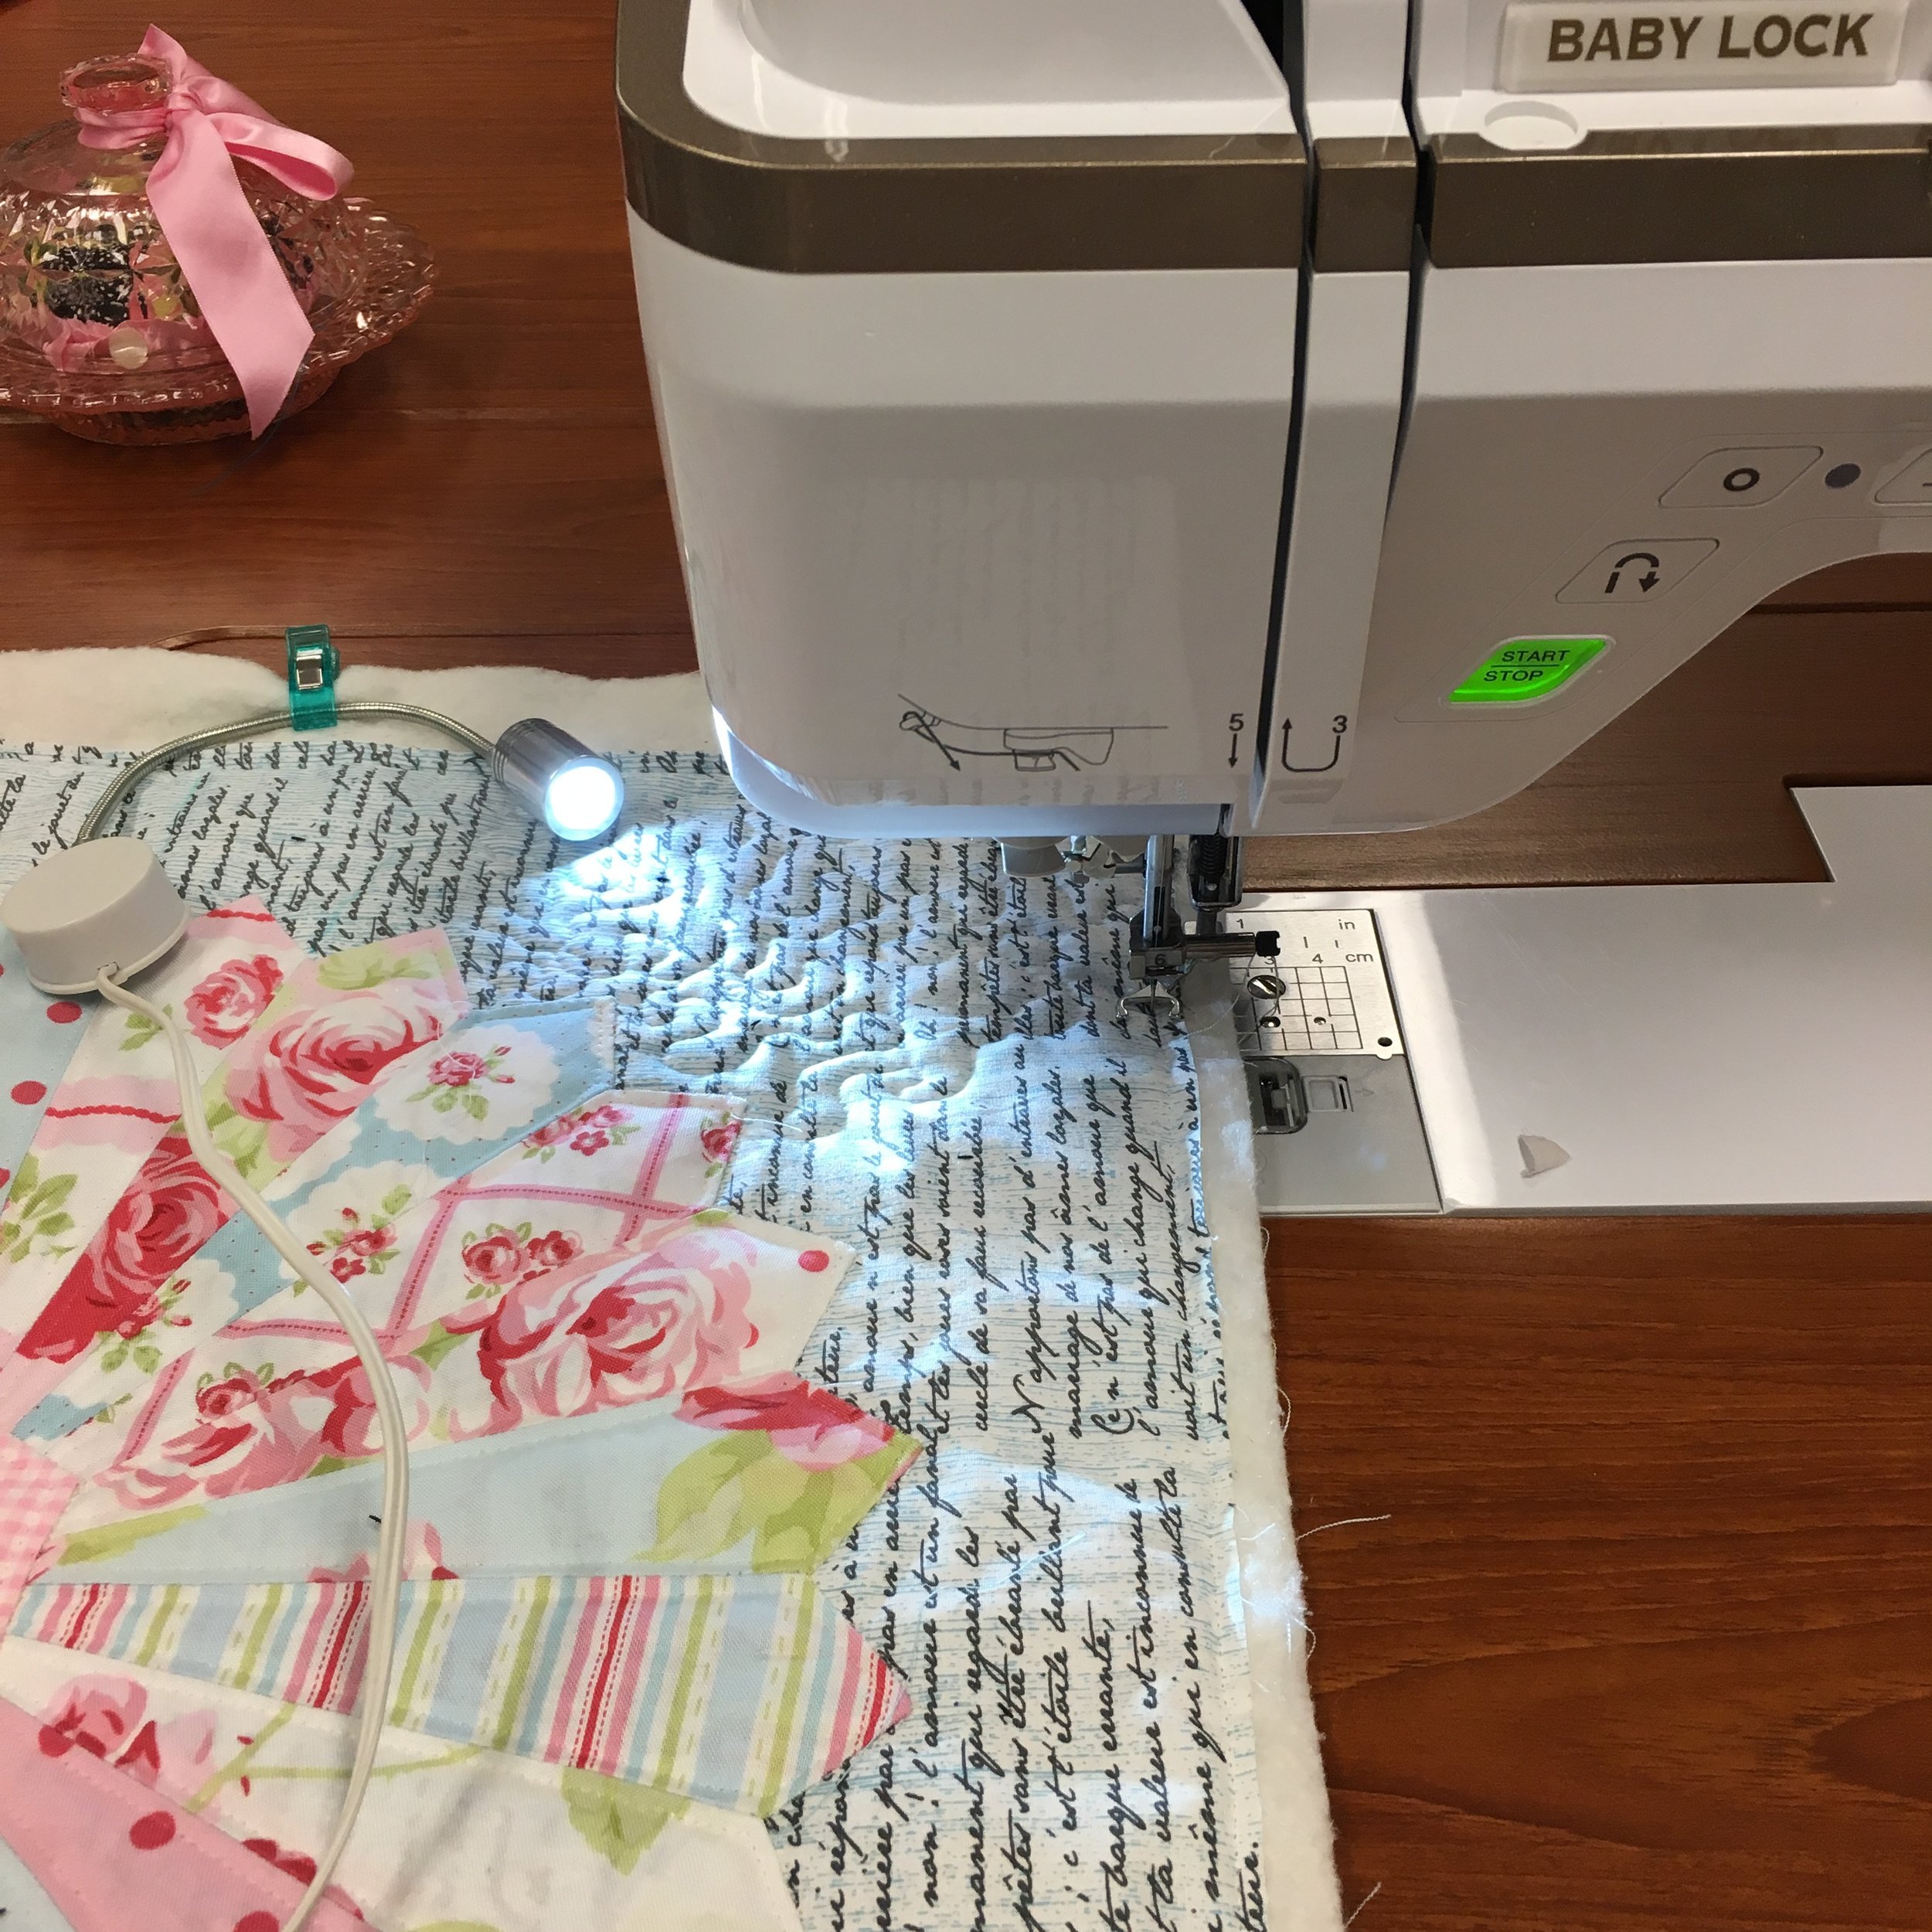
I love, love, love, quilting with clear Monopoly thread! It solves a myriad of problems for me (no more changing threads for different color fabrics, my boo boos don't show so much...). But, because it is clear, when meandering it can be hard to stay on track if I can't see my previous stitching path. I discovered that if I clip a small light to the quilt surface and point it over the previous quilting and toward the machine needle, suddenly I can see my quilted surface perfectly!

Quilting with the Mighty Bright Light

Working with Monopoly Thread is easy, but most quilters are a little shy about trying it. It's polyester, so there are no issues of longevity or damage to your quilt (as with the older nylon threads). I do not, however, use this in my bobbin because winding it can be problematic. I simply use my favorite bobbin thread to match the quilt backing. I use this thread in both my conventional Baby Lock sewing machine and in my HandiQuilter longarm machine, and both machines are quite happy with it! I decrease my upper tension slightly, and, on my HandiQuilter I skip one of the pretension thread guides. A size 14 needle usually works perfectly, but if I'm on heavy fabrics I might go up one size. Give it a try!

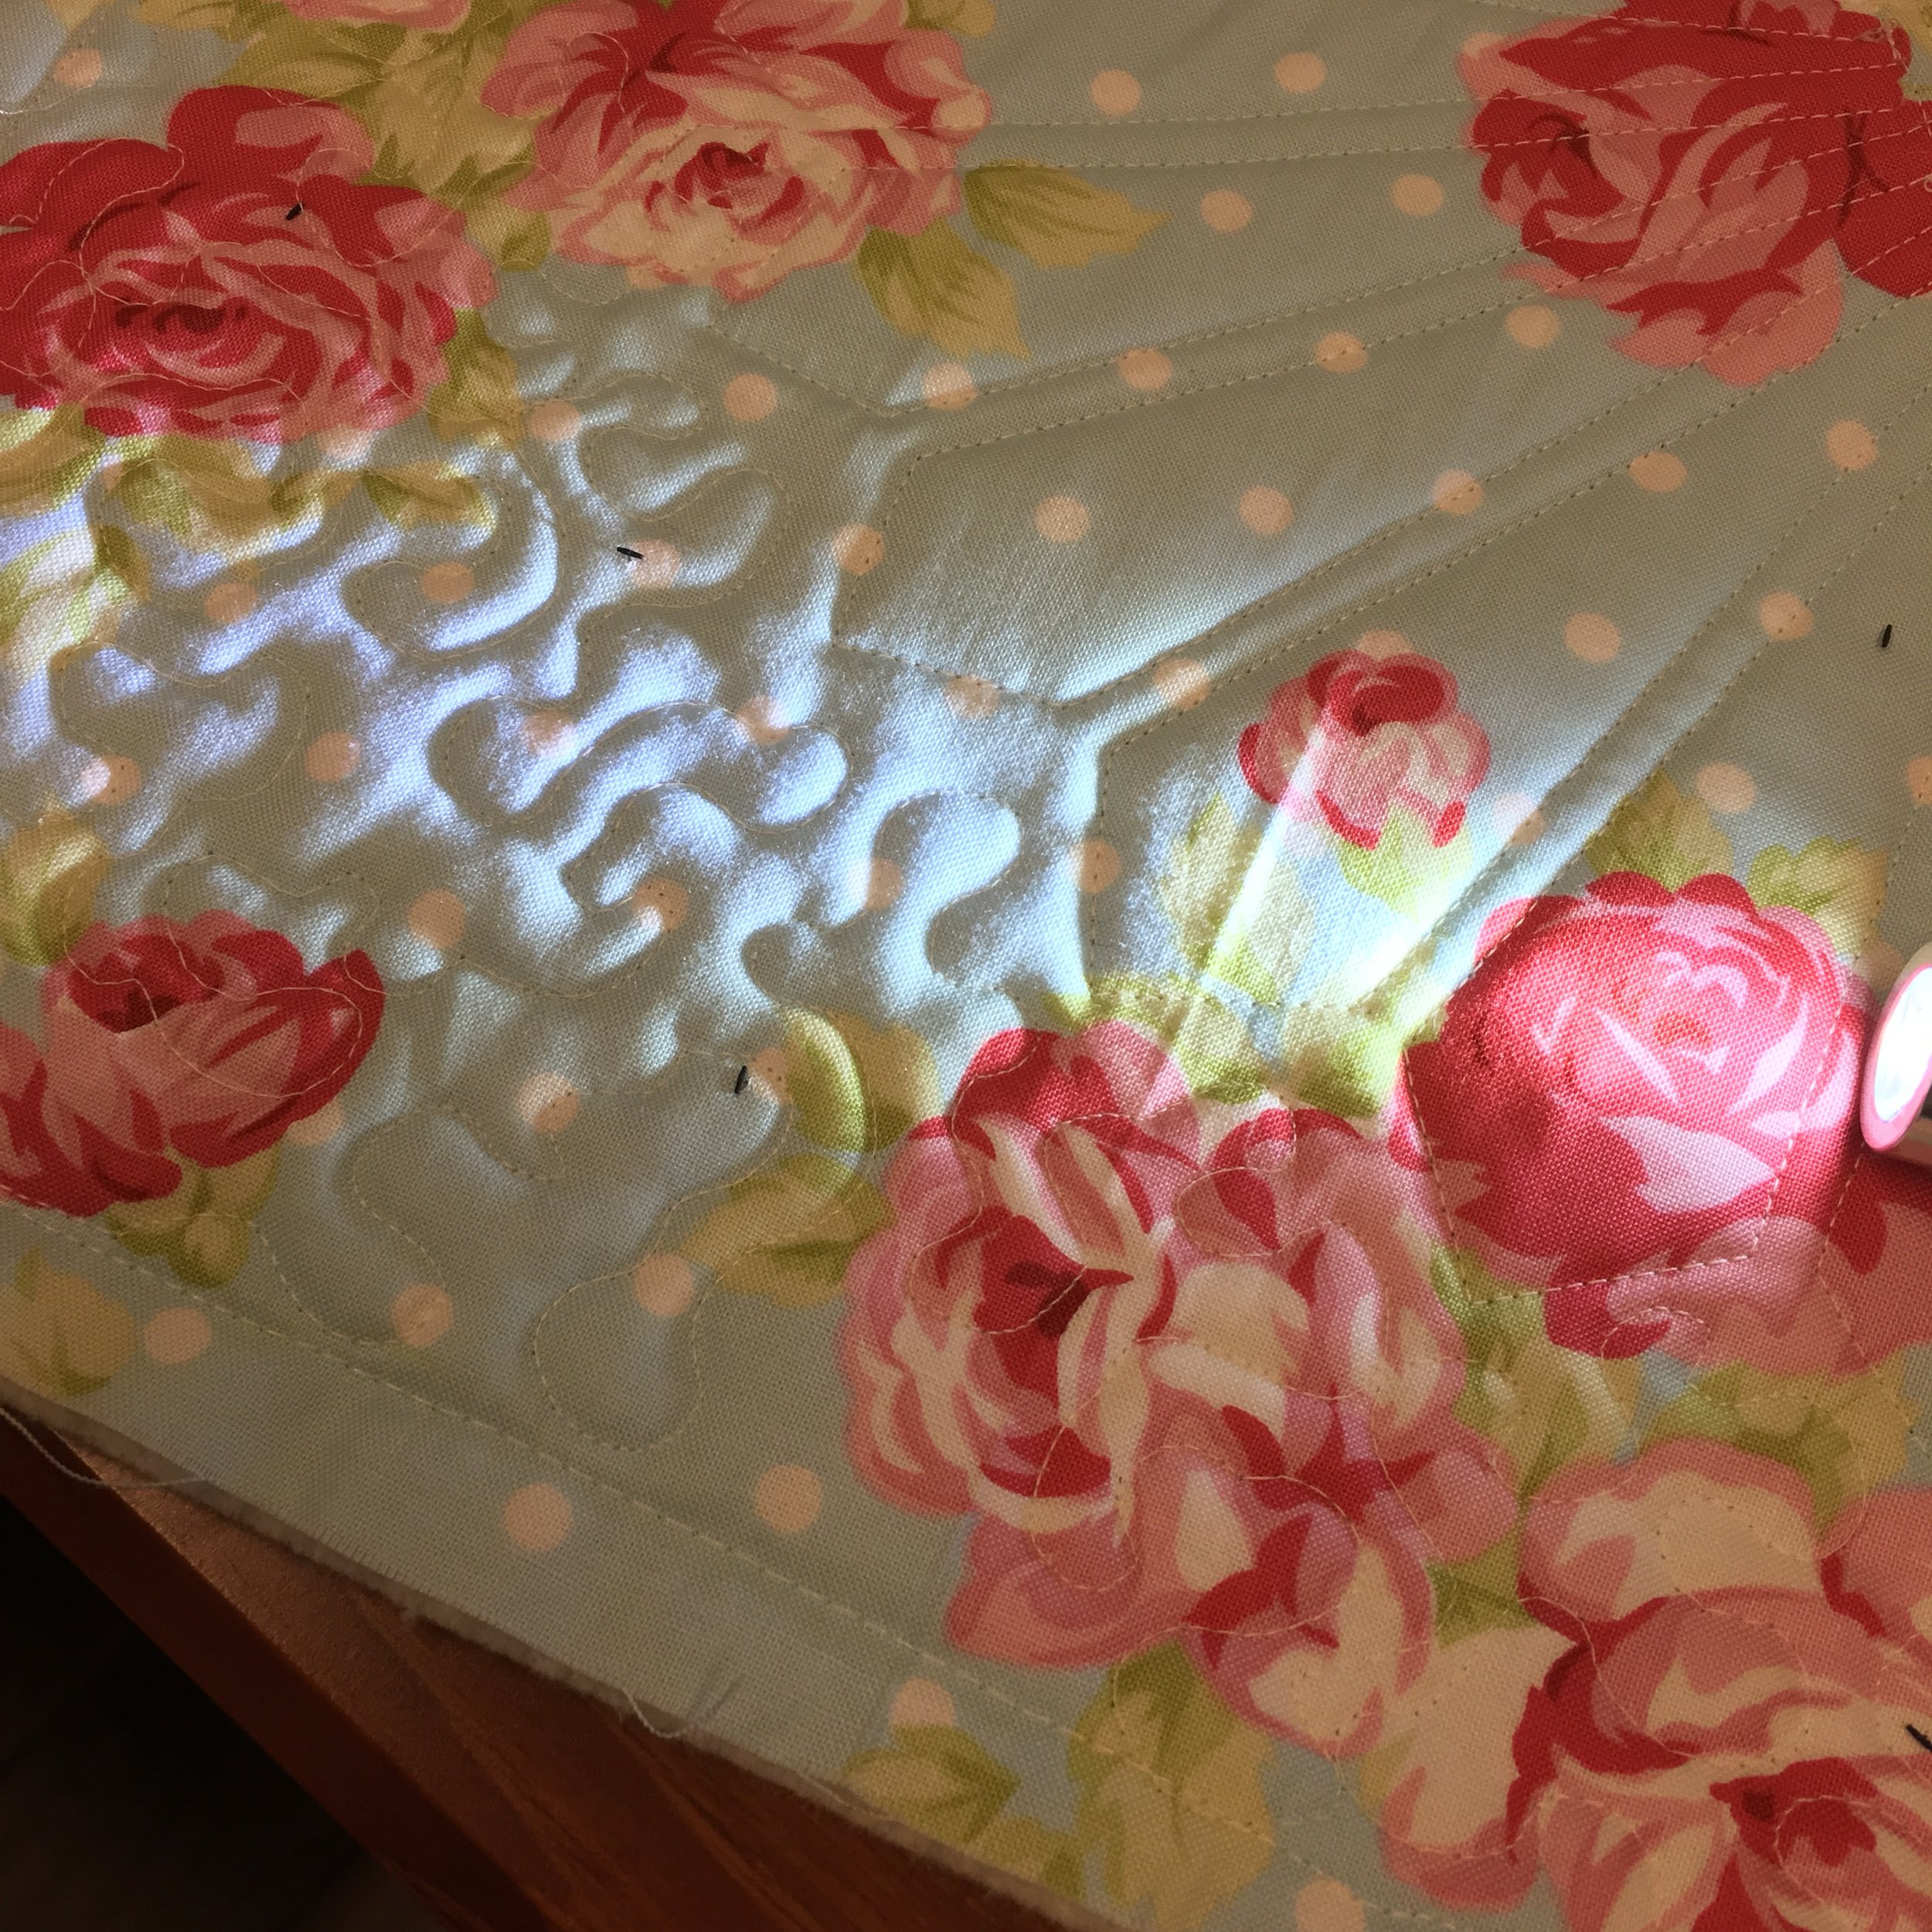
Another tip I can share is that I discovered the Micro Stitch Basting Gun for quilters! Look at the little black tags on the surface of the quilt...I think they look like fleas, but I promise they aren't! No more safety pins and no more hand basting and tangled threads! I love it! Don't have them on my website yet, but if you need one just send me a comment and I'll be glad to get one to you.

Using the Quilt Basting Gun

Thanks for visiting! Happy Quilting and God bless! Maxie