Easy to Sew Bag Handles

I made another bag...and this one is for me! I made sure of that by embroidering my monogram on it so that one of my daughters couldn't 'call' it. (I'm not sure where that started, but if they want something of mine, they think that the first one who 'calls' it gets it.) Since their initials are different from mine, this bag is safe in my arms! Today I want to share a new way of making handles...the way they attach might surprise you, and I have an embroidery tip for you!

The Perfect Whatever Bag by Maxie Makes and Bonnie Christine

The pattern is the Perfect Whatever Bag, designed by my daughter, Bonnie Christine and me. I've posted in the past about this free, downloadable pattern, but today called for another post because of the new variations. This bag pattern is so versatile. If you make it, please send me a picture of your version! I used a canvas border print (I yard, 60" wide) for both the inside and outside of the bag, flipping the lining so that the blue check was at the top inside of the bag. See the pattern for cutting measurements and instructions.

Cutting the fabric for the bag.

I decided to monogram the bag with an applique´ made from the leftover scrap of blue check fabric. It fit just perfectly! I monogrammed a sample first, and discovered that the tearaway stabilizer made a perfect template for placement of the final monogram. I simply creased the center of the fabric and stabilizer and placed the creases together to find the exact center.

Marking the embroidery placement for the bag front.

I love my Baby Lock machine...      Love the font? I found it here.

The Baby Lock Destiny makes it easy to design your own monograms! This monogram is applique´d with a simple oval frame surrounding a fancy font for an elegant look.

And I just had to sew a little ric rac trim on, right? Pink, please.

Sewing the ric rac trim on The Perfect Whatever Bag.

So, from here on out you'll just follow the instructions in the aforementioned free downloadable pattern. Except for the handles. Since I didn't have any leather pre-made handles on hand, I would have to make them. I wanted a very fast and easy way to make and attach them, too, because my Saturday was running out. This method sort of just happened without a master plan, and I loved them in the end!

The Perfect Whatever Bag Handles.

To make the handles:

  1. Cut two 2 1/2" x 27" strips.
  2. Fuse a lightweight stabilizer on the wrong side.
  3. Sew them into a tube, sewing the ends closed and leaving a 2" opening along the center area for turning. 
  4. Turn each end right side out through the center opening. I used a tube turner for this step.
  5. Press well and topstitch around all the edges, stitching the opening closed.
  6. Measuring 3" in from each side of the bag and about 1.5" down from the top, make a mark for placement.
  7. Pin the handles in place as shown in the photo below. Stitch from top to bottom, as indicated by the black arrows. I stitched twice to reinforce the handle attachment.
  8. Tie the end of the strap in a half knot by holding the strap up in the center and wrapping the short end over, around and down through the loop. Pull snugly to form a knot.
handleplacement.jpg

9. Love it! Sturdy handles, easy and fast. Saturday even still has some daylight left.

Knotted bag handles on The Perfect Whatever Bag.

Thanks for visiting today! Happy Sewing and God bless! Maxie


The Silhouette Cameo Cutter, Paper Succulents and Miss Mossy

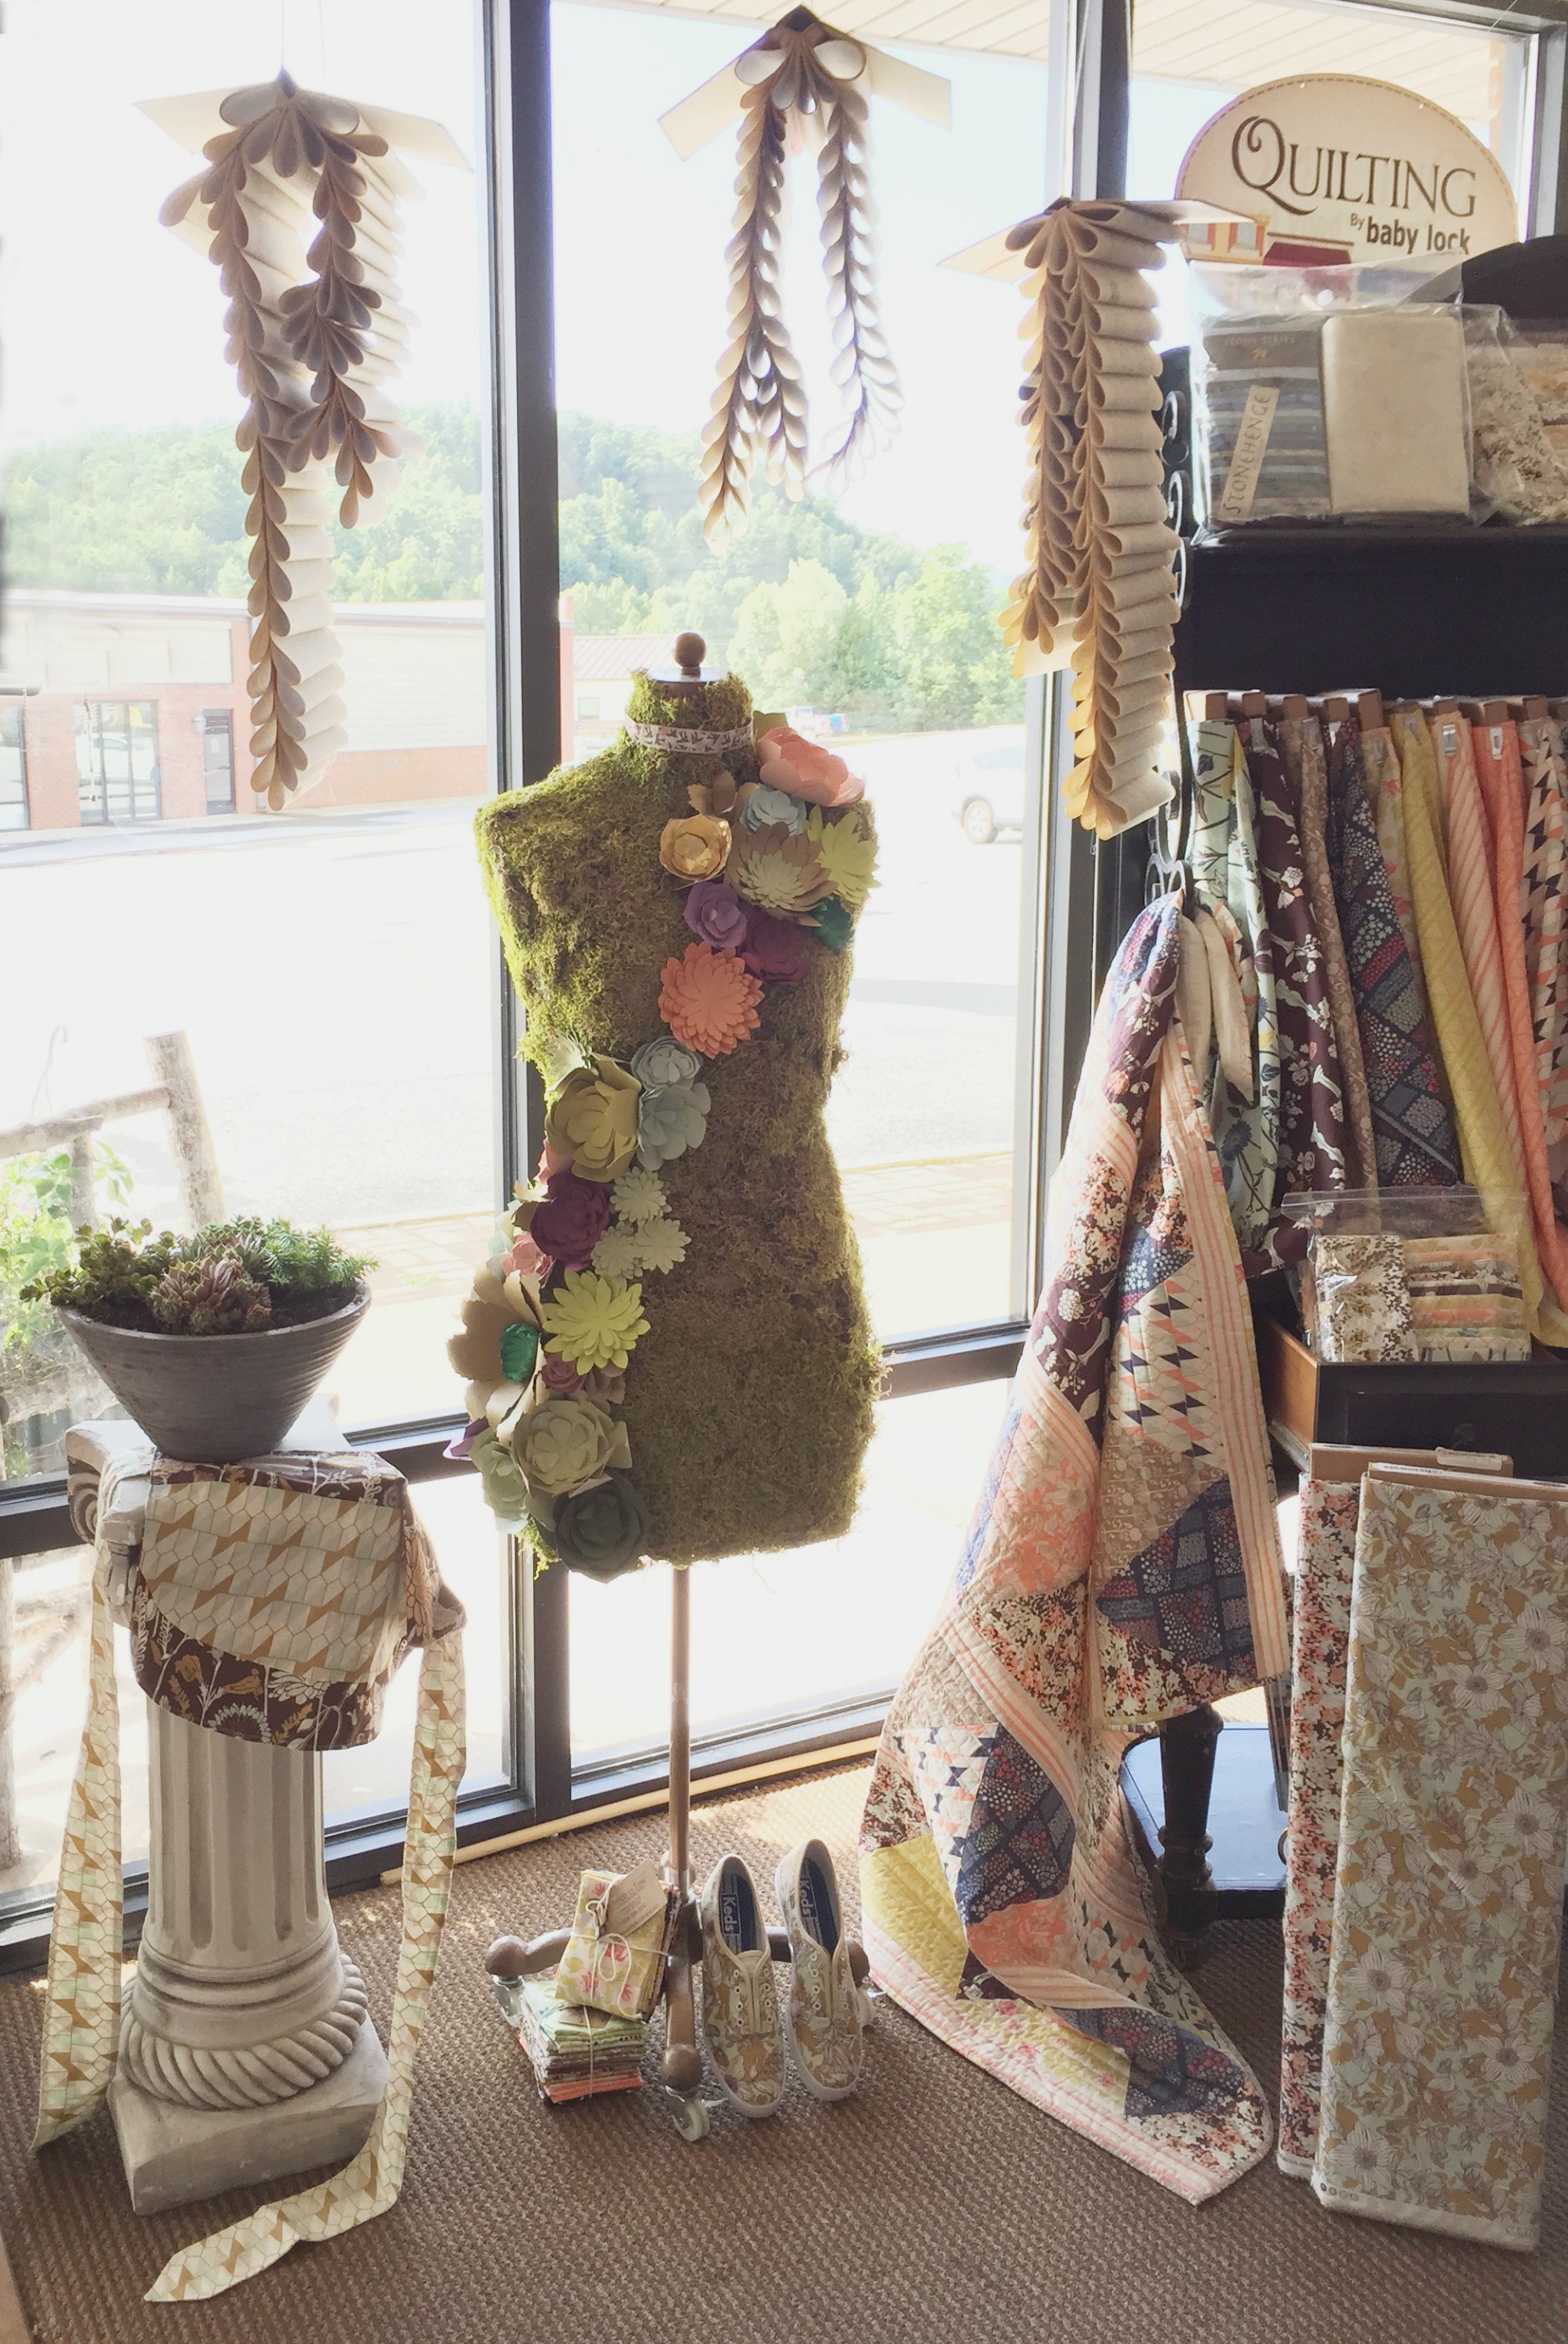
You probably know that I own a quilt shop in Franklin, NC, A Stitch in Time. (You'll find a free quilt pattern below!) Recently, Andrea, one of my employees, challenged the whole staff to each create a unique display for the shop. Great! Oh wait, did that include me? Of course it did. The instigator is just about finished with her display, so I went into a flurry to get mine in readiness before our deadline of July 17 (when our Carolina Shop Hop officially begins!).

Bonnie and I had covered one of my mannikins with moss for a quilt market display, and she was standing idle in the shop. We affectionately call her "Miss Mossy". Hmmmm. For the most recent quilt market, we had cut paper succulent flowers with the amazing Silhouette Cameo Cutter. Most of them made it back home safely, but I could cut a few more. Let's see what we can do...

Moss Covered Mannikin

The Silhouette Cameo Cutter will cut just about anything! Quilters use it to cut fabric shapes and paper templates. It also cuts adhesive vinyl. Have you noticed "This Place is Sew Pieceful" on the wall in my sewing studio videos? I cut them and easily applied them to the wall! For the flowers on my mannikin, I used various weights of card stock. See the steps below: 1. Cut; 2. Shape the petals (I just rolled the ends of each petal on a pencil); 3. Glue petals together with a glue gun; 4. Take a picture of your beautiful flower!

Making a flower on the Silhouette Cameo Cutter.

Now, adorn something with it! Here's my display for our challenge. (Notice the Keds from last week's post! And the Book Mobiles? I'll save those for next week's post!

Quilt Shop Window Display

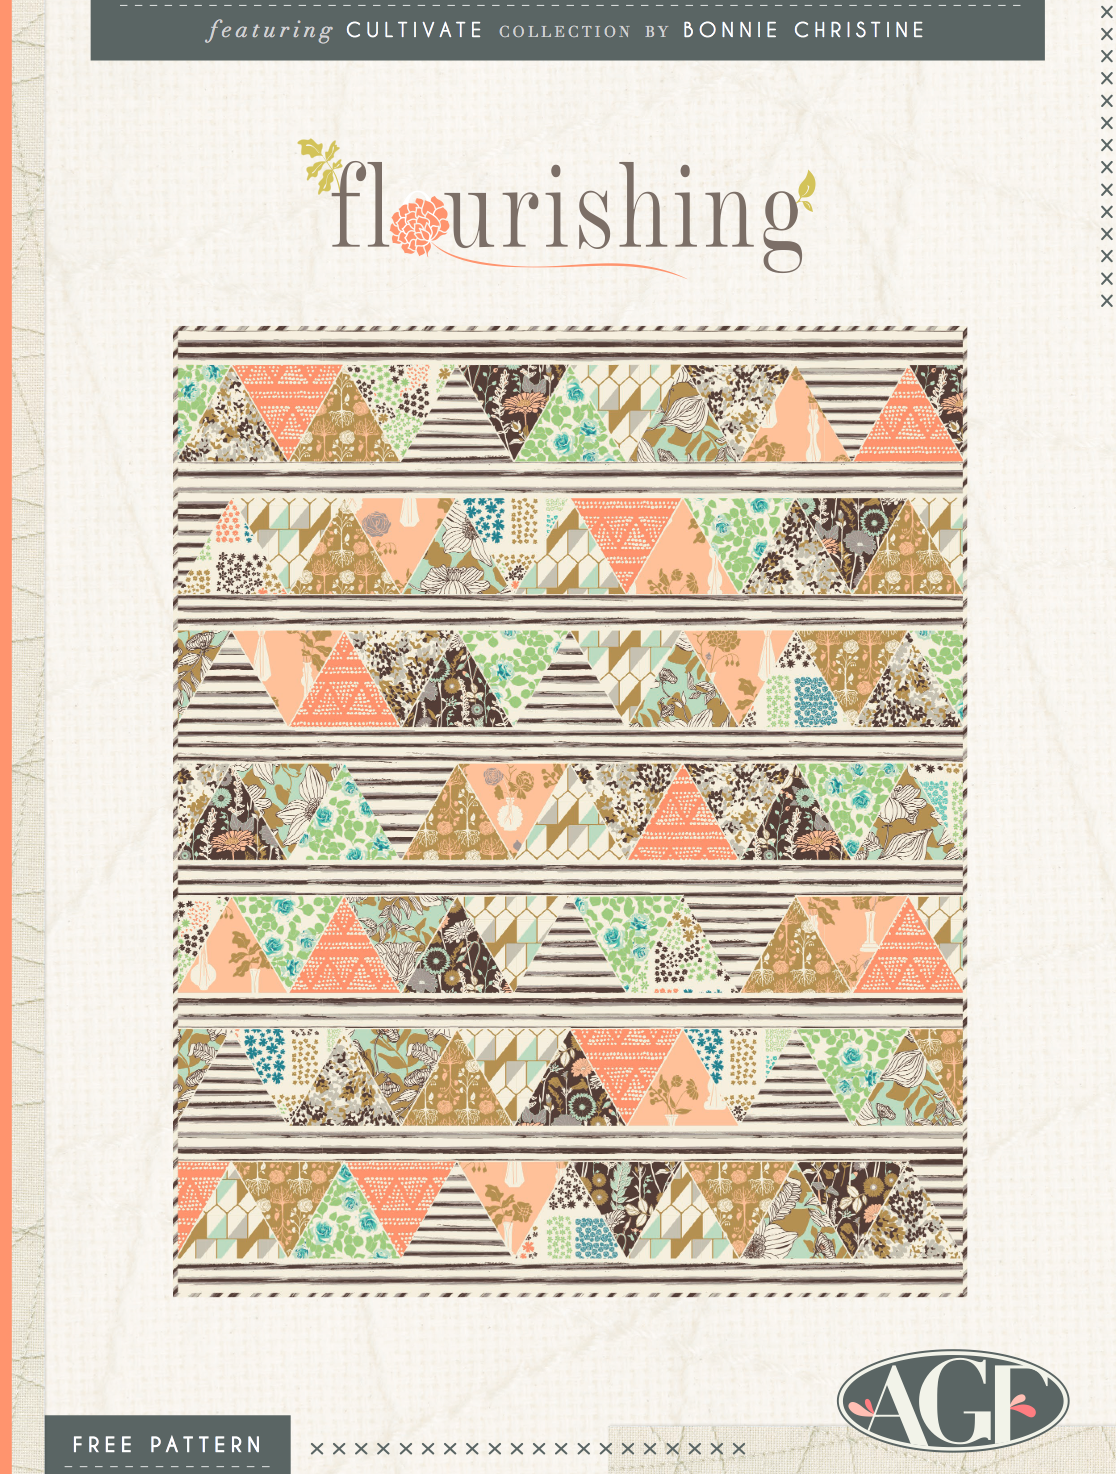
If you like the quilt pictured above, the pattern (designed by Bonnie and me) is offered as Art Gallery's free, downloadable pattern for Bonnie's fabric line, Cultivate! Click the image below and you'll be taken to the pattern on Art Gallery's website.

Sucullent plance for Bonnie Christine's Succulance Fabric line for Art Gallery Fabrics.

And here's a little hint of what you'll see in Bonnie's next line...which should arrive any day now!

Thanks for visiting! Happy Sewing and God bless! Maxie

Amp Up the Keds with Beautiful Fabric!

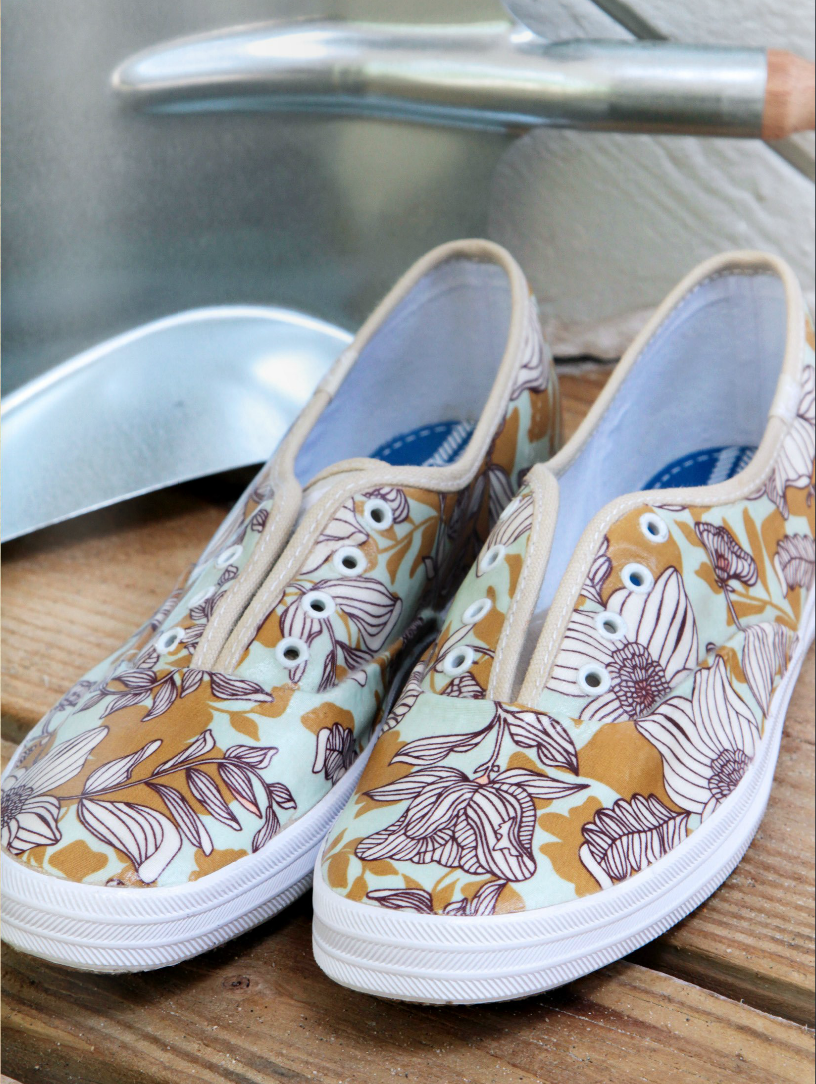
When Art Gallery Fabrics posted a picture of Keds that had been covered in Bonnie Christine's Cultivate fabrics, requests came in for a tutorial. The shoes in question were made as a display for Bonnie's booth at International Quilt Market, by yours truly! I'm happy to share the process with you today, and I think you'll find it surprisingly easy! Note: because Art Gallery fabrics are printed on fine pima cotton with a high thread count, they work great for this (every!) project.

Photo by Art Gallery Fabrics

Photo by Art Gallery Fabrics

Supplies:

  • Keds or similar canvas shoes
  • Beautiful fabric...I suggest any of Bonnie Christine's fabrics for Art Gallery!
  •  Mod Podge, available online or in craft stores. I used the regular matt formula.
  • Sponge brush
  • Exacto Knife
  • Sharp awl
  • Transparent paper for creating a pattern. I used pattern tracing paper, available at sewing stores.
  • Pencil & scissors

Visually divide the shoe into segments. Keds are easy to divide because the pieces that were sewn together to make the shoe overlap and are obvious. Using pattern tracing paper, or similar transparent paper (interfacing or stabilizer would work well, too), make a pattern piece for each segment by pressing the paper next to the segment you are working on and tracing around the edges. The style shoe I used required 3 pattern pieces: a left side, a right side, and a toe. The shoe's center seam in the back was sewn flat, so I let the pattern pieces overlap at that seam 1/8". Let your pencil trace just inside the raised edges and to the sole edges. Cut the shape out of the paper, just outside (about 1/8") of the drawn lines. You want this pattern to be over sized a bit so that you can trim the fabric to fit the shoe.

Use the pattern pieces to cut the shapes out of the fabric you've chosen to cover the shoe.
Beginning with the left or right side, use the sponge brush to put a coat of Mod Podge over the canvas area to be covered. Only cover the area you're working with, and go sparingly here, you want it to be very smooth.

Press the fabric over the shoe, smoothing it with your finger or a the back of a spoon. While the Mod Podge is still wet, fit the piece of fabric to the area by trimming exactly up to the raised seam, the binding trim around the top, and to the edge of the rubber sole. Remember to let the two side pieces overlap each other about 1/8" at the center back seam. To cover this overlap, I folded a 1" strip of fabric into thirds, hiding the raw edges, and glued it in place with Mod Podge. Carefully trim around the shoelace eyes with the exacto knife.

Photo by MaxieMakes

Photo by MaxieMakes

Cover the toe area last. Your piece should go up and over the raised seam and overlap the side piece just a little. Use the exacto knife to trim to the side fabric. The knife can push just the edge of the fabric underneath that raised seam and it will look very smooth. Don't worry if you see a raw edge because the Mod Podge will cover it and make it all smooth.

Photo by MaxieMakes

Photo by MaxieMakes

Let the shoe dry completely. Sand it with a fine grit sandpaper and coat the fabric pieces with another smooth layer of mod podge. Let dry and sand again. If desired, coat one more time.

                 Photo by Art Gallery Fabrics

                 Photo by Art Gallery Fabrics

Now, put on your shoes and go to town! Thanks for visiting! Happy sewing and God bless, Maxie.


Planning a Quilt Design

I had several sweet comments and email responses to  my earlier post this week, On Sharing our Work (Quilts)! Thank you for each one! I thought I'd address a couple of them today. Carole asked how I had planned the quilt design and would I mind sharing that on a future post.  I'm happy to share how I map out designs, and I bet all my readers would be interested in your approach as well, so please leave a comment and tell us how you work!

Planning a Quilting Design

The quilt, "Pinwheel Galaxy", pictured above and in the previous post, is actually my quilt shop's quilt for the 2015 Carolina Shop Hop, which begins July 17. There are 12 participating shops, and each shop designed a star block for the hop, as well as their unique quilt design that includes all 12 blocks.

Now to Carole's questions. "Is your background quilting done on a long arm or standard machine? Do you plan where to put feathers, stars, circles, in your background quilting, or do you start with one placement and let it run, and then see what will fit in the left over space?"  I work on a Handi Quilter long arm machine, freehand. I appreciate computerized quilting, but I just enjoy moving that machine myself! As for the planning of the quilting design, I prefer to have a basic idea of what I want to do before loading it on the long arm. I use EQ7 quilt design software to design most of my quilts, which allows me to print copies of the quilt. I print several, and then draw quilt designs over the image to see what might work. For this quilt, I enlisted the help of one of my employees, Sarah, by handing her an image and a pencil and said "go to work on this!". Sarah is so creative and having another set of eyes look at the quilt brought a different perspective to the table.

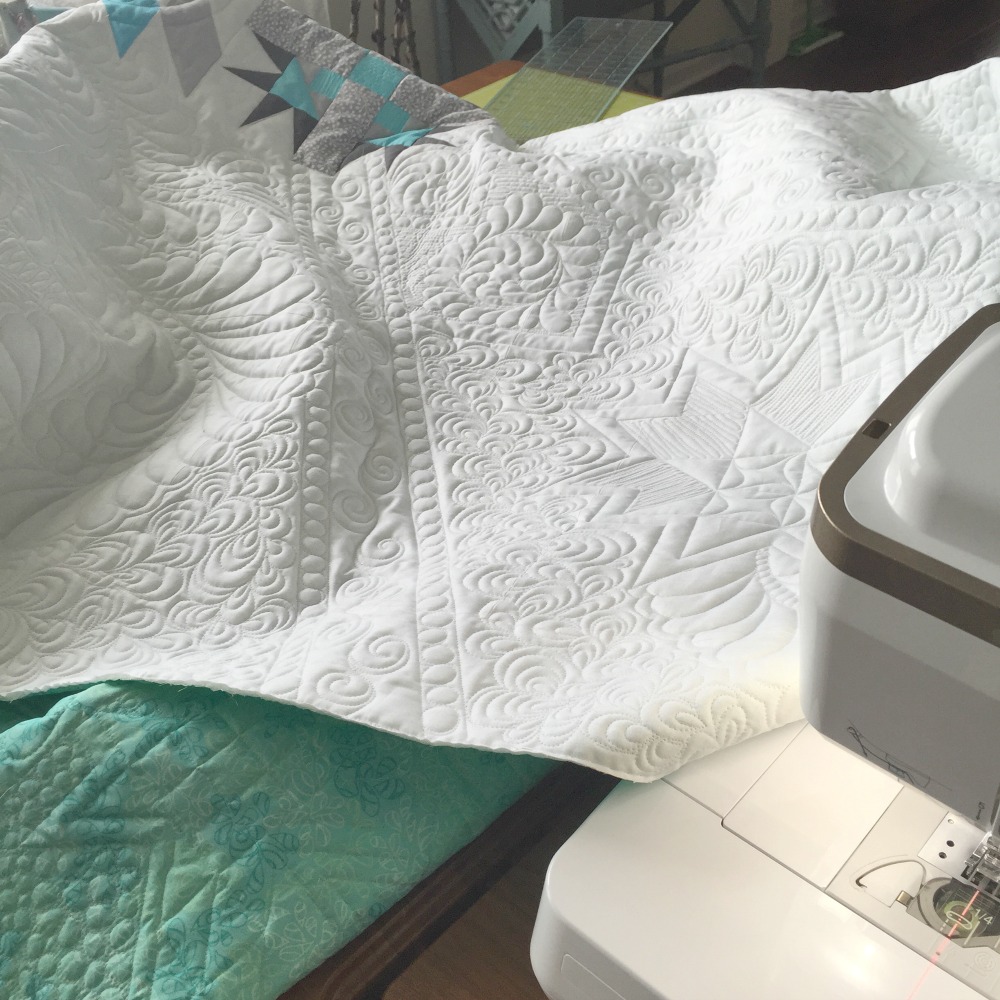
I knew that I wanted to repeat a few of the star shapes in the white negative space, so I made templates of three of them and drew them, randomly, on the white background fabric. I use an iron off marker for this, and I keep an iron at my long arm machine. As soon as I stitch over the line, I iron it away because it will distract me later if I leave it visible.  When you draw a line for quilting, remember that it's only a guide. I rarely stitch right on it! When I quilt a feather, I first draw the spine in the general direction I want the feather to flow, quilt on that guide line, iron it away, and then fill in the feathers. Oh, and my thread of choice is clear Monopoly by Superior Threads.

Free Motion Quilting

I tried to quilt each block in a way that might lead out onto the white fabric surrounding it, hoping that the quilting and feathers flowing from the stars would create movement. Smaller areas were outlined with double straight lines and filled in with various elements or background fillers. I use rulers for straight lines, circles and curves wherever I can. I always use a ruler for a circular feathered wreath spine because if the spine is perfect, the wreath will look good even though my freehand feathers are not perfect! (Remember - "Finished is better than perfect"!) I also tried to relate one area to the next in some places, like the circles above the wreath and next to the star block with concentric circles. I used pebbles as a constant theme throughout to help anchor it all together. For sure, some of the designs just had to happen as the space became available. In fact, when I unrolled the finished quilt, I discovered an unquilted area that I had skipped over earlier because I just couldn't decide what to put there! So, I mirrored what was in the opposite corner and it seemed to work.

PMM also had a sweet comment that I'd like to share, "I can't decide whether to contemplate the profound meaning- tightly boxed in at the bottom, stars break free and fly, sort of like you did with your sharing- or just to look in detail at every bit of quilting-piecing-design eye candy. I will enjoy it both ways, I am sure, as will your family. And thank you for your mother's quote- just what I needed...". It made me so happy that she saw those stars breaking loose!

I also have to say that I've learned a lot from some wonderful quilting teachers. You might like to check out the Craftsy Classes by Angela Walters, Christina Cameli, & Cindy Needham. And perhaps my favorite teacher of all is Kimmy Brunner. Remember, it's a process and we never stop learning!

So, how do you plan your quilting designs?

Thanks for visiting! Happy sewing and God bless! Maxie
On Sharing Our Work (Quilts)

Why can it be so difficult to share our work? I've been thinking about this today, particularly after I shared a picture of a quilt on Instagram that I'd been working on. I have to admit that I have intimidations when it comes to sharing something from my own creative thoughts. Questions swirl through my mind, like, "What if I'm the only one that thinks this is a good idea?" Or, what if they say, "What on earth was she thinking?" What if they see my mistakes? (Angela Walters says to never point those out!)

Our work is a process, right? Each project should be better than the last, if only in small measurements. I once heard someone say that if we aren't a little embarrassed by where we were a year ago, shame on us. I think that can be true for a lot of areas of our lives. Everything is a journey, and quilting is no exception. Enjoy the ride, as they say.

I also thought about how much I love seeing other quilter's work, whether I'm pouring over magazines or looking online, or walking through a quilt show. I bet you do, too. We celebrate each one, our particular style or not. The beauty is in the heart that made it. Gulp...so here's my quilt:

Pinwheel Galaxy Quilt

While working on this quilt gave me ample time to critique every stitch, I was also reminded of something my Mother used to say after working for so long on a project, "I do believe I've looked the pretty off it!"

So, whether you're a beginner or a seasoned quilter, go out there and share your work! Take it to 'Show and Tell' at your quilt guild, or take it to your local quilt/sewing shop, or share it with your sewing friends. Post it on my facebook page (I'll celebrate it with you!) Don't point out your mistakes. And remember, "Finished is better than perfect"!

Happy Sewing and God bless! Maxie