Prairie Points Revisited

Want an alternative to adding binding to your quilt? How about Prairie Points? Wait...don't touch that dial! They are really easy to do with a continuous method! I have a quick video tutorial, below, that will show you start to finish. And look how beautifully they finish your quilt:

Prairie Points on the edge of a quilt.
Prairie Points on a Quilt
Prairie Points finish the edge of a quilt.


I made this video about 3 years ago, so the quality is of my own doing! Having said that, it still gets the job done and will show you how to easily and quickly make continuous prairie points for a beautiful change from binding! There is a special (expensive) ruler out there for this technique, but if you follow my directions you won't need it! (Note: I no longer offer the kits mentioned in the video.) Enjoy!

Thanks for visiting! Happy sewing and God bless! Maxie

Pins 101

How the internet changes things. Even our vocabulary, right? Take the word pin. To a quilter, it's a very important sewing notion. To someone perusing the internet, it's an image uploaded to the photo sharing website, Pinterest. Users can upload, save, sort, and manage images—known as pins—and other media content (e.g., videos and images) through collections known as pinboards. I have pinboards on Pinterest, and I invite you to follow Maxie Makes there! (And, by all means, please feel free to pin images from my blog!) But for a moment, let's talk about a quilter's pin!

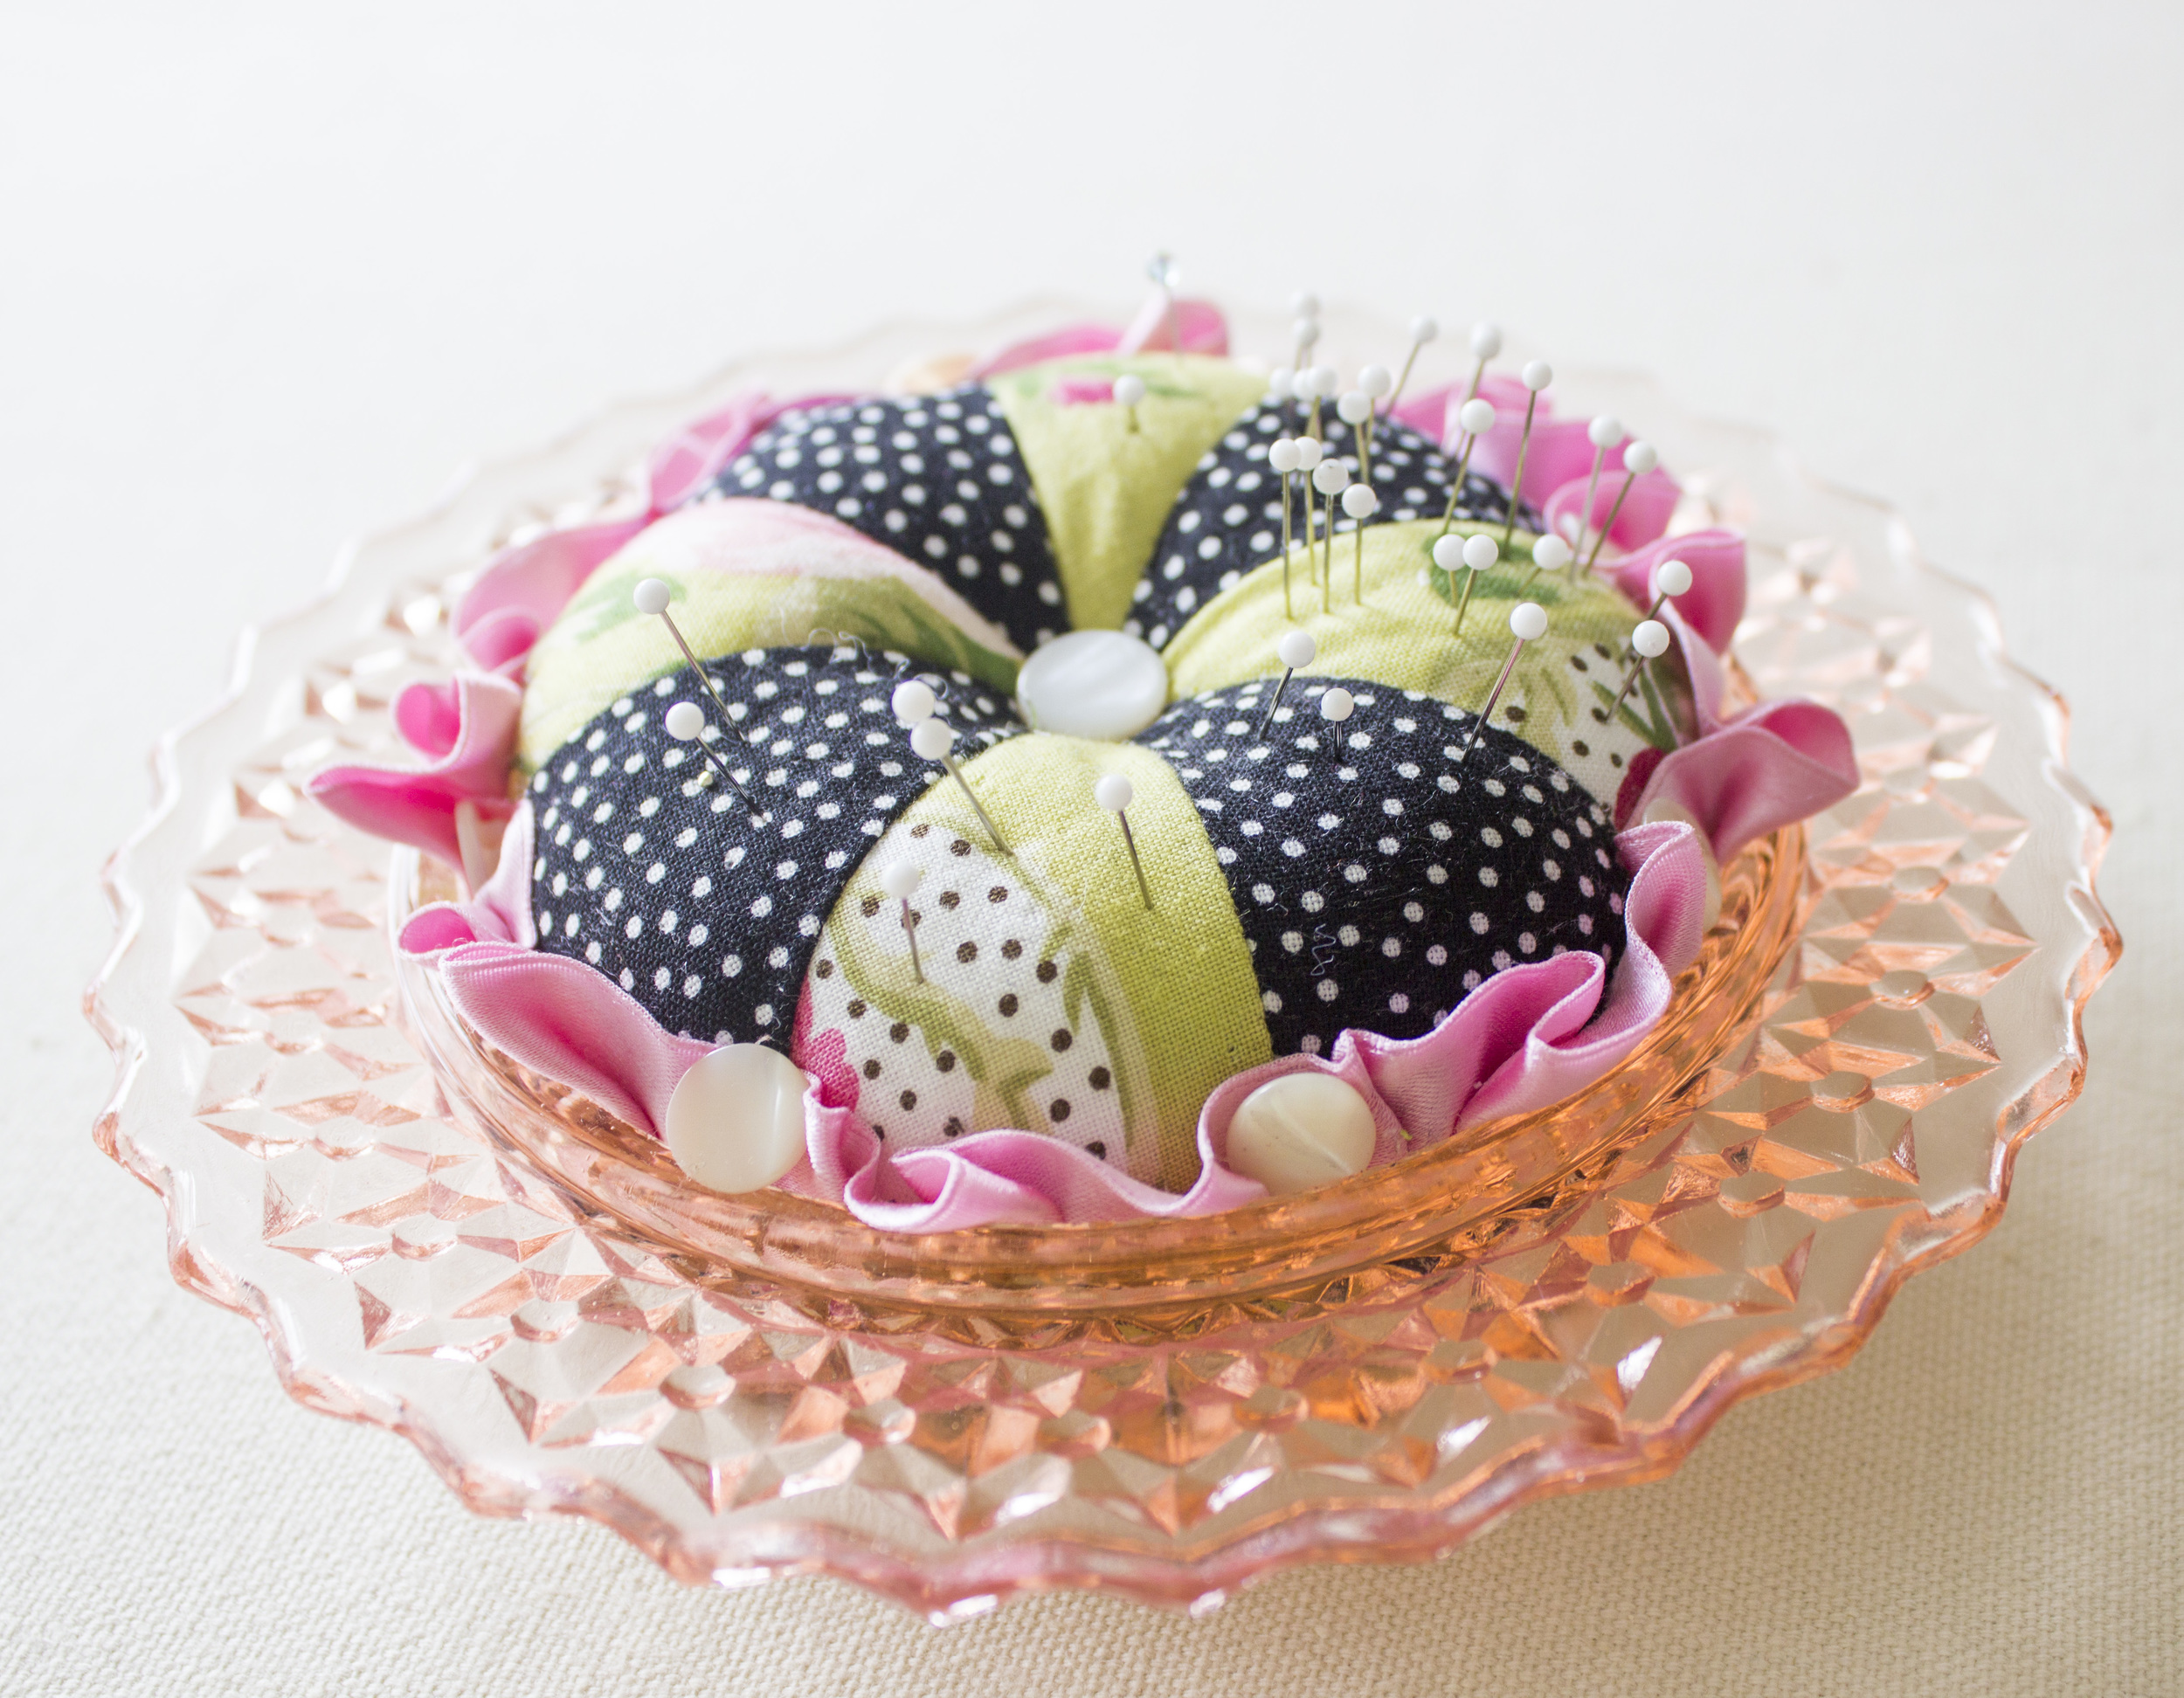
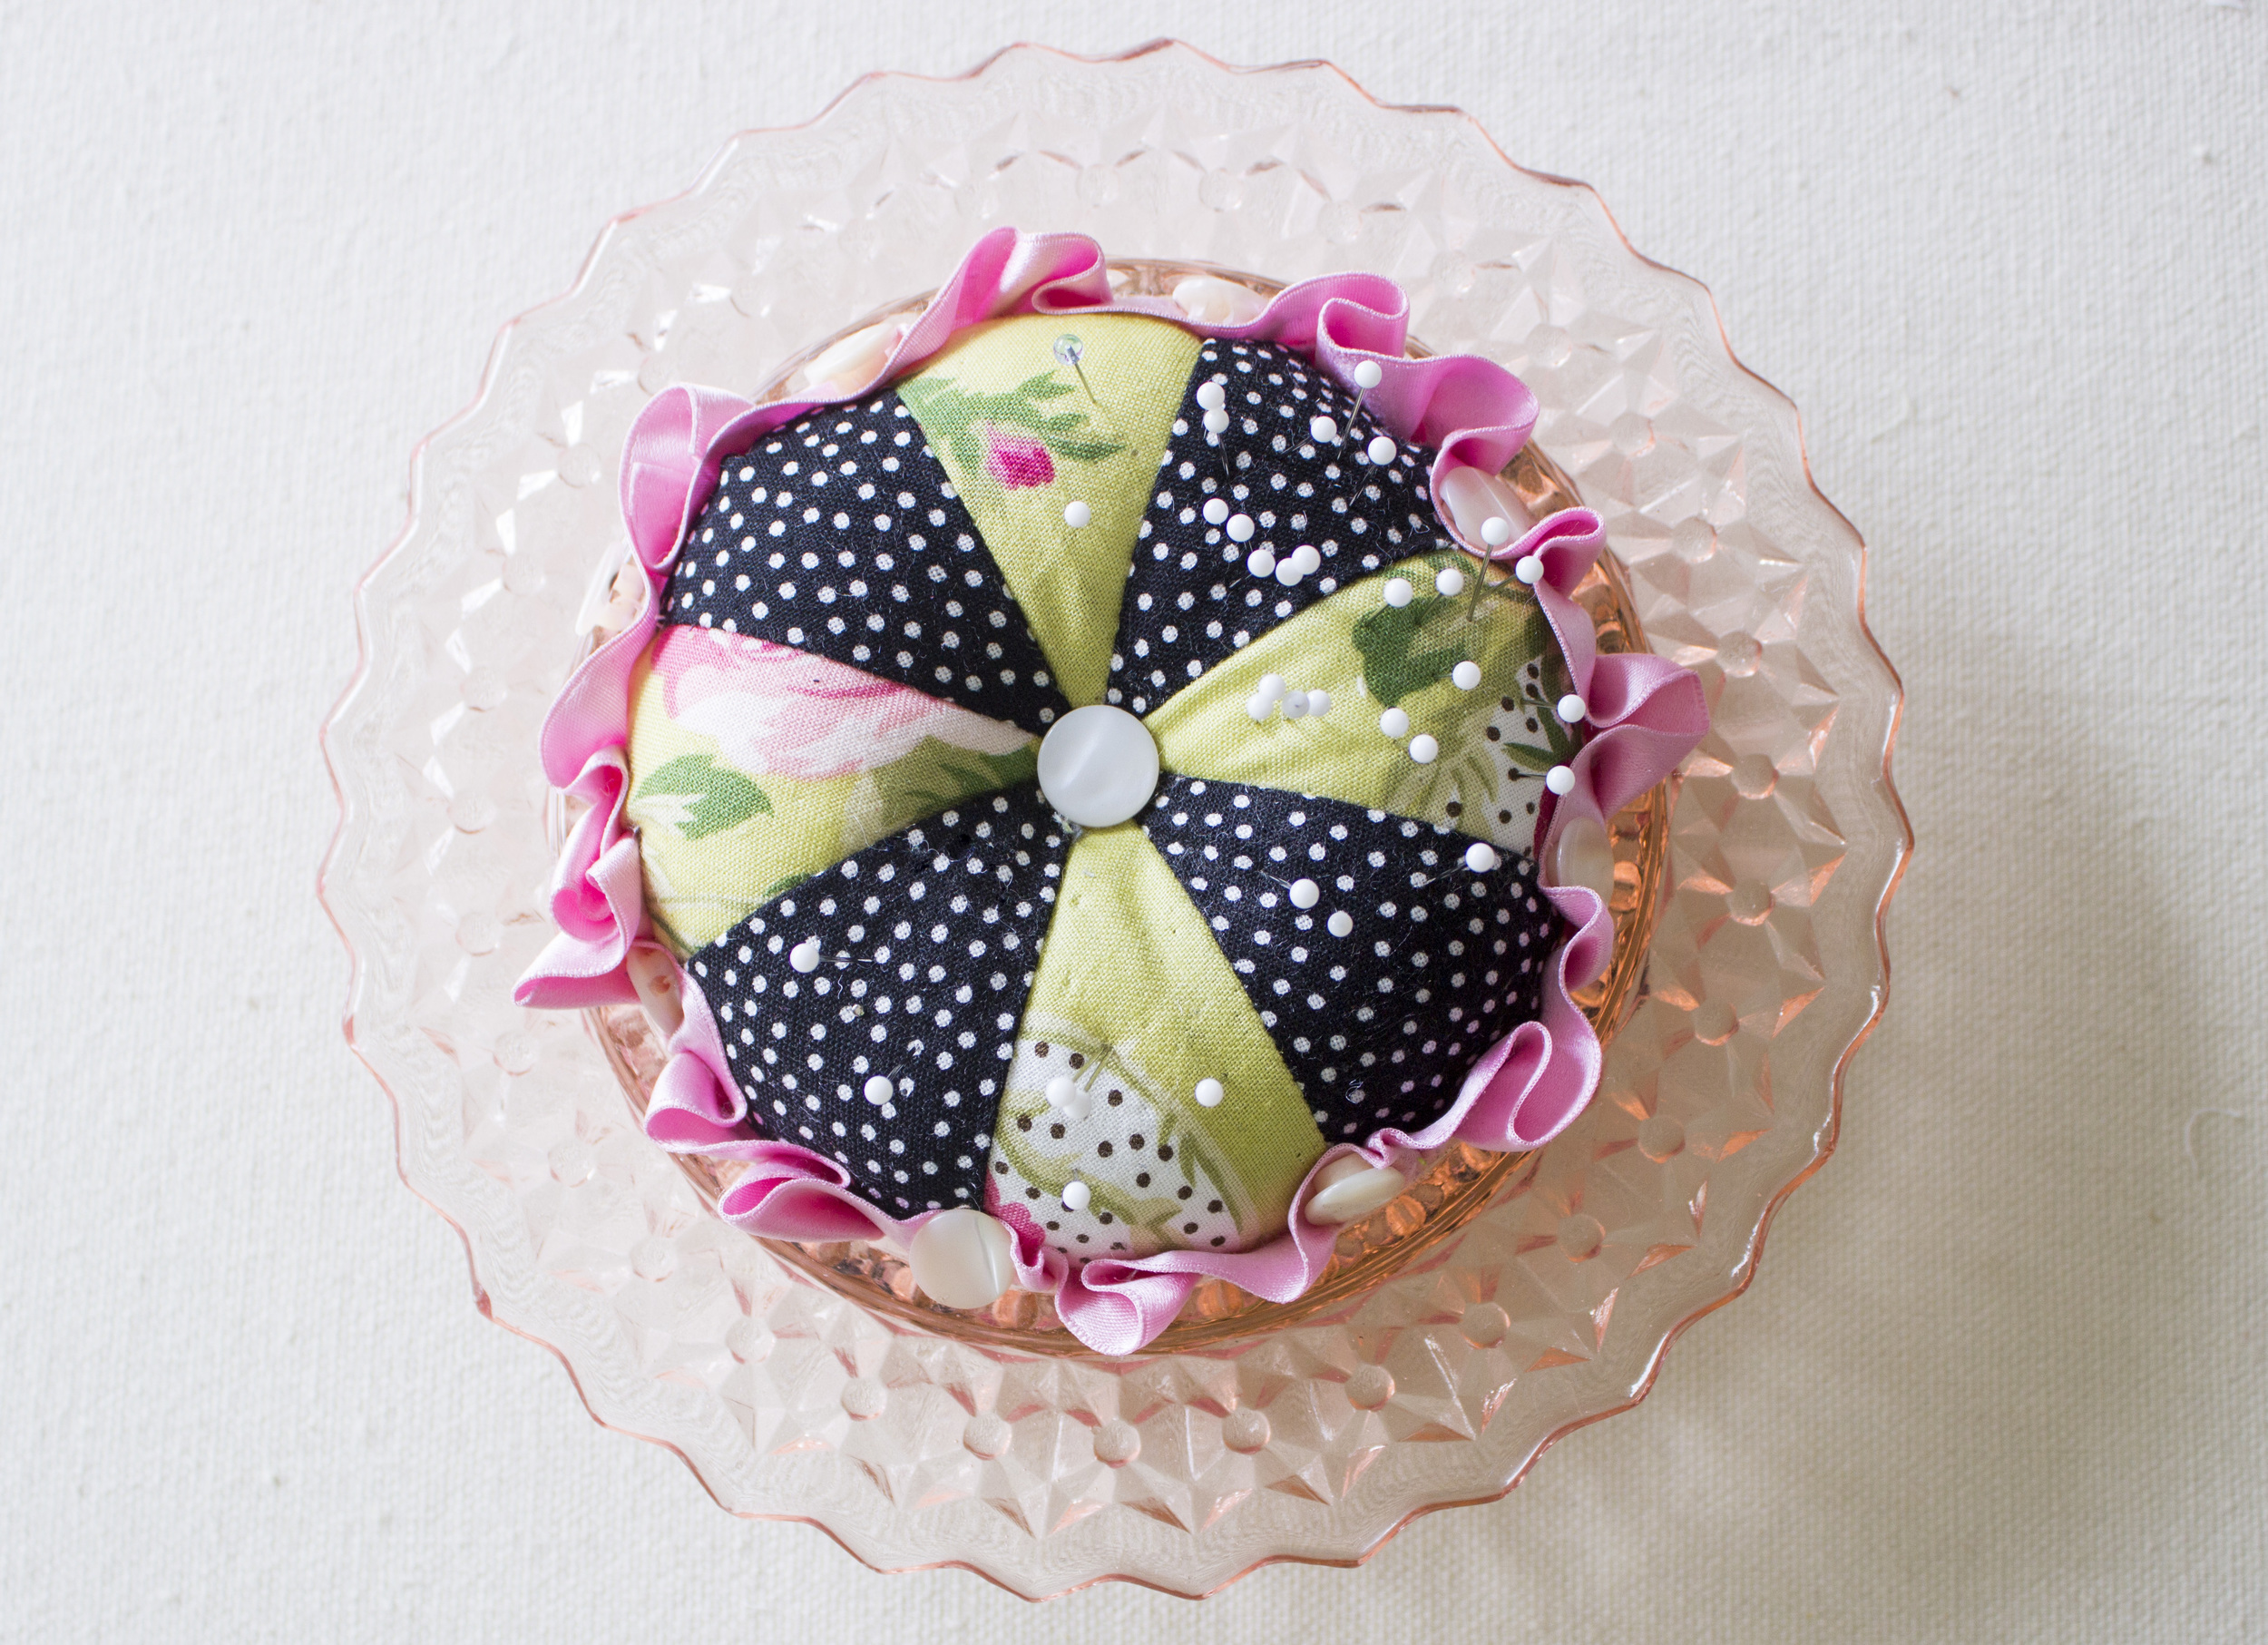
Hand Made Pincushion in Depression Glass Dish

This little pincushion is filled with my very favorite pin, made by Collins. (I'll tell you how to make the pincushion below!) They are very fine nickel plated, with glass heads. Did you know that some pins have plastic heads? This can be disastrous if you accidentally iron over one. I know. I tossed out my plastic pins long ago and began the search for the perfect glass head pin. After a lot of trials, I finally settled on this pin and it's been my favorite for years. It's very fine, yet strong enough to remain straight when I need to use it as a tool of sorts. They are 1 3/8" long, which seems perfect when pinning everything from quilt squares to clothing to home dec and tote bags. My favorite. But not Judy's.

Judy is a long time employee at my quilt shop, and a very excellent quilter and teacher. She does a lot of paper piecing, and when it comes to meticulous piecing, she's scrupulous. Her favorite pin is Clover's Fine Patchwork Pin because they are a little longer (1.41") and a wee bit thinner. She feels the size of the pin allows her to pin with greater accuracy. However, the wee bit thinner-ness causes it to bend more easily, and that's why I choose the Collins pin. Judy obviously doesn't use her pins as tools, as I do, so these just fit her criteria better.

pins.png

My pins are on the left, Judy's on the right.

So...you choose for yourself your favorite pin! How about making two of these beautiful pin cushions, one for each kind! I have both listed on my shopping page.

Hand Made Pin Cushion in a Depression Glass Dish


How to make the Pin Cushion:

This pin cushion was made in a depression glass dish. I do have the lid for it, but I usually don't cover my pins, so if you find a deal in an antique shop just because the lid is missing or broken...grab it! The fabric section is simply a pinwheel block, made from four half square triangles, and trimmed into a circle. I stitched very long stitches around the outside edge of the circle so that I could gather the edge, and I left the needle and thread attached. Add a handful of stuffing (I love to use left over wool batting scraps for this) and pull up the gathering threads a bit. Stitch across the circle to secure and tie off. Sew a button through the center to depress the center a bit. Next, I covered a cardboard circle with matching fabric and placed it in the bottom of the dish, with the pretty fabric facing down. (This is only necessary if your dish is transparent.) Then, after gluing pink gathered ribbon to the edge of the pinwheel pouf, I glued it into the dish with a glue gun. Have fun!

Thanks for visiting and happy sewing! God bless, Maxie

Sew Together Bag

I promised myself a long time ago that I'd make myself a Sew Together Bag. This was the most adorable and useful bag I'd seen in a while. Then I stumbled upon Sew Demented's booth at Quilt Market last fall and, once again, was faced with the fact that I hadn't yet kept my promise. So I ordered the patterns and resolved to make it when I returned home.

Patterns arrived, plans made, fabric cut, supplies collected. And finally...my bag became a reality!

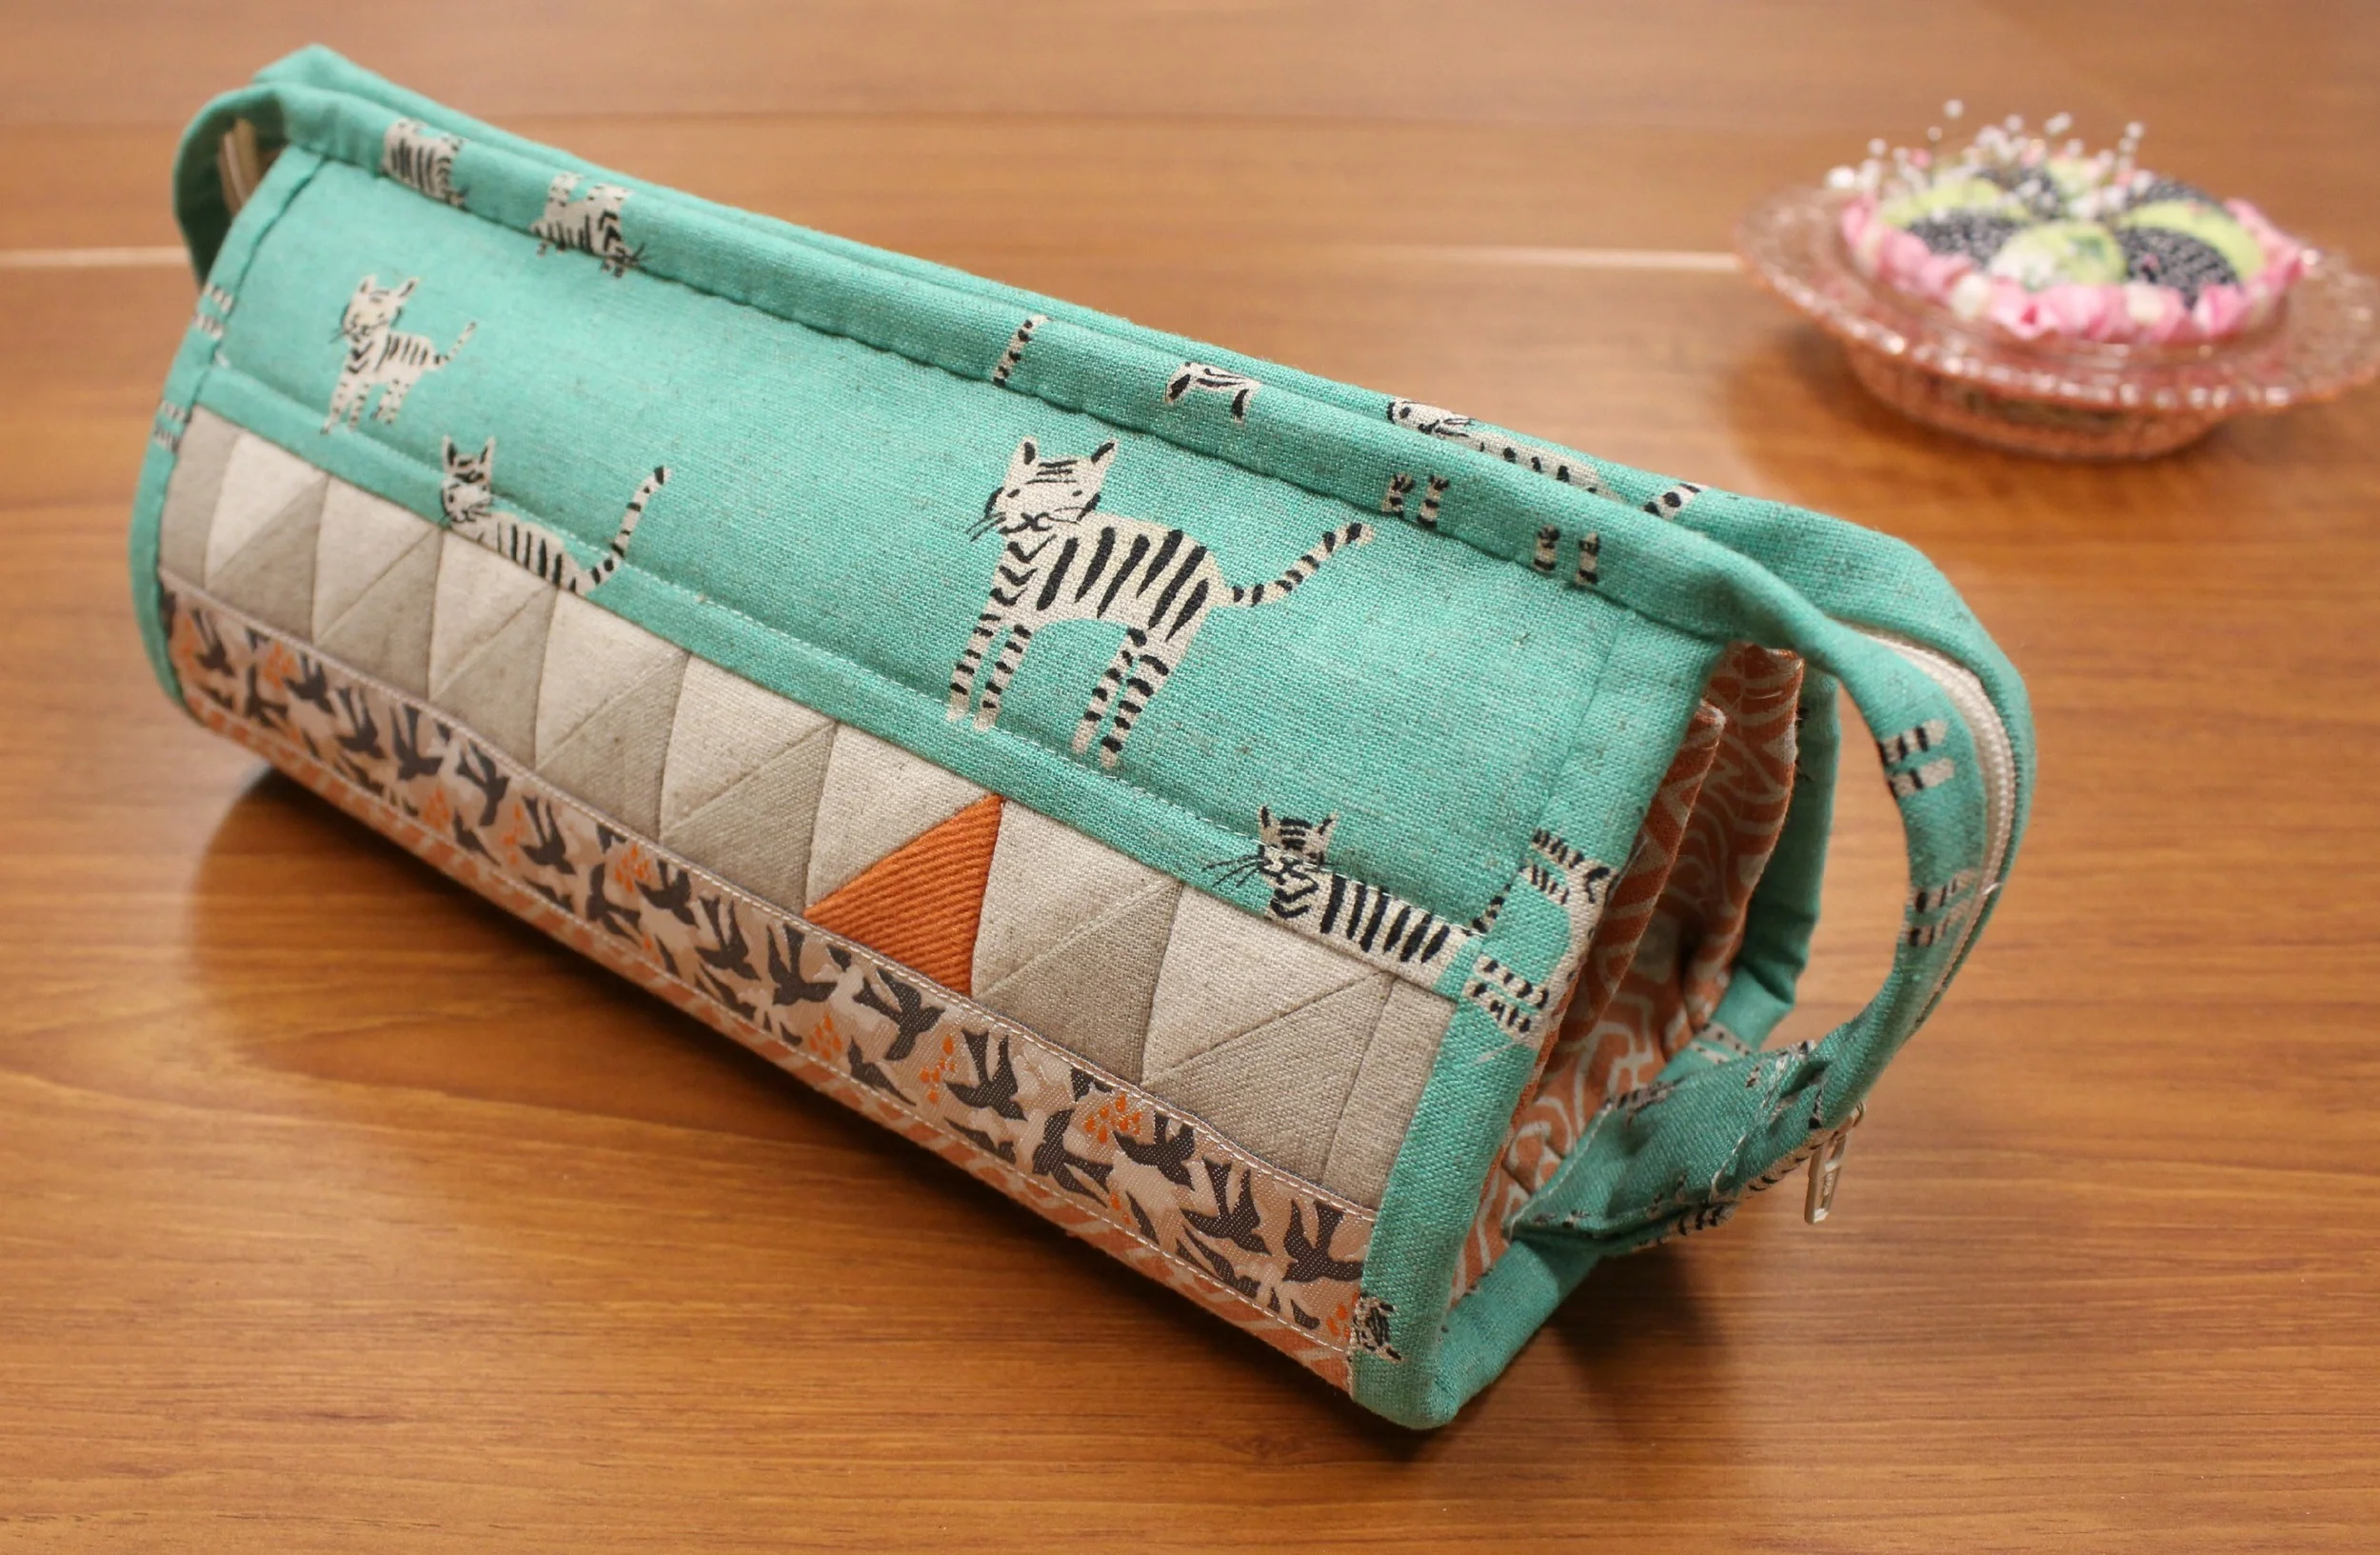
Sew Together Bag

Isn't it fun? The pattern allows total freedom to design the outside of your bag. (More about that below.) I chose to use several linen fabrics from Moda and one linen from Cotton and Steel (the kitty). I embellished it with Bonnie Christine's ribbon on both sides. And as great as the outside is, have a look inside!

Filled Sew Together Bag

Look how much can fit into this little lovely thing! I had to just stop looking for things to put inside for the picture; I couldn't fill it up! Notice the little pin cushion on one side and the needle keeper on the other. Seven pockets in all!

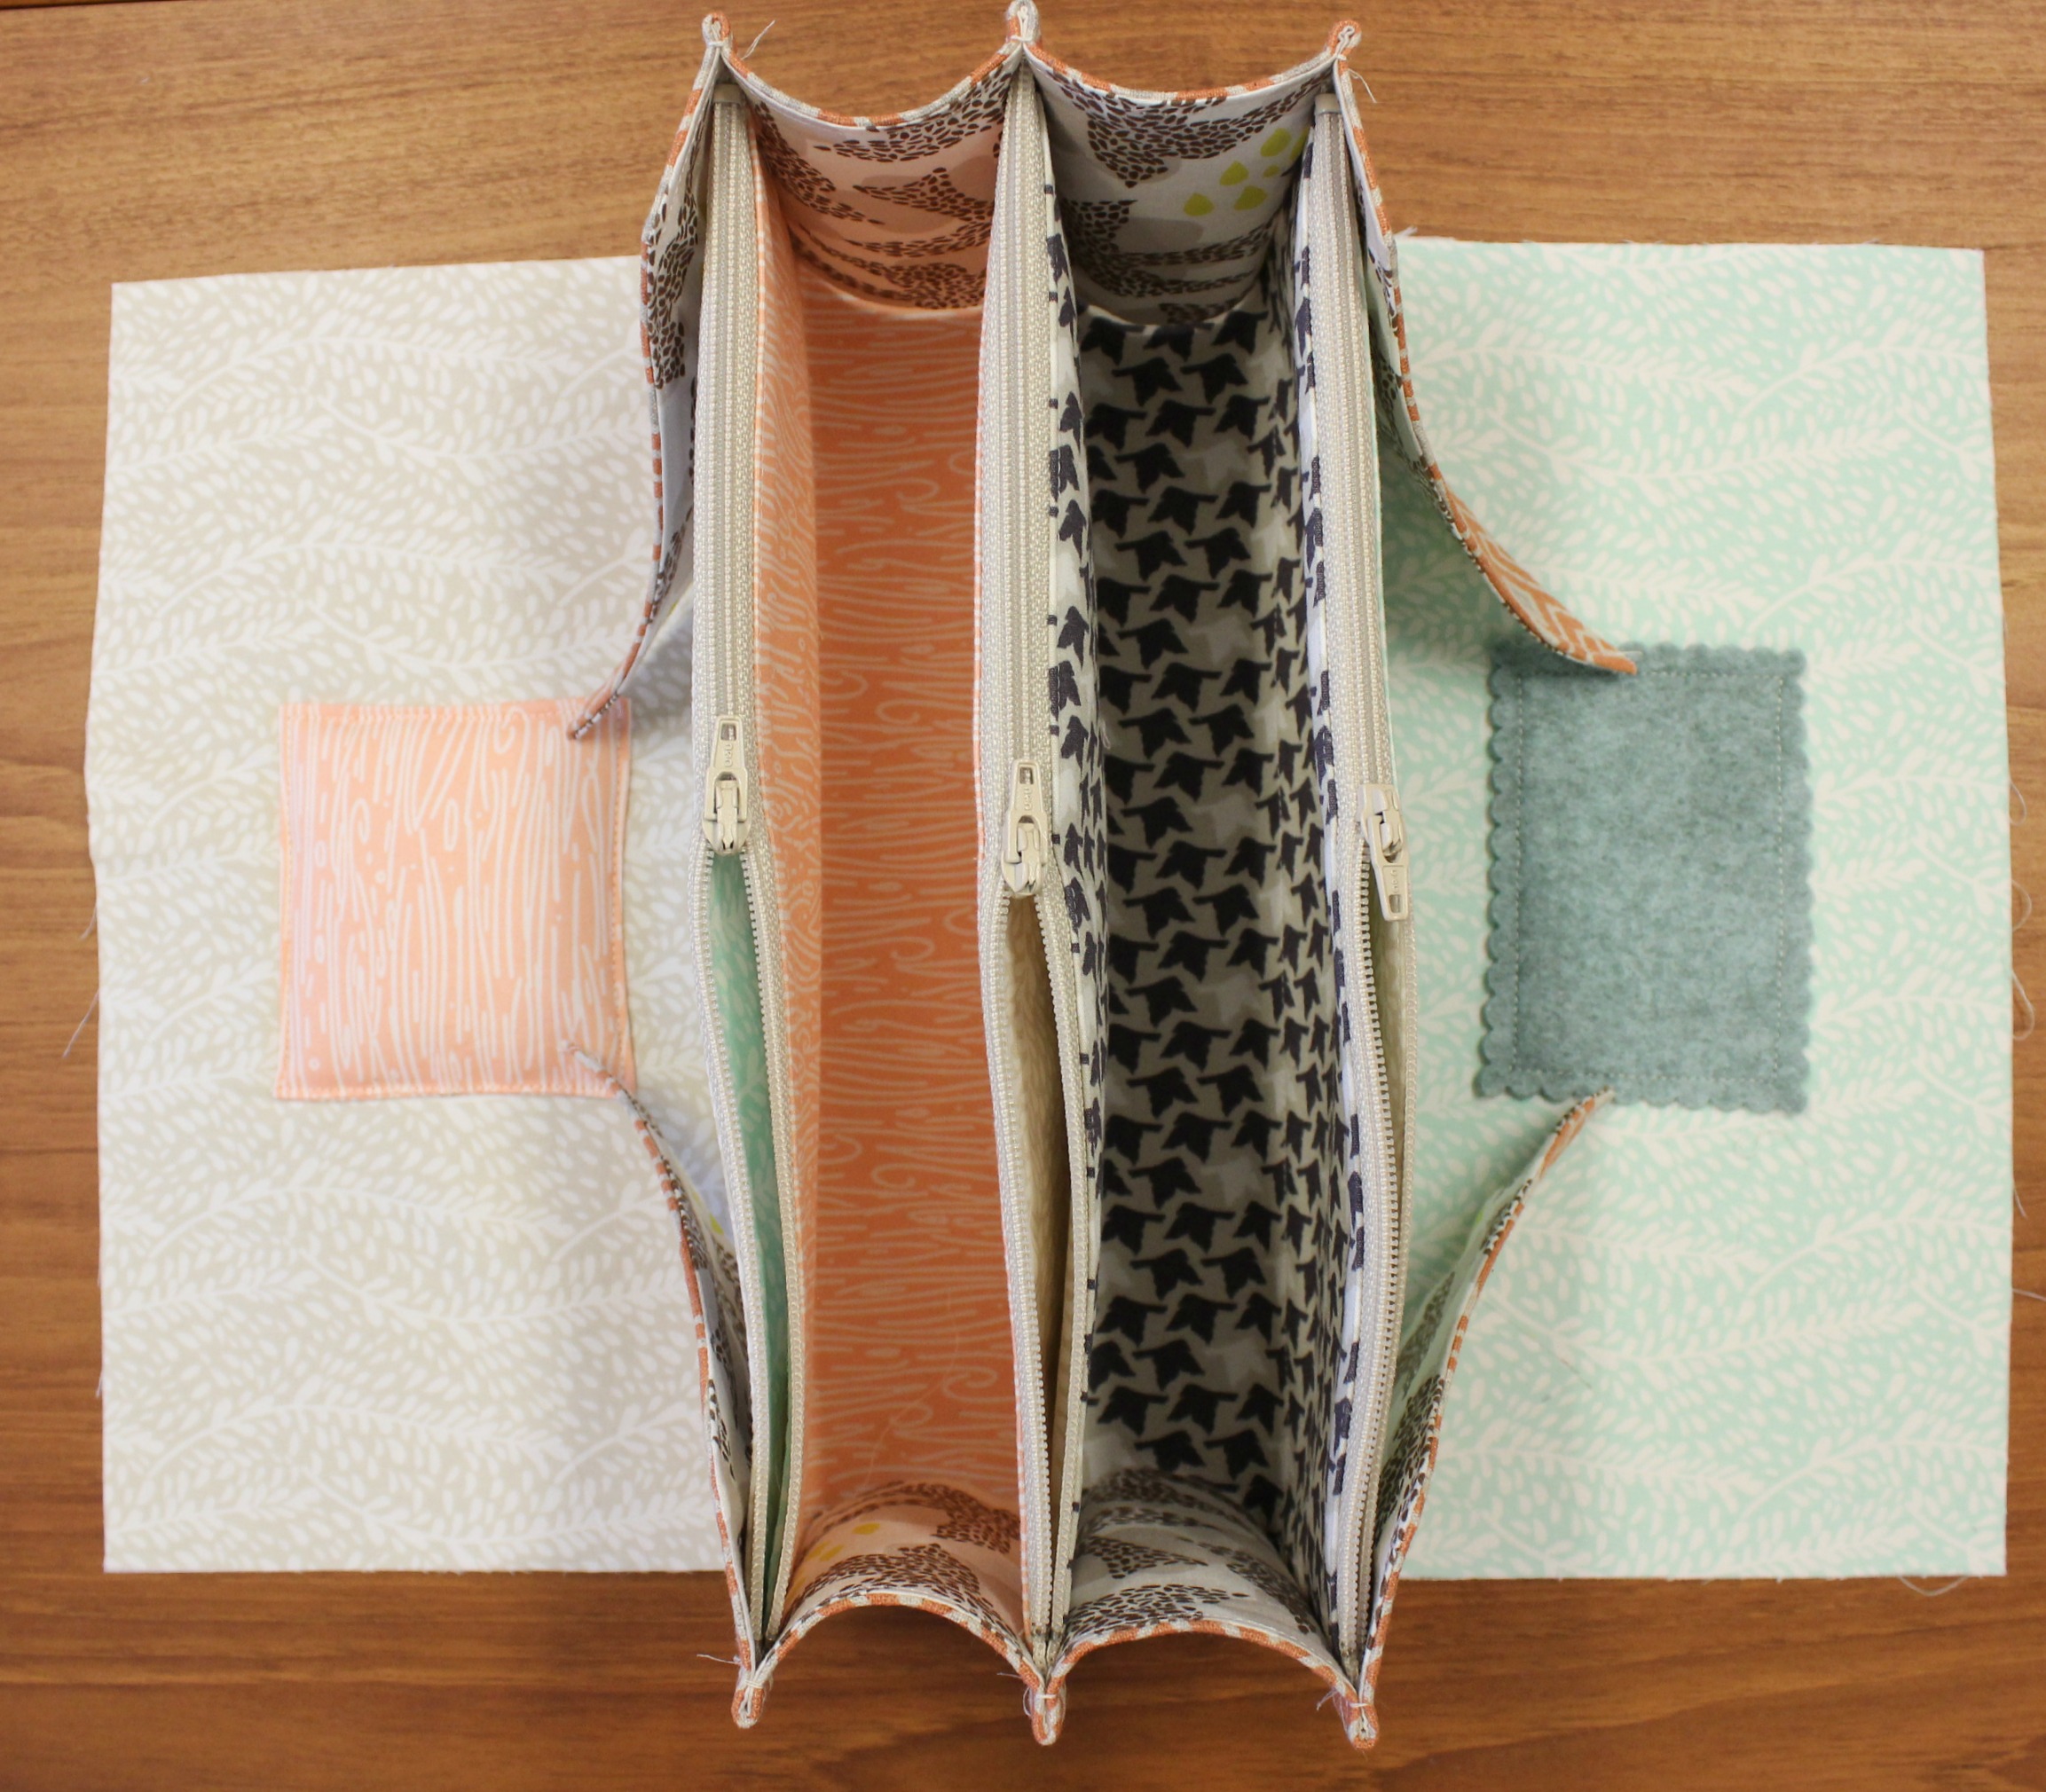
Empty Sew Together Bag

What would you put inside? Maybe you would leave the pin cushion and needle keeper off and use it for makeup. Here are a few pictures of the bag under construction.

Assembling the pockets for the Sew Together Bag

There are four pocket pieces with zippers sewn between them. Some scraps of Bonnie Christine's fabrics worked well! I don't know how it came together; I just followed the easy steps and suddenly pockets appeared. Smart pattern designer.

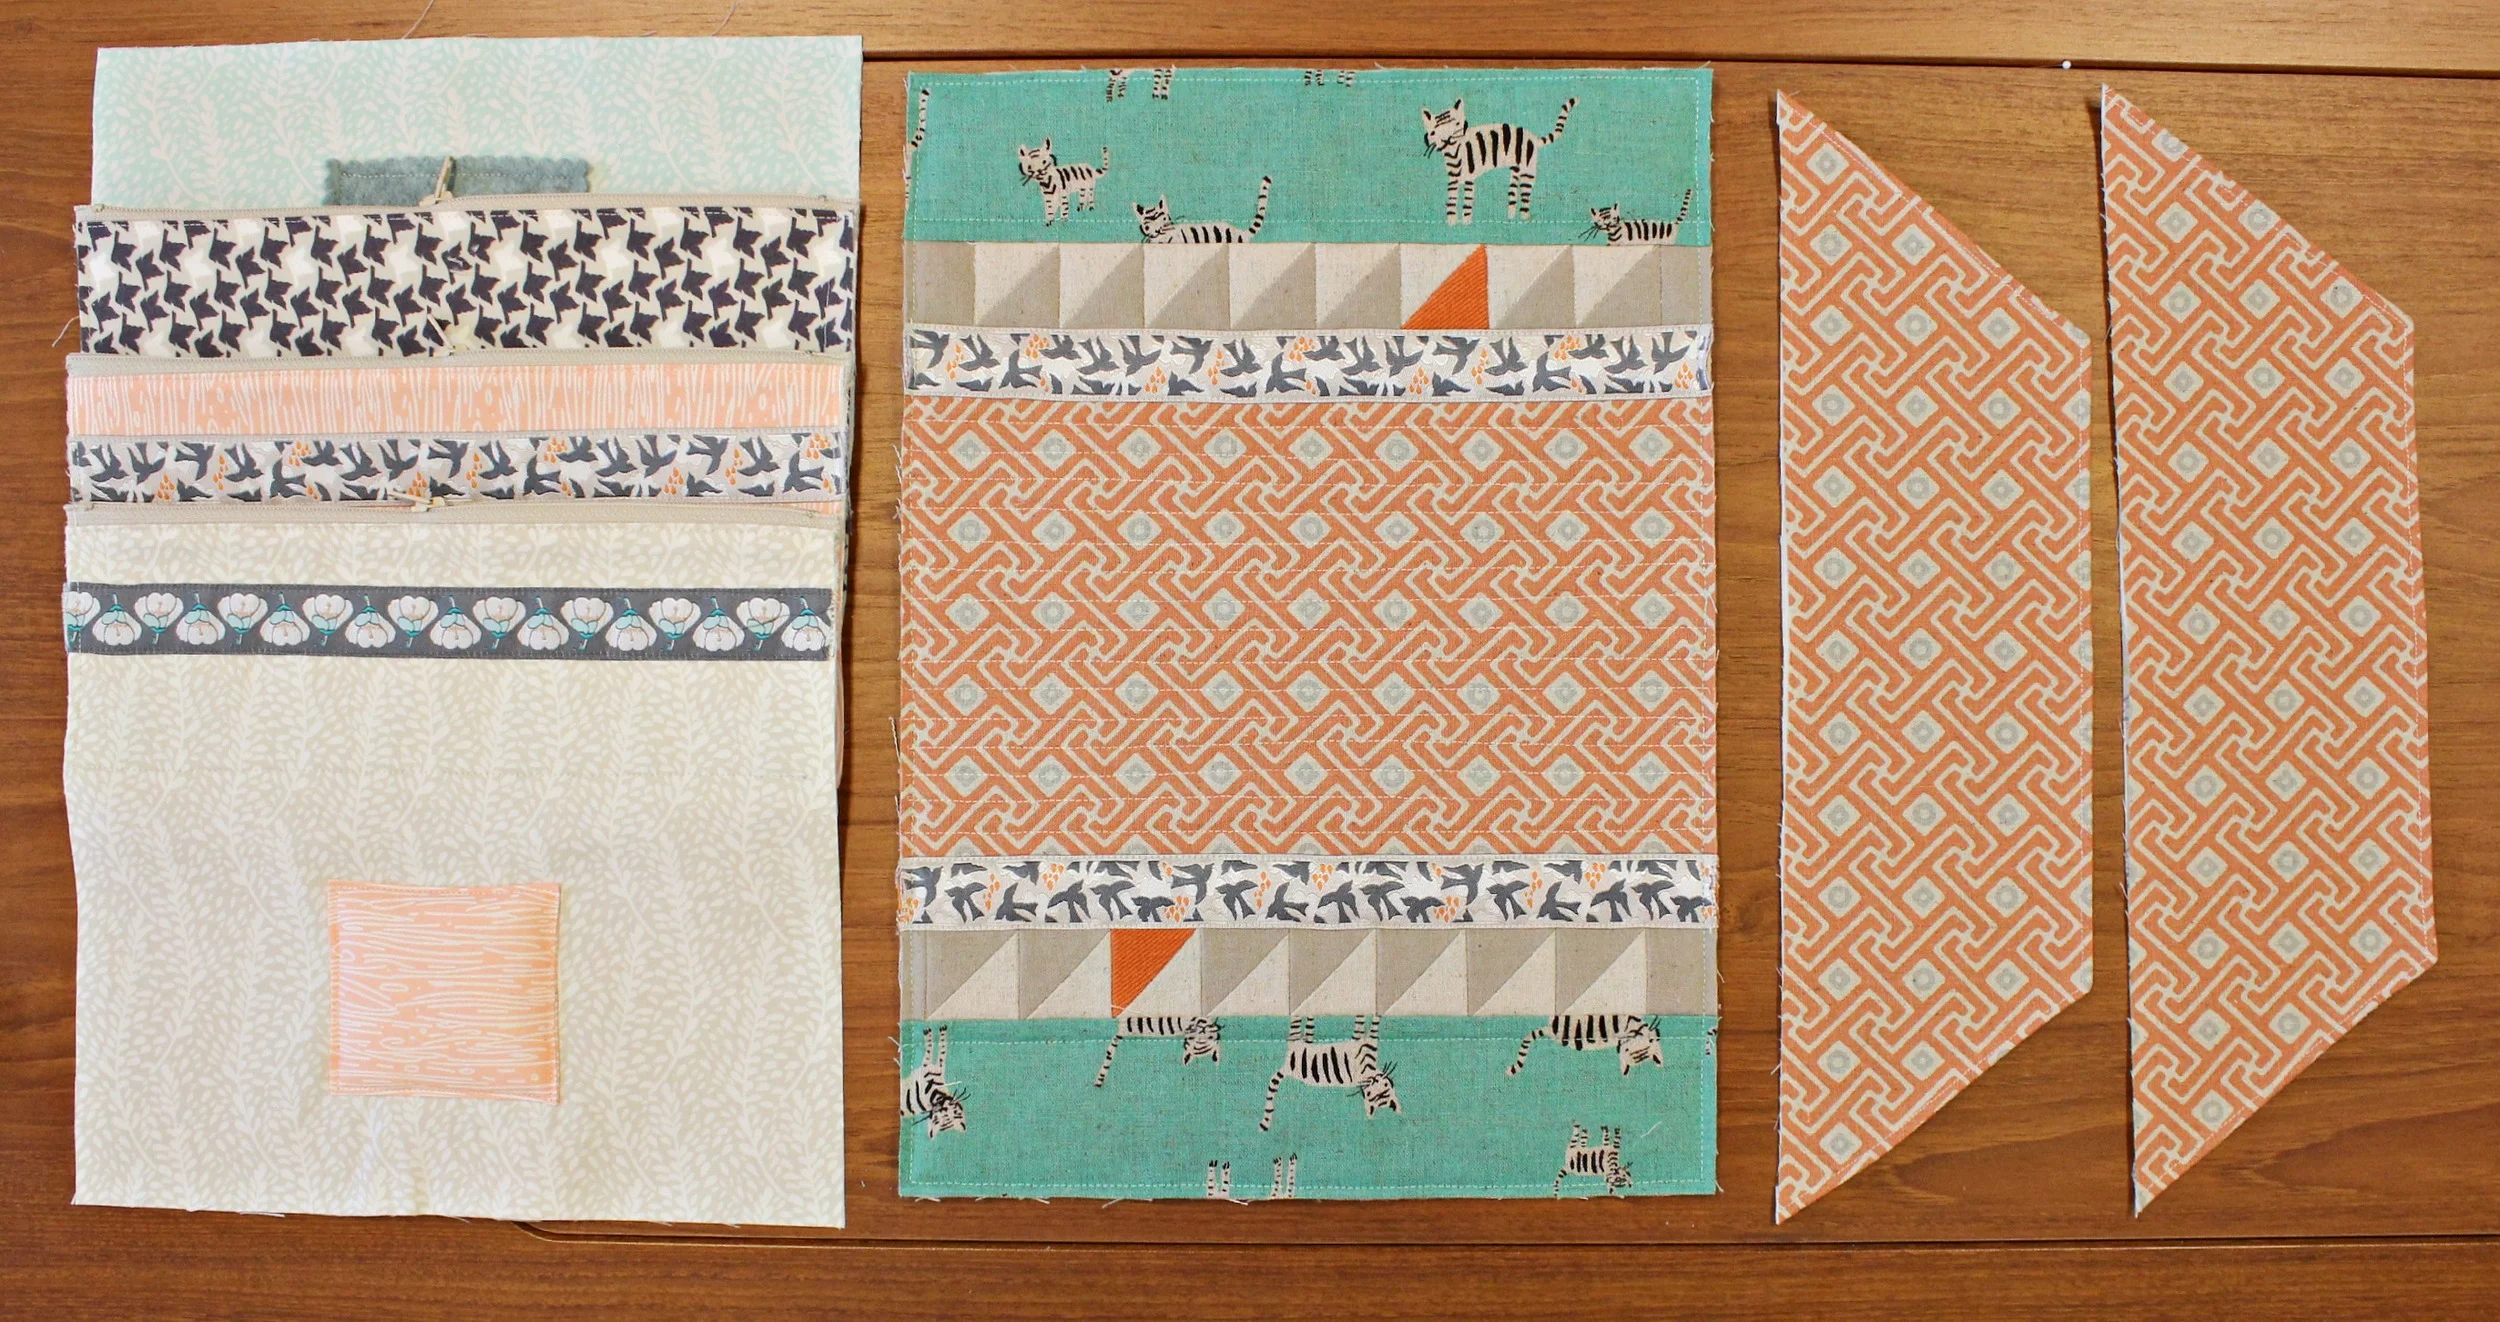
Sew Together Bag Components

Pictured above are the inside pocket assembly, the outer bag, and the end pocket sides.

Attaching the pockets in the Sew Together Bag

This is how the pocket assembly looks when ready to attach to the outer bag.

Pretty Sew Together Bag

I'm so glad I didn't break my promise to make this bag! Want to see other versions? Check out this google search of images for the Sew Together Bag! Make a promise to yourself today to make one for yourself! You'll find the pattern on my shopping page.

Thanks for visiting! Happy Sewing and God bless! Maxie
 

My Stop on the Ribbon Blog Tour with Bonnie Christine and Renaissanse Ribbons

Thank you to all that commented, liked our Facebook page, followed us on Instagram and posted on Pinterest! The winning number was chosen by a random number generator and our winner is Linda C! She will receive fabrics, ribbon and handles required to make our project, courtesy of Maxie and Bonnie Christine!

I’m so very excited to be participating in Bonnie Christine’s and Renaissance Ribbon’s Ribbon Blog Tour! Renaissance Ribbons have long been a favorite of mine, and when Bonnie joined their list of designers it was a match made in heaven! Bonnie’s ribbons were inspired by a love for nature and sunshine. They represent working in the garden, growing flowers and watching the bees, birds and butterflies take flight. Her goal has always been to create patterns that are organic and natural, joyful and lovely, and these are right in line! You can see all Bonnie’s ribbons at Renaissance Ribbons and at A Stitch in Time.

Bonnie Christine and Renaissance Ribbon Blog Tour

Bonnie and I are actually partnering for our tour days. She posted yesterday with a ribbon bestowed wallet, and together we are giving away the pattern, hardware, fabric and ribbon needed to make it! You still have time to enter that giveaway, so be sure to  visit her blog post for details. Today, I am sharing a pattern that Bonnie and I designed together, the Perfect Whatever Bag. We are again partnering for a giveaway for the ribbons and supplies to make this bag as shown!

The Perfect Whatever Bag
Bonnie Christine's RIbbons

This bag measures about 11” x 15” and 3” wide, hence the name of the pattern! The pattern is a free download that you’ll find here on Bonnie's blog. I won’t go into details covered in the pattern, but I do want to share some tips that will help you whip this bag up in an evening!

The Perfect Whatever Bag Pocket

I like to make the pocket first. The lining is longer than the pocket front, so when the pieces are stitched together the lining folds over to the front side to create sort of a trim effect. The bottom is left open for turning, and will be tucked underneath a row of ribbon, as shown below. My favorite point turner gives me crisp, sharp points every time! In the finished bag photo, you'll notice that I also added a piece of ribbon right at the seam line.

Attaching the ribbons to the Perfect Whatever Bag

The next thing to do is to cut the pieces for the front and back of the bag and attach the ribbons. Using clear Monopoly thread to do so makes the finished product look beautiful. Begin stitching the bottom row of ribbon on, 2” from the lower edge.

Pocket Placement on The Perfect Whatever Bag

Stitch all four ribbons in place, but don’t stitch the very top edge in place yet. Place the pocket on the front of the bag, centered (notice the creases that mark my centers?), and tuck the raw edge of the pocket behind that top ribbon.  Stitch the pocket sides in place and then stitch the ribbon edge in place to catch the bottom of the pocket.

Soft and Stable Batting

Soft and Stable Batting is my preferred batting for this bag because it does not need to be quilted, and the bag stands on its own! I simply baste around all four outer edges to hold it in place, and stitch around the pocket and along the lower edge of the bottom ribbon (this will help the bottom of the bag to fold and sit flat). A walking foot is very helpful when sewing layers together, and my Baby Lock Destiny's is the most accurate one I've ever used because it is actually belt driven! Booyah! (definition: Used in order to abruptly express great joy, usually brought on by victory or some other sort of accomplishment. ) May I just take a minute to show you another wondrous feature of this machine? I can't help myself...

Look closely in these three photos. Can you see the red guide beam projected forward, in front of the presser foot? This guide beam is adjustable and can be moved with the touch of a button to help you align your stitches! Photo 1: Straight ahead, in front of the needle. Photo 2: Moved 1/2" from the right of the needle to mark the seam allowance. Photo 3: Placed on the drawn line for boxing the corners. Click on the picture to enlarge it! Double Booyah!

How to box the corners of a bag

Next, sew the lining pieces together and box the bottom corners. The pattern gives instructions, but this picture shows exactly how to line up the ruler to mark the stitching line. Study closely and you’ll see that the 45º line is on one edge, and the depth of the stitching line is 1 1/2” from the point. Mark a line and stitch on the line. Trim away the outer corners. The bag body is boxed in the same manner.

Top edge of The Perfect Whatever Bag

Drop the lining side the bag, right sides together, and stitch around the entire top. Follow directions in the pattern for turning. The top of the outside bag will fold to the inside about 1 3/4” or so. This measurement isn’t crucial, as long as you have it even all the way around. Measure to make sure of that, pin in place and stitch with a walking foot in the ditch of the seam. You're almost done!

Speedy Stitcher Awl

Now to my favorite new tool! I recently discovered the Speedy Stitcher Sewing Awl, which is a hand tool for sewing through leather and other heavy materials. It made attaching the handles a breeze, and I love the way they look! I was able to find a video on youtube showing how to use the Speedy Stitcher, and I ordered mine from Amazon. It’s staying!

Handles sewn onto The Perfect Whatever Bag

Wouldn’t you love to win all the supplies to make this bag? Here are the details to win:


Deadline: Giveaway will end Monday, April 6th at 12am, EST. The winner will be drawn using a random number generator and announced on this post shortly after.

To enter: comment here sharing with us who you’d make this bag for (Yourself? A friend?).

Additional ways to enter:

be sure to leave a new comment on this blog post for each additional entry so it counts (limit of 4 comments per person)!

Visit Bonnie’s blog post from yesterday, and Jayme Christensen of Finding Sweetland  tomorrow! Follow with the blog tour here.

Thanks for visiting! Happy Sewing and God bless! Maxie


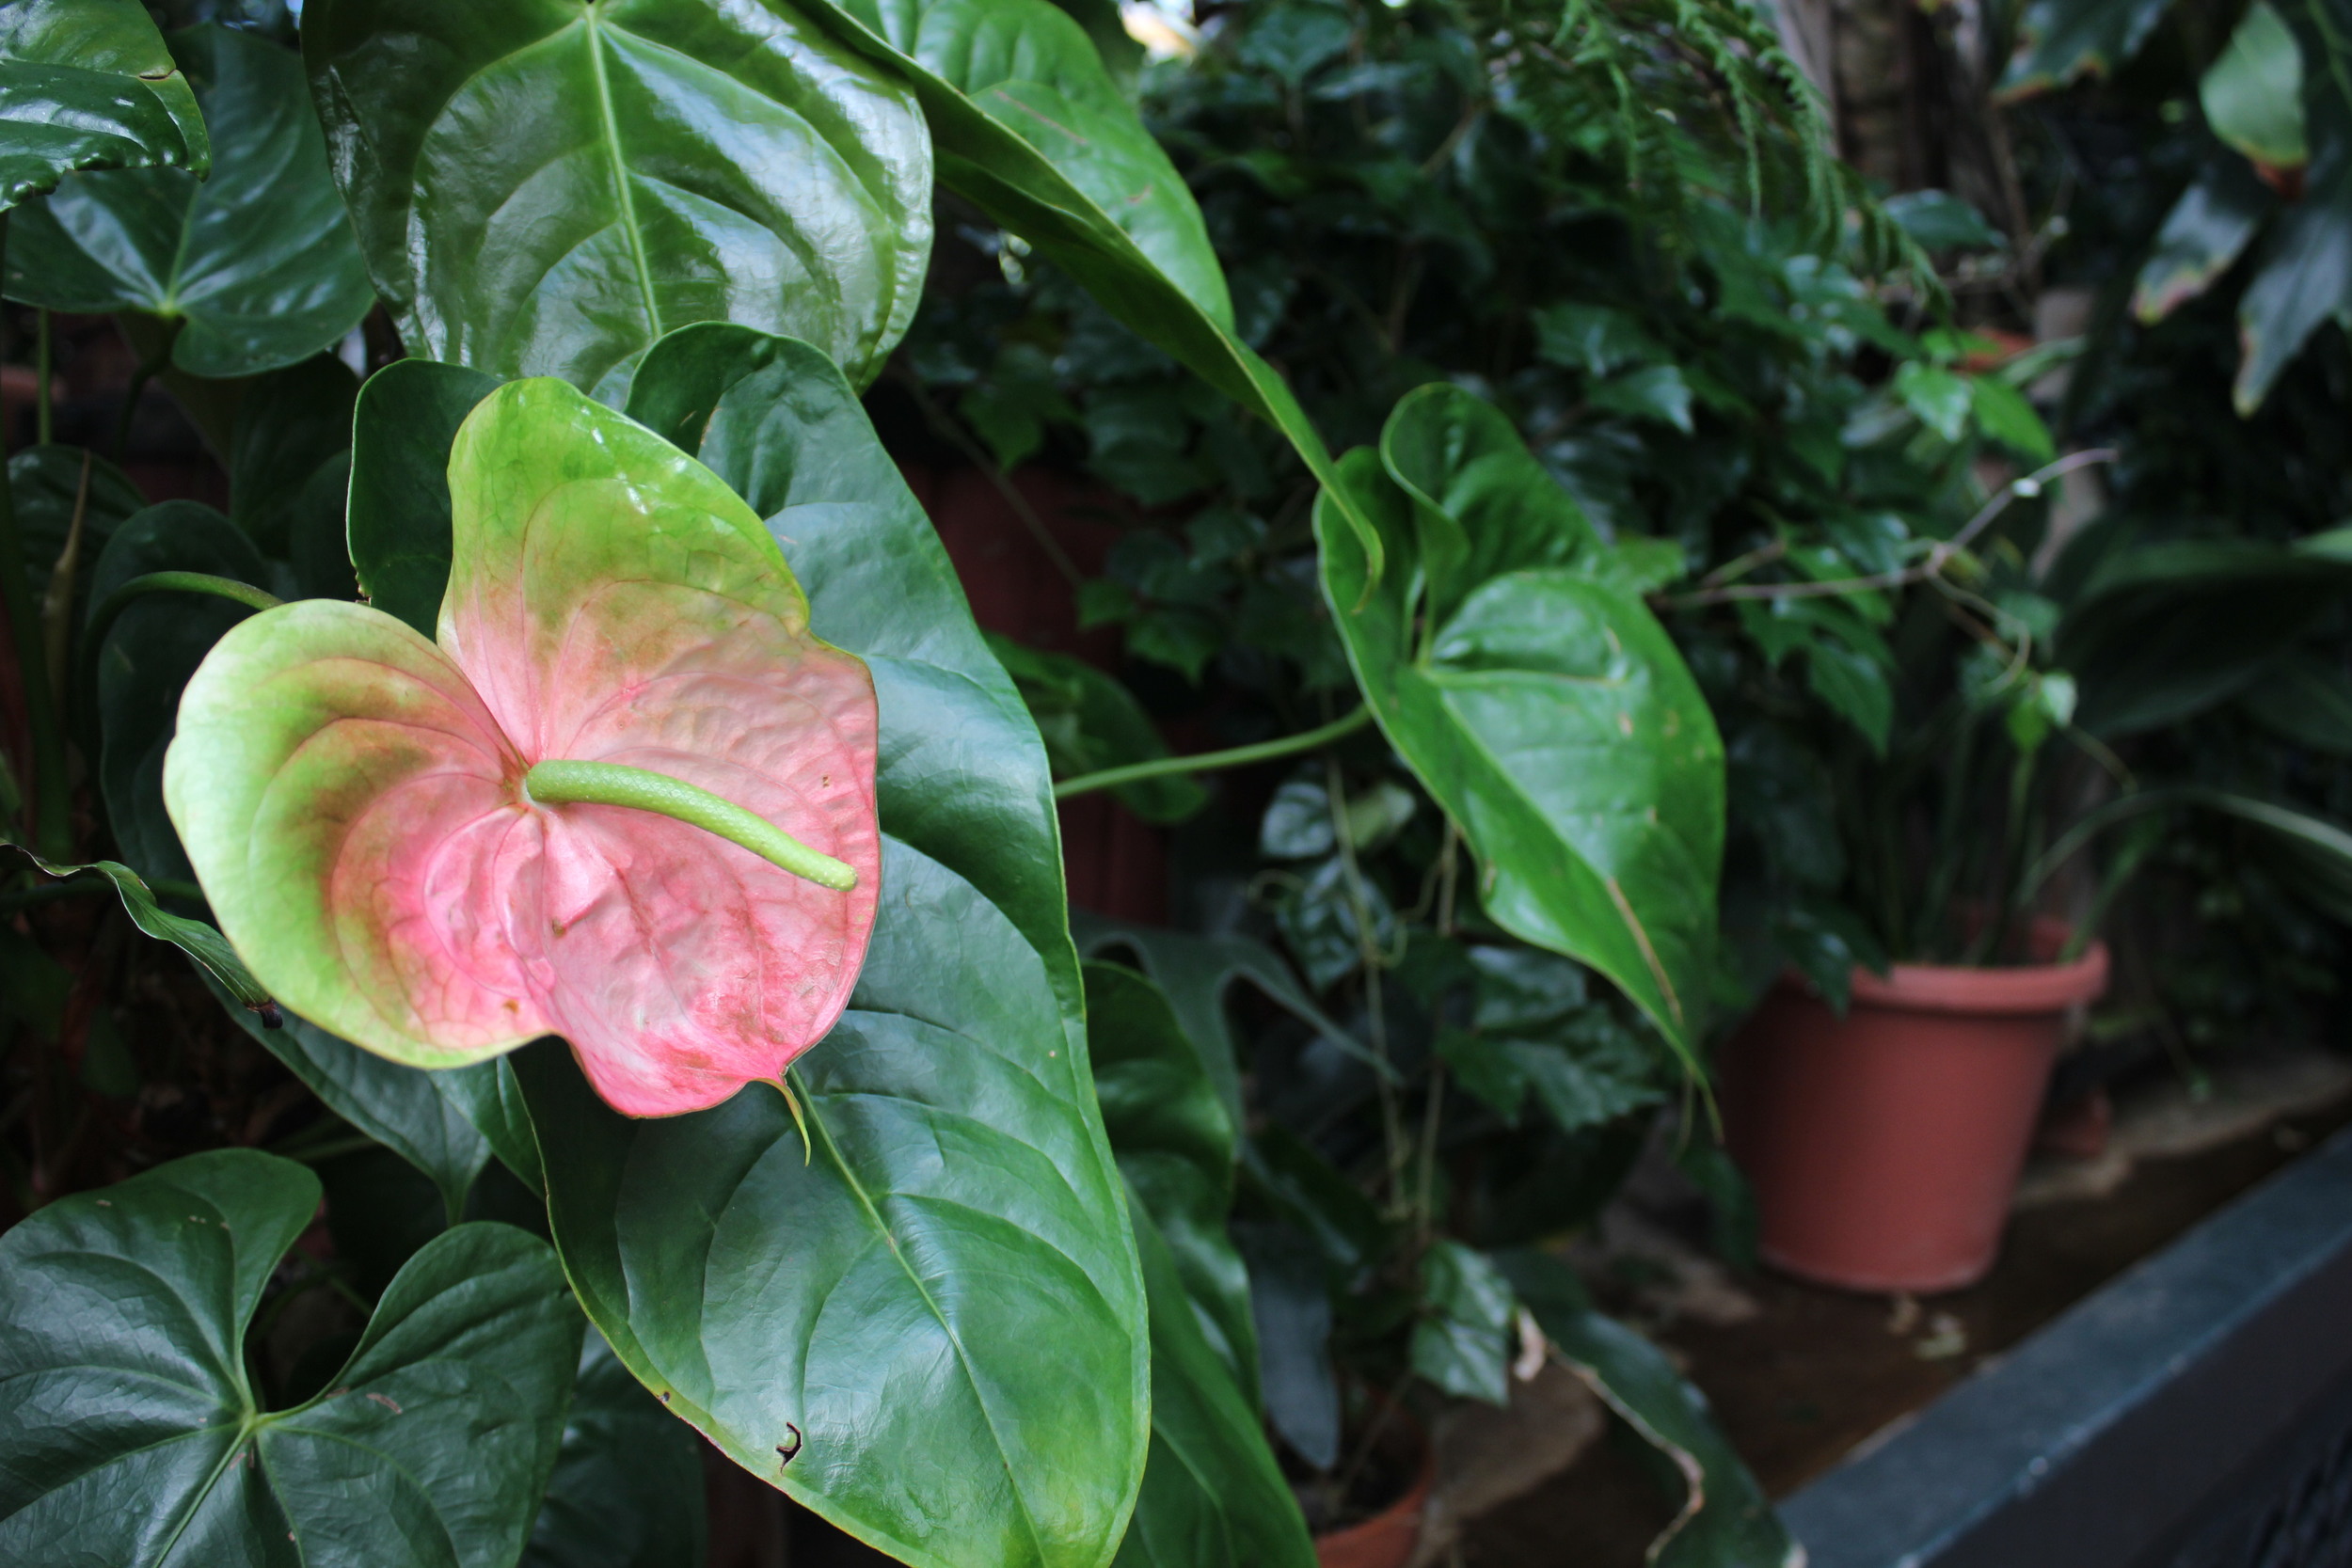
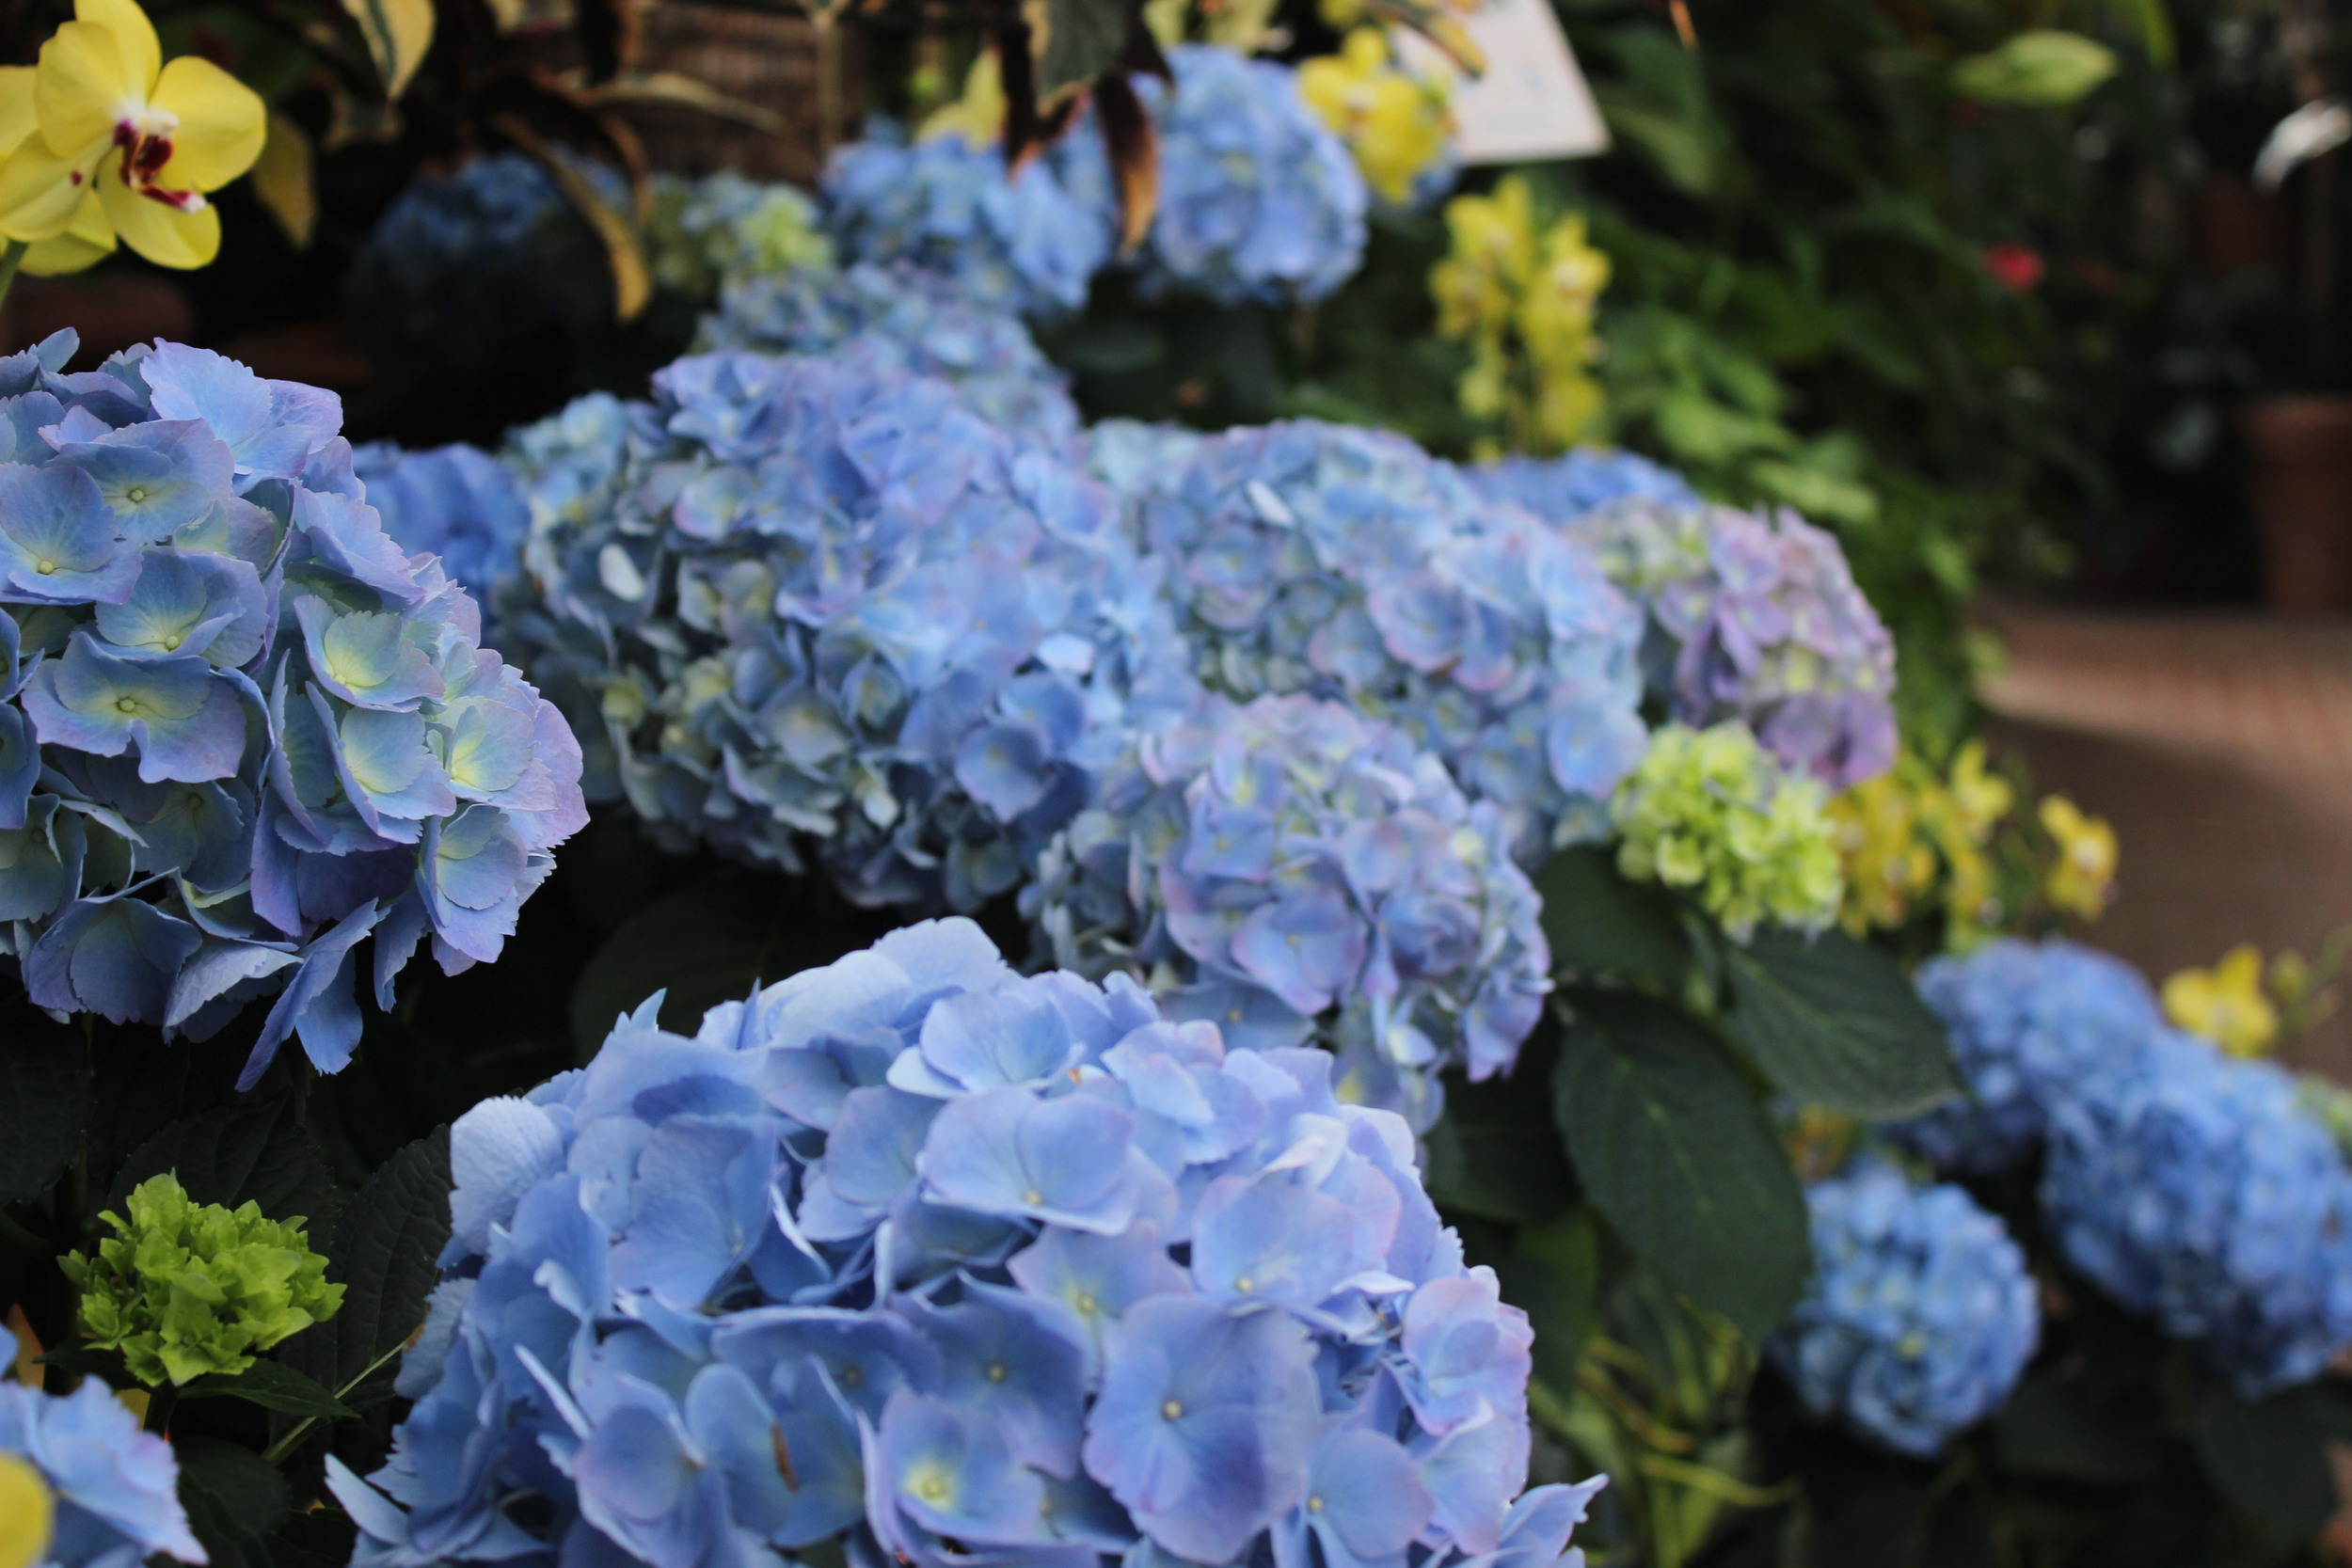
Sewing and Photography

We are creatives, you and I. Chances are you love a wide variety of creative forms. I've always loved sewing as my main element, but along the way I add other things to the growing list of things I love to do. And it's not really that I just add something to my list; it's that I fulfill a desire that has been growing in my heart for a while.

So, last year I bought a camera and took a photography course at our local community college. I loved it so much that I took a second course! There is so much to learn, and I have to be ok with being a novice, at least for a little while longer. I've taken several great online classes, too, and a little more takes hold with every lesson. So, I thought I'd share a few photos with you, and also encourage you to check out your local community college and the personal enrichment classes offered! I teach quilting at this same college...you just might find a new niche!

Note: please stop by tomorrow for a special blog post! It's my turn for the Bonnie Christine Ribbon Blog Tour!

Orchid
White Orchid
Bradford Pear Trees
Begonia
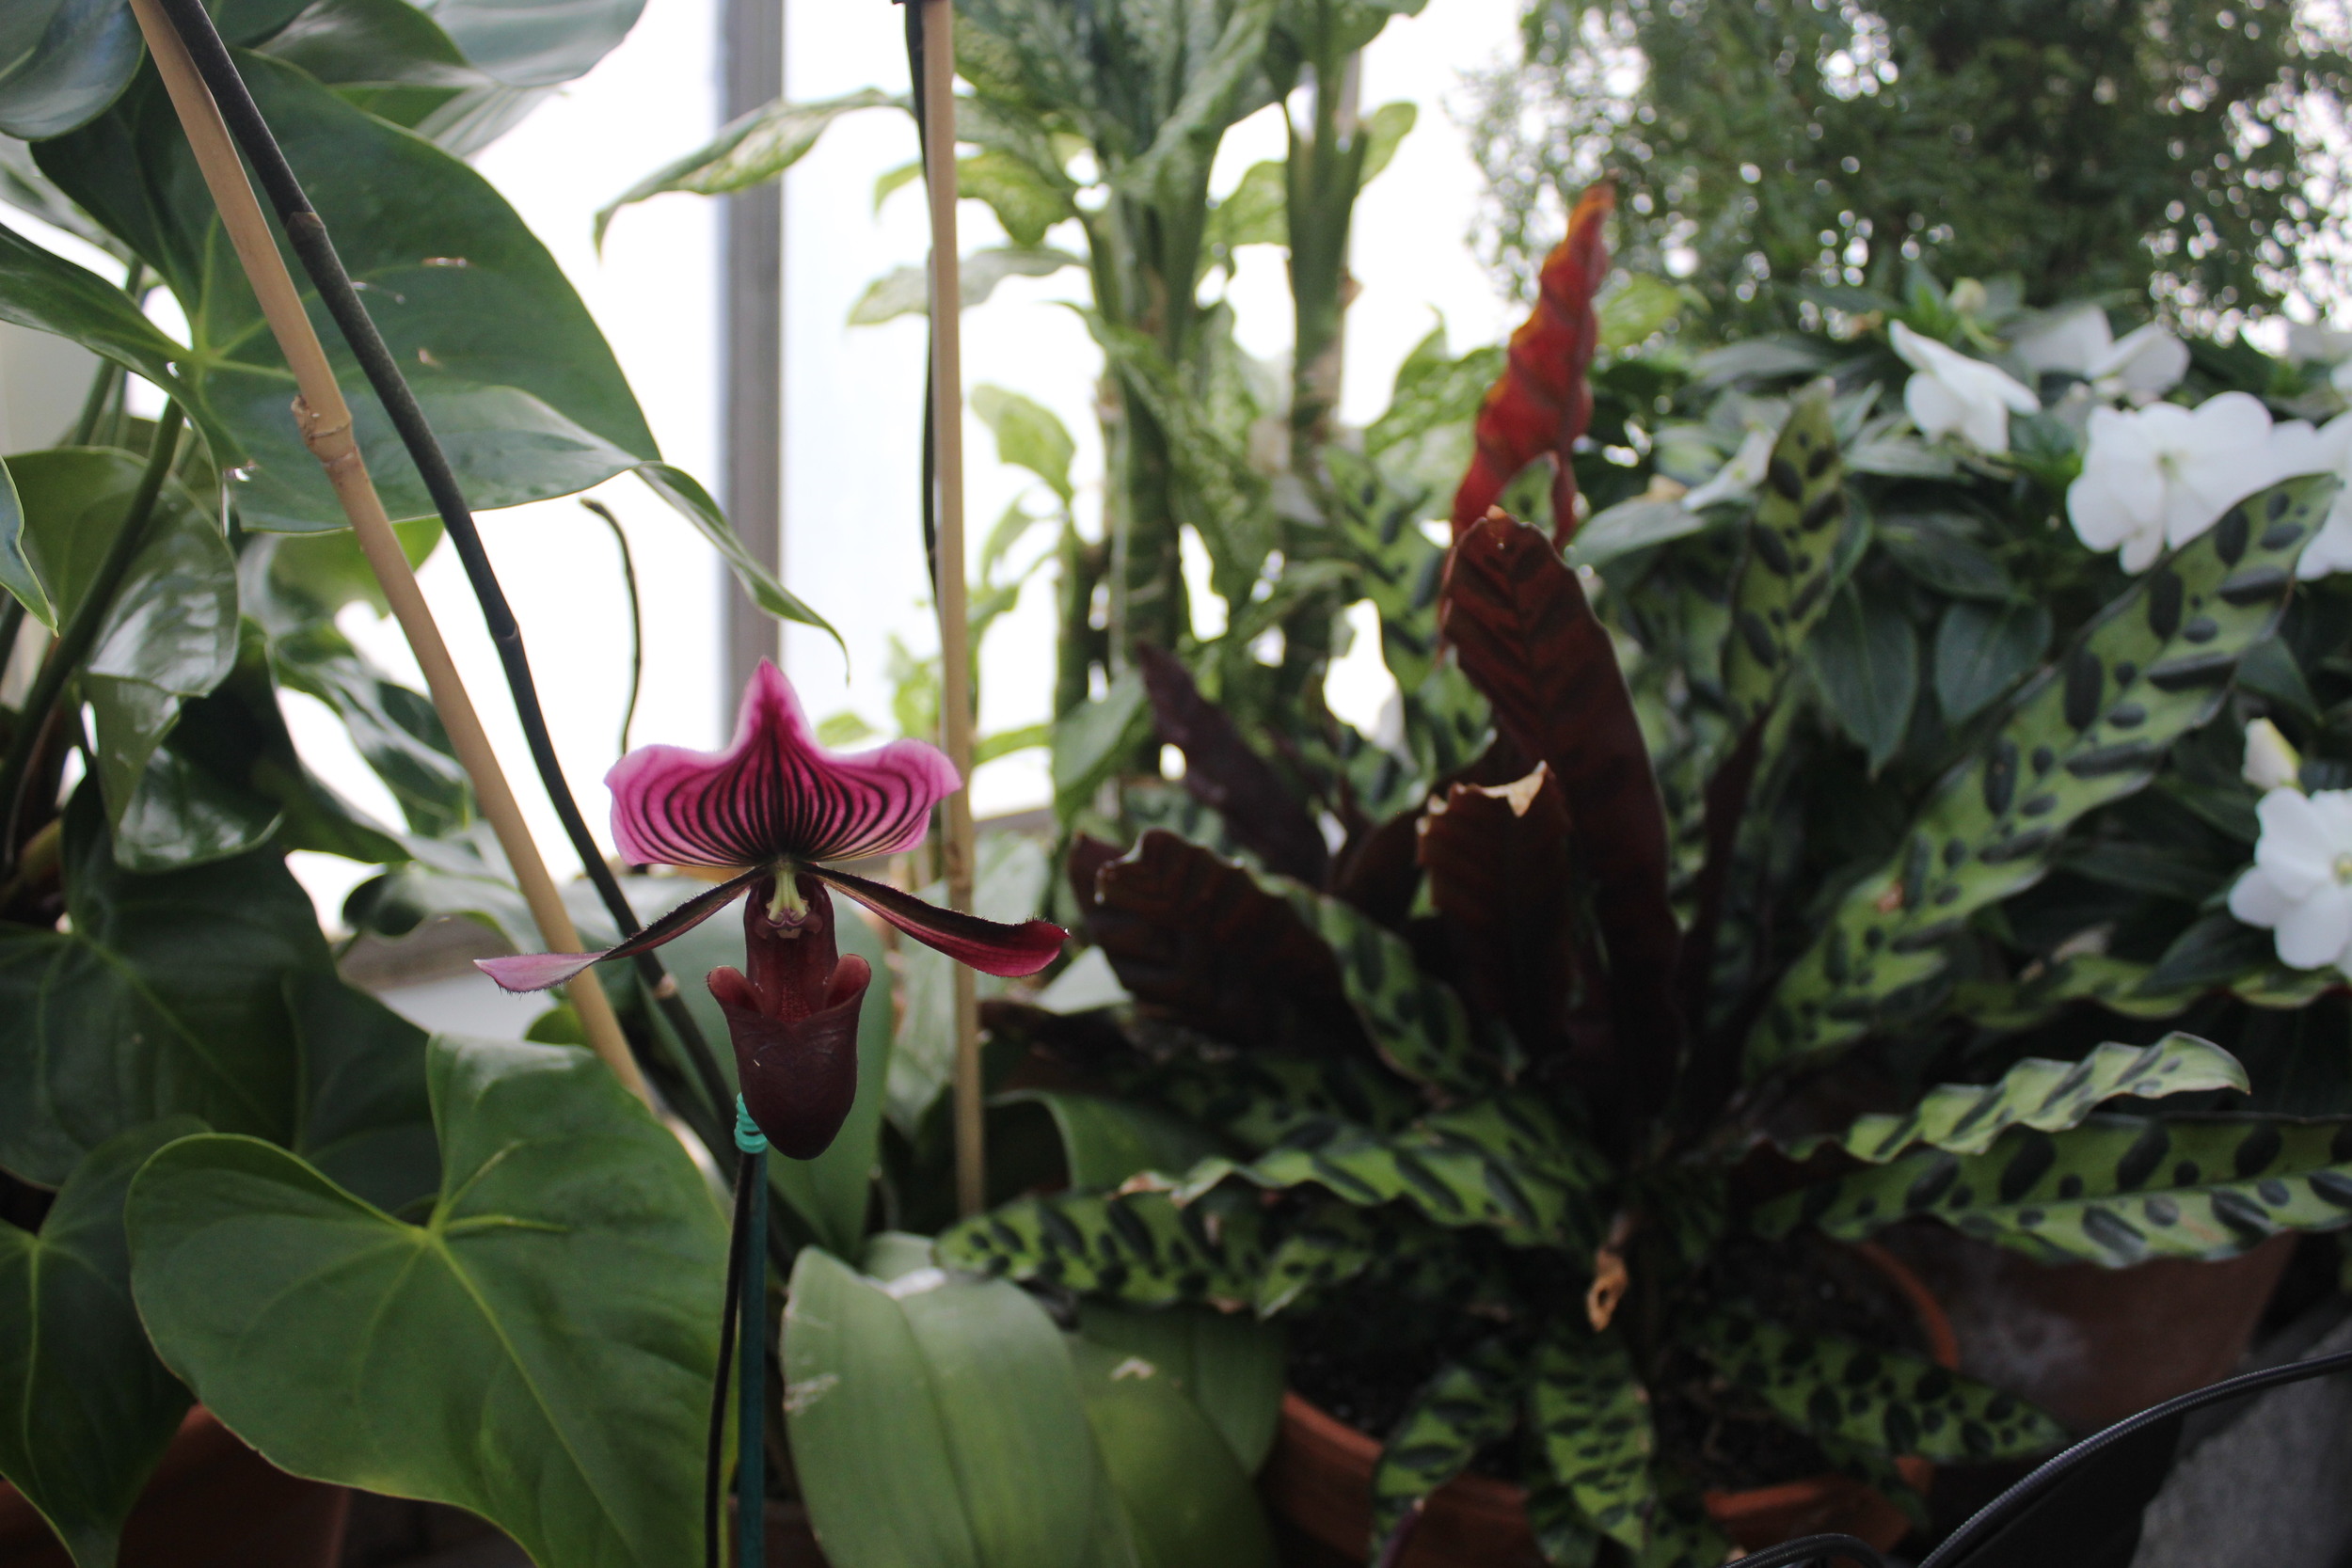
Purple Orchid
Strange Red Flower
Purple Orchid
Flower
Daffodil
Blue Hydrangeas
Biltmore House
Biltmore Gardens

Yep, I went to the Biltmore House in Asheville, NC yesterday! You should make the trip one day!

Thanks for visiting! Hope to see you tomorrow. Happy Sewing and God bless, Maxie