My Stop on the Ribbon Blog Tour with Bonnie Christine and Renaissanse Ribbons

Thank you to all that commented, liked our Facebook page, followed us on Instagram and posted on Pinterest! The winning number was chosen by a random number generator and our winner is Linda C! She will receive fabrics, ribbon and handles required to make our project, courtesy of Maxie and Bonnie Christine!

I’m so very excited to be participating in Bonnie Christine’s and Renaissance Ribbon’s Ribbon Blog Tour! Renaissance Ribbons have long been a favorite of mine, and when Bonnie joined their list of designers it was a match made in heaven! Bonnie’s ribbons were inspired by a love for nature and sunshine. They represent working in the garden, growing flowers and watching the bees, birds and butterflies take flight. Her goal has always been to create patterns that are organic and natural, joyful and lovely, and these are right in line! You can see all Bonnie’s ribbons at Renaissance Ribbons and at A Stitch in Time.

Bonnie Christine and Renaissance Ribbon Blog Tour

Bonnie and I are actually partnering for our tour days. She posted yesterday with a ribbon bestowed wallet, and together we are giving away the pattern, hardware, fabric and ribbon needed to make it! You still have time to enter that giveaway, so be sure to  visit her blog post for details. Today, I am sharing a pattern that Bonnie and I designed together, the Perfect Whatever Bag. We are again partnering for a giveaway for the ribbons and supplies to make this bag as shown!

The Perfect Whatever Bag
Bonnie Christine's RIbbons

This bag measures about 11” x 15” and 3” wide, hence the name of the pattern! The pattern is a free download that you’ll find here on Bonnie's blog. I won’t go into details covered in the pattern, but I do want to share some tips that will help you whip this bag up in an evening!

The Perfect Whatever Bag Pocket

I like to make the pocket first. The lining is longer than the pocket front, so when the pieces are stitched together the lining folds over to the front side to create sort of a trim effect. The bottom is left open for turning, and will be tucked underneath a row of ribbon, as shown below. My favorite point turner gives me crisp, sharp points every time! In the finished bag photo, you'll notice that I also added a piece of ribbon right at the seam line.

Attaching the ribbons to the Perfect Whatever Bag

The next thing to do is to cut the pieces for the front and back of the bag and attach the ribbons. Using clear Monopoly thread to do so makes the finished product look beautiful. Begin stitching the bottom row of ribbon on, 2” from the lower edge.

Pocket Placement on The Perfect Whatever Bag

Stitch all four ribbons in place, but don’t stitch the very top edge in place yet. Place the pocket on the front of the bag, centered (notice the creases that mark my centers?), and tuck the raw edge of the pocket behind that top ribbon.  Stitch the pocket sides in place and then stitch the ribbon edge in place to catch the bottom of the pocket.

Soft and Stable Batting

Soft and Stable Batting is my preferred batting for this bag because it does not need to be quilted, and the bag stands on its own! I simply baste around all four outer edges to hold it in place, and stitch around the pocket and along the lower edge of the bottom ribbon (this will help the bottom of the bag to fold and sit flat). A walking foot is very helpful when sewing layers together, and my Baby Lock Destiny's is the most accurate one I've ever used because it is actually belt driven! Booyah! (definition: Used in order to abruptly express great joy, usually brought on by victory or some other sort of accomplishment. ) May I just take a minute to show you another wondrous feature of this machine? I can't help myself...

Look closely in these three photos. Can you see the red guide beam projected forward, in front of the presser foot? This guide beam is adjustable and can be moved with the touch of a button to help you align your stitches! Photo 1: Straight ahead, in front of the needle. Photo 2: Moved 1/2" from the right of the needle to mark the seam allowance. Photo 3: Placed on the drawn line for boxing the corners. Click on the picture to enlarge it! Double Booyah!

How to box the corners of a bag

Next, sew the lining pieces together and box the bottom corners. The pattern gives instructions, but this picture shows exactly how to line up the ruler to mark the stitching line. Study closely and you’ll see that the 45º line is on one edge, and the depth of the stitching line is 1 1/2” from the point. Mark a line and stitch on the line. Trim away the outer corners. The bag body is boxed in the same manner.

Top edge of The Perfect Whatever Bag

Drop the lining side the bag, right sides together, and stitch around the entire top. Follow directions in the pattern for turning. The top of the outside bag will fold to the inside about 1 3/4” or so. This measurement isn’t crucial, as long as you have it even all the way around. Measure to make sure of that, pin in place and stitch with a walking foot in the ditch of the seam. You're almost done!

Speedy Stitcher Awl

Now to my favorite new tool! I recently discovered the Speedy Stitcher Sewing Awl, which is a hand tool for sewing through leather and other heavy materials. It made attaching the handles a breeze, and I love the way they look! I was able to find a video on youtube showing how to use the Speedy Stitcher, and I ordered mine from Amazon. It’s staying!

Handles sewn onto The Perfect Whatever Bag

Wouldn’t you love to win all the supplies to make this bag? Here are the details to win:


Deadline: Giveaway will end Monday, April 6th at 12am, EST. The winner will be drawn using a random number generator and announced on this post shortly after.

To enter: comment here sharing with us who you’d make this bag for (Yourself? A friend?).

Additional ways to enter:

be sure to leave a new comment on this blog post for each additional entry so it counts (limit of 4 comments per person)!

Visit Bonnie’s blog post from yesterday, and Jayme Christensen of Finding Sweetland  tomorrow! Follow with the blog tour here.

Thanks for visiting! Happy Sewing and God bless! Maxie


Sewing and Photography

We are creatives, you and I. Chances are you love a wide variety of creative forms. I've always loved sewing as my main element, but along the way I add other things to the growing list of things I love to do. And it's not really that I just add something to my list; it's that I fulfill a desire that has been growing in my heart for a while.

So, last year I bought a camera and took a photography course at our local community college. I loved it so much that I took a second course! There is so much to learn, and I have to be ok with being a novice, at least for a little while longer. I've taken several great online classes, too, and a little more takes hold with every lesson. So, I thought I'd share a few photos with you, and also encourage you to check out your local community college and the personal enrichment classes offered! I teach quilting at this same college...you just might find a new niche!

Note: please stop by tomorrow for a special blog post! It's my turn for the Bonnie Christine Ribbon Blog Tour!

Orchid
White Orchid
Bradford Pear Trees
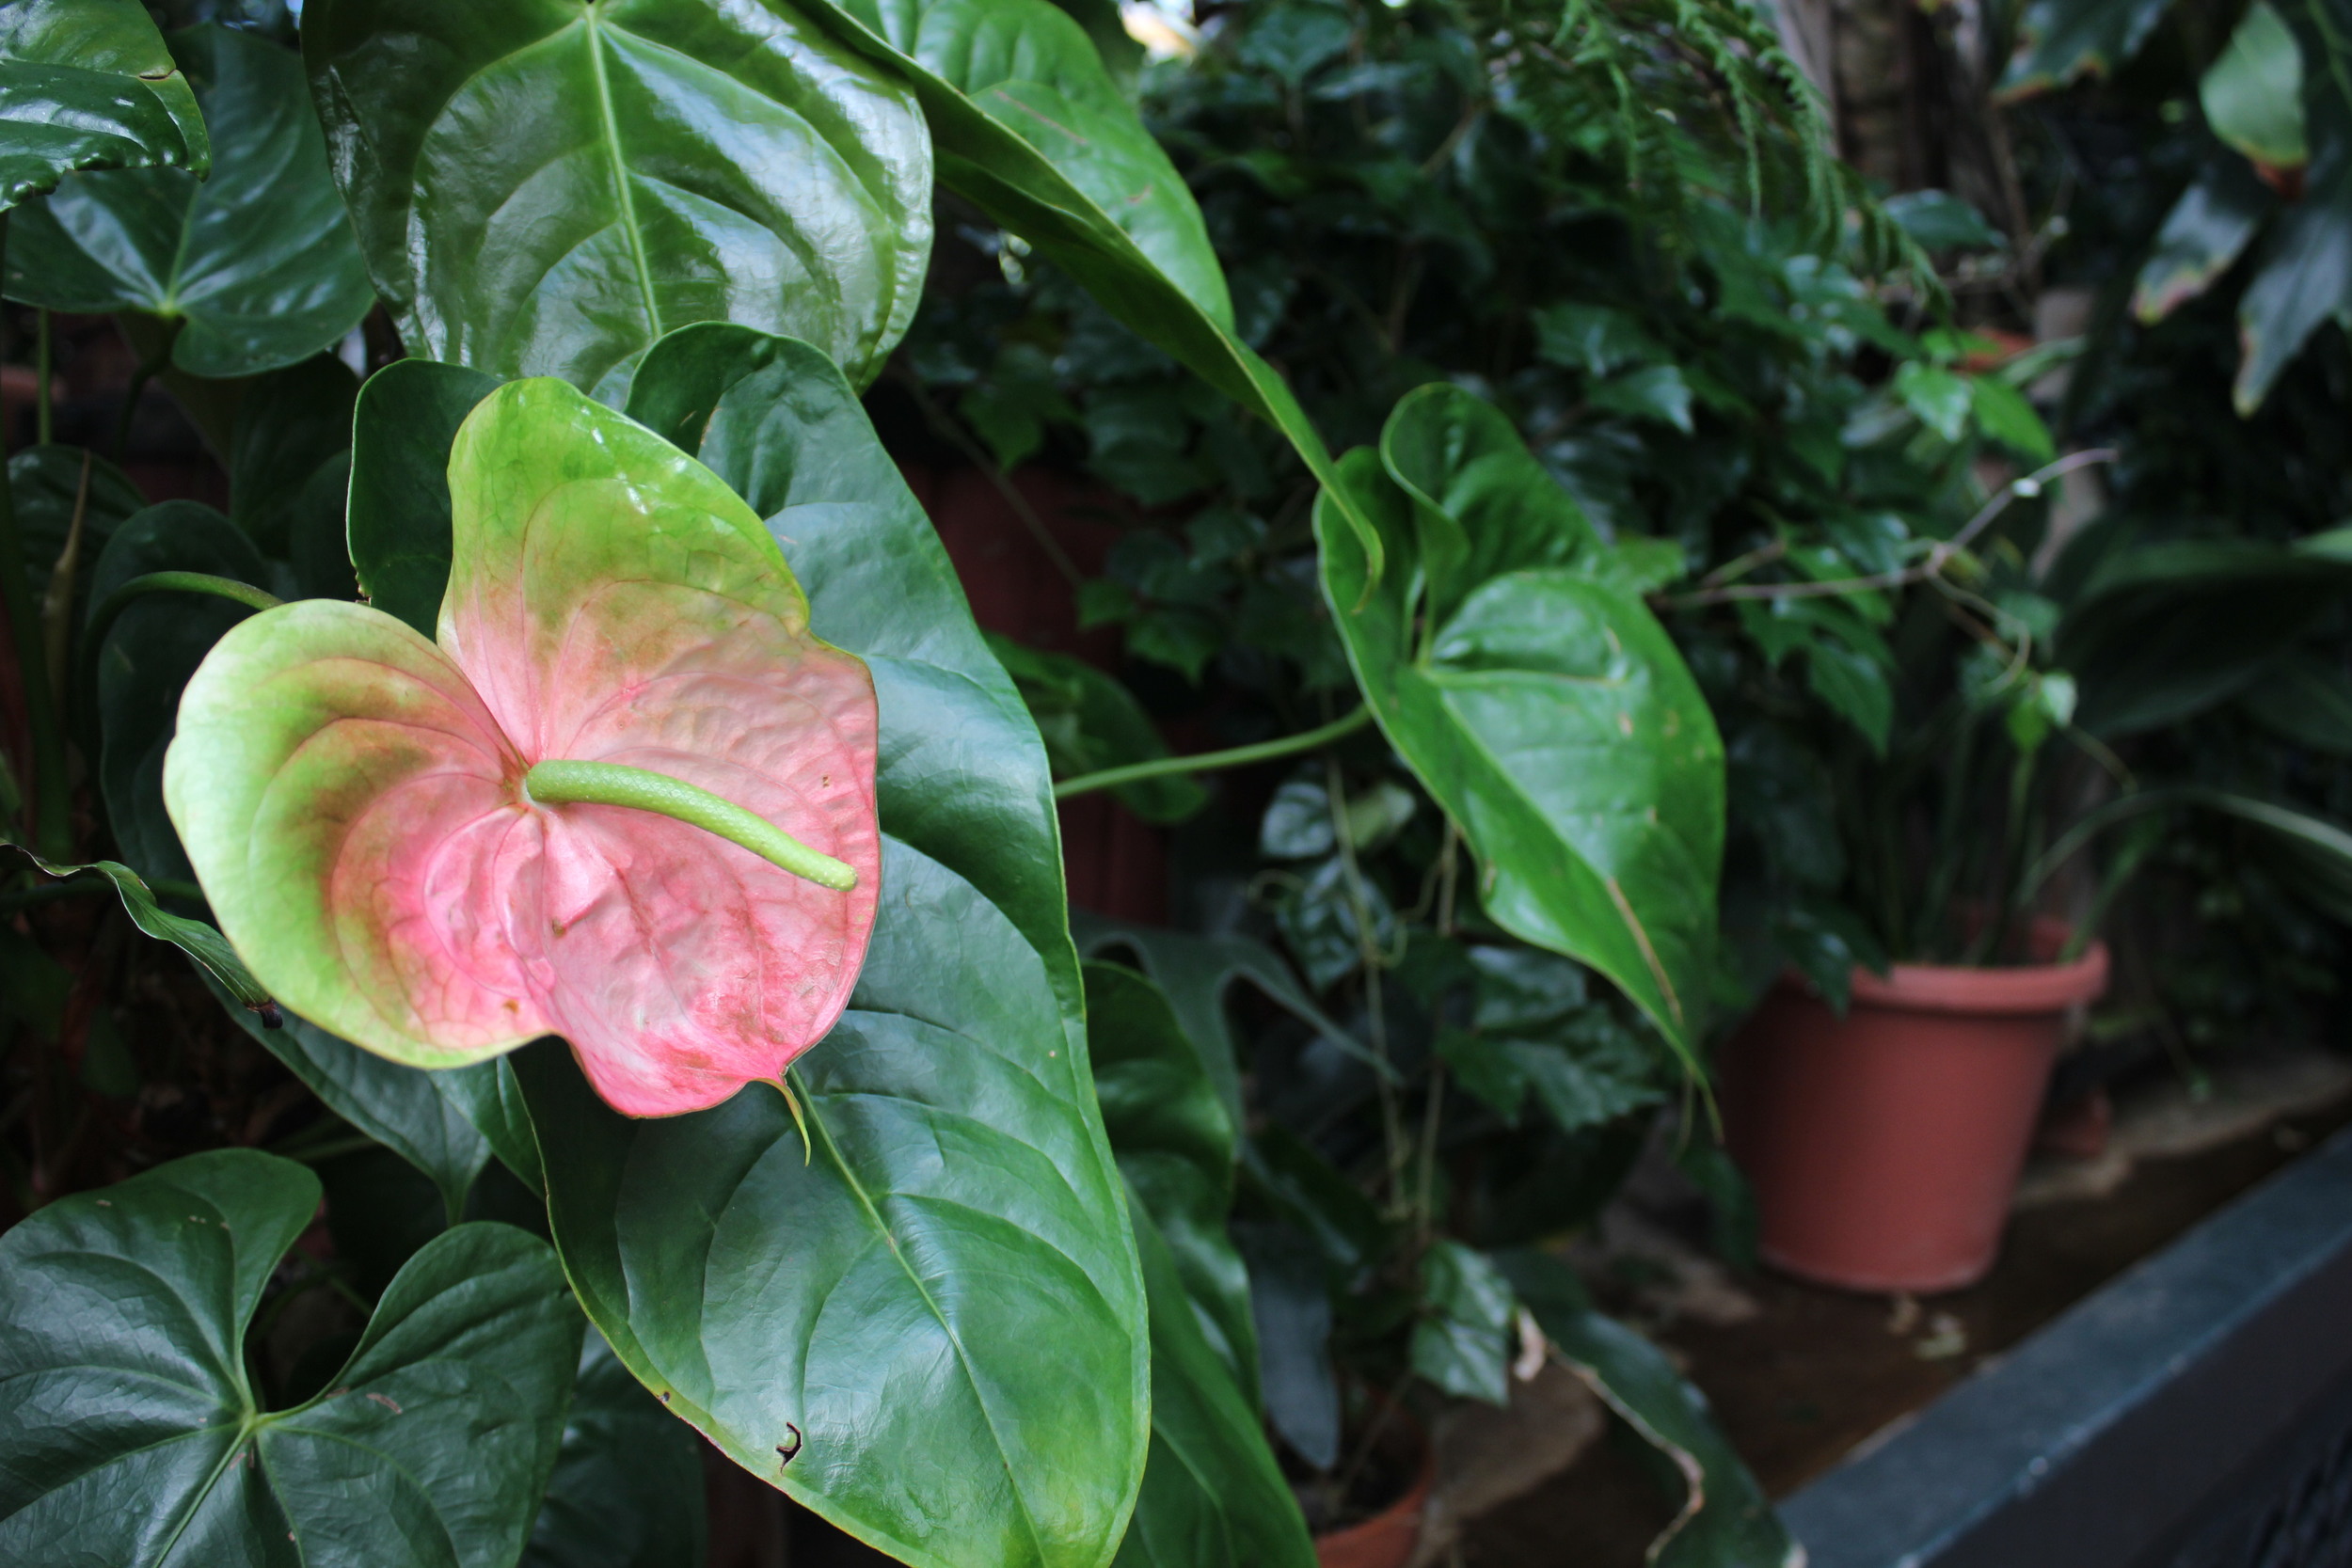
Begonia
Purple Orchid
Strange Red Flower
Purple Orchid
Flower
Daffodil
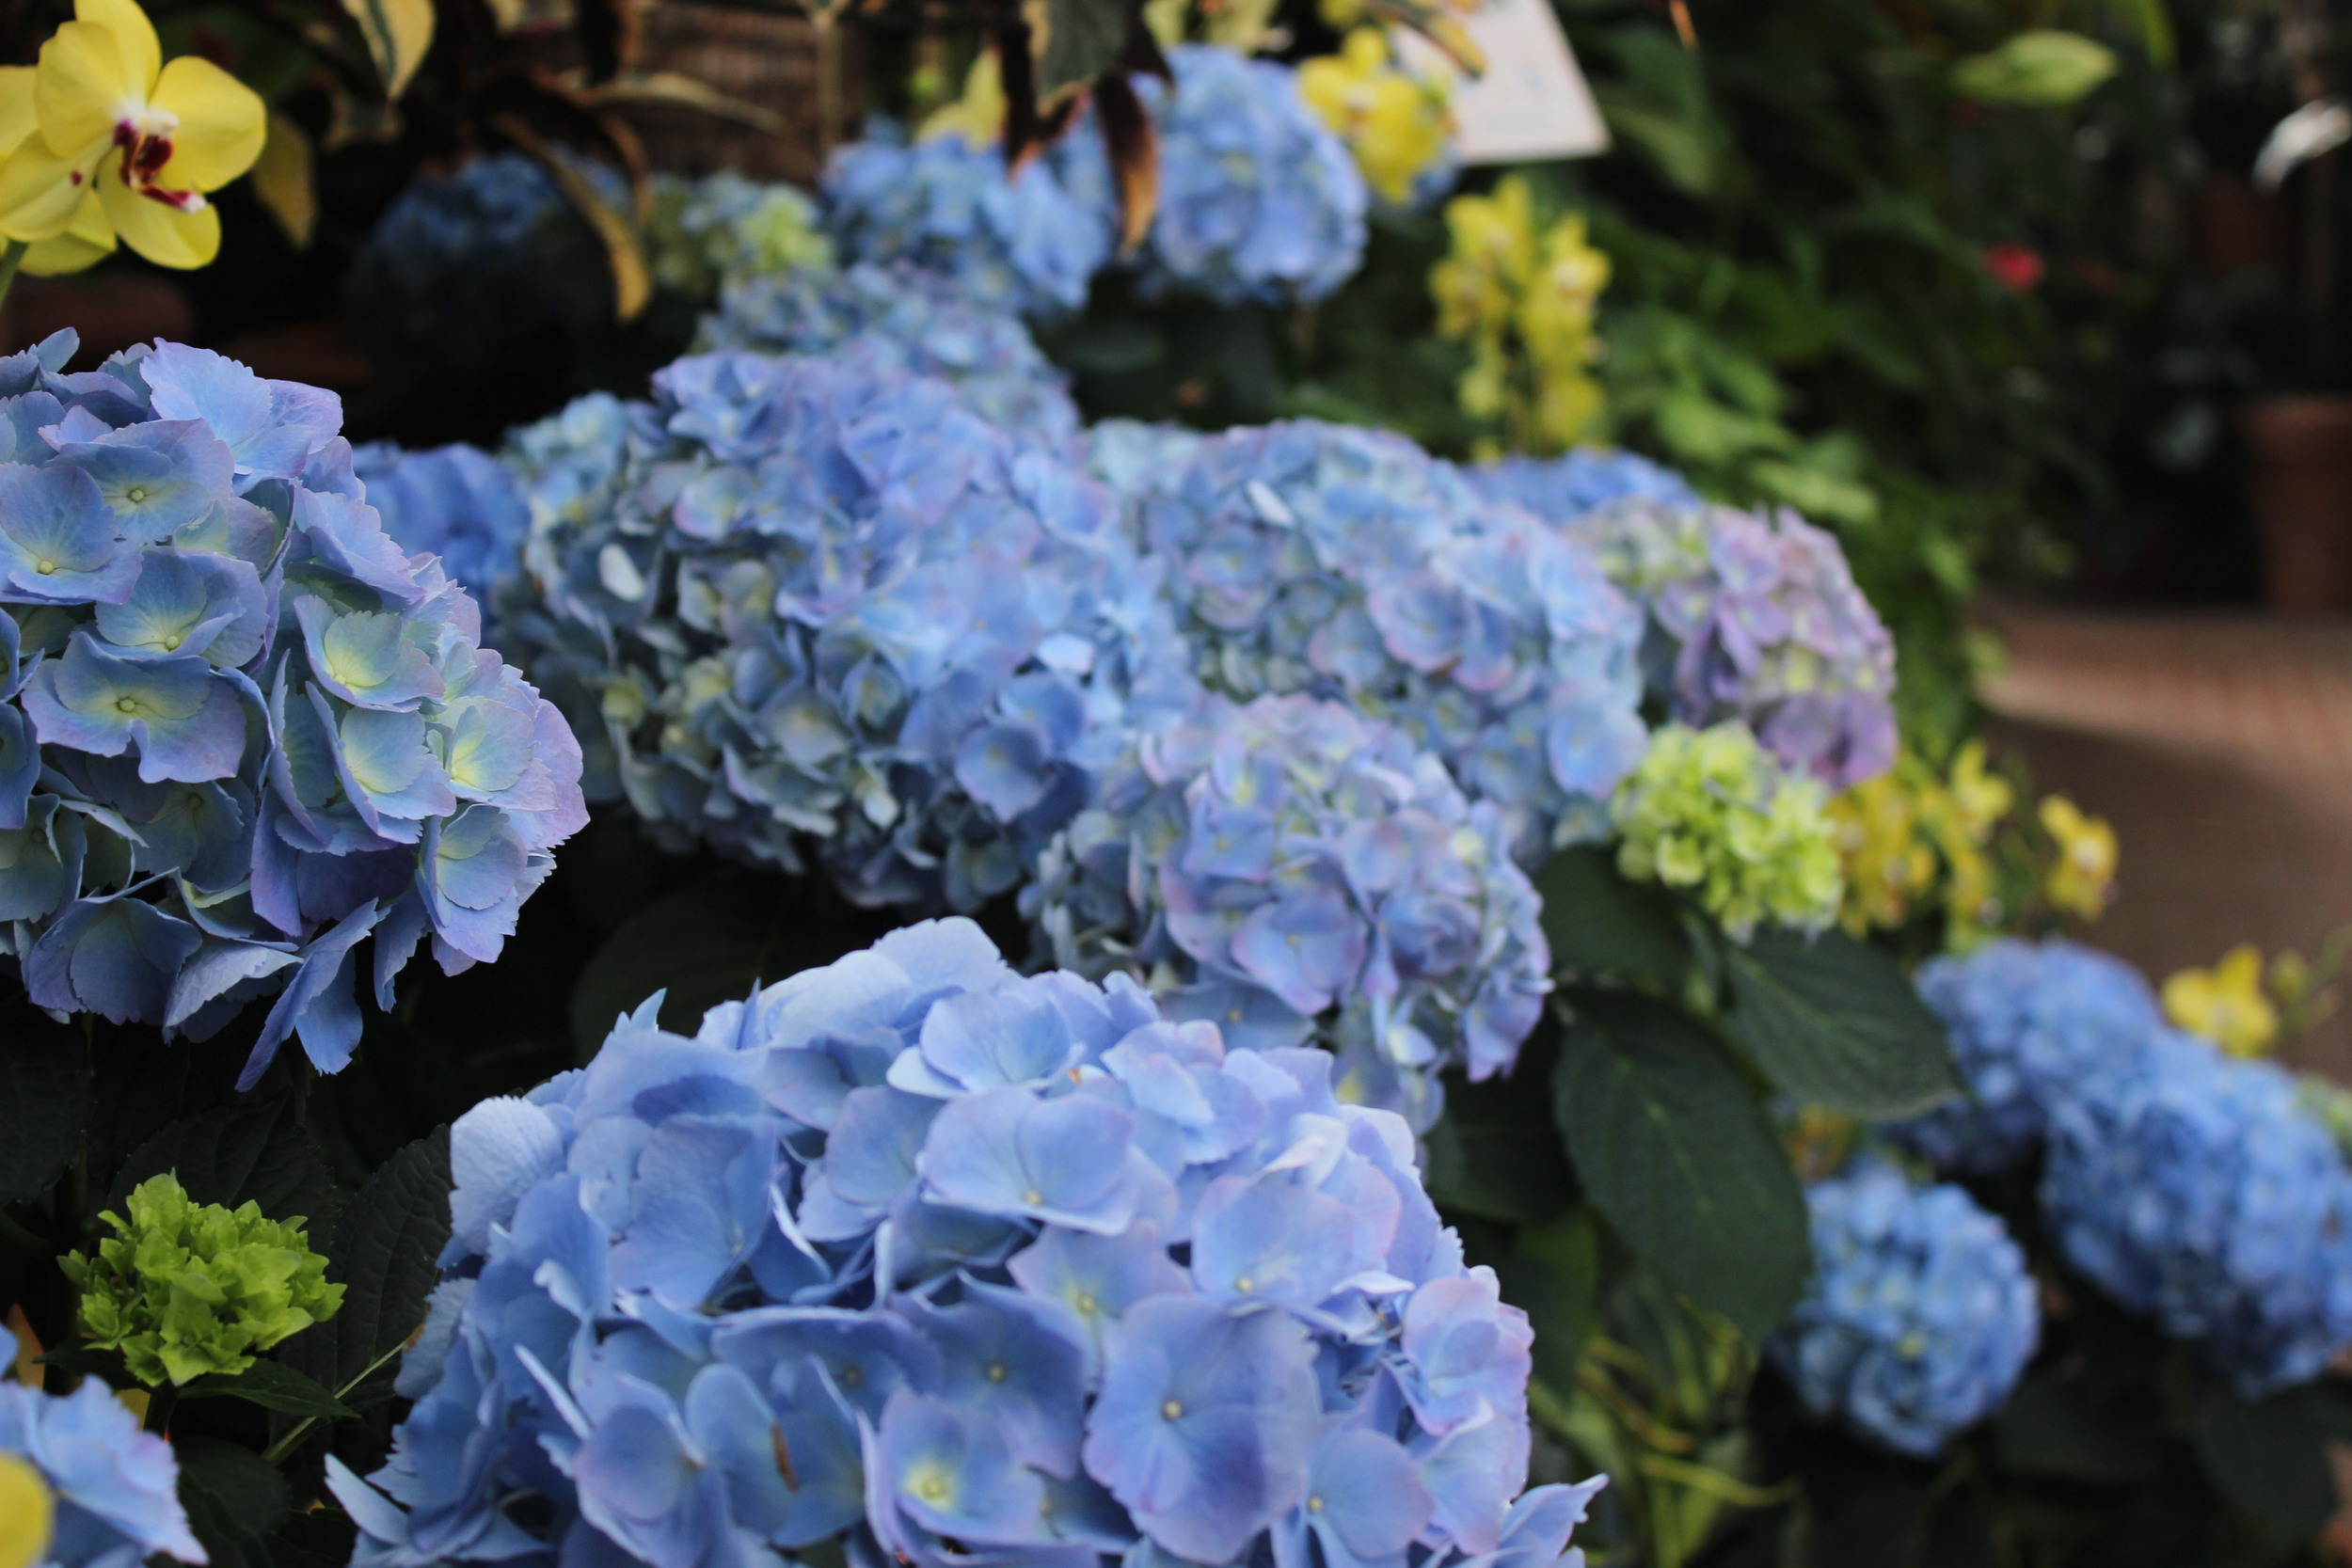
Blue Hydrangeas
Biltmore House
Biltmore Gardens

Yep, I went to the Biltmore House in Asheville, NC yesterday! You should make the trip one day!

Thanks for visiting! Hope to see you tomorrow. Happy Sewing and God bless, Maxie


Trimming the Flying Geese

I am away from home today, in St. Louis at Baby Lock's Corporate headquarters for Sewing Machine Training on their newest top of the line machine, the Destiny.  What an amazing machine! Today is the last of four days, and I just hope there is a little more room in my brain for today's lesson!

I tucked a little sewing machine in my suitcase so that I could sew in the hotel room at night. With a video shoot scheduled in the near future, I have little time to spare! So, I thought I'd share a little bit about the technique I'm using to make one of the units for the video project.

I love flying geese, but I hate trimming them because it can be an arduous task. It's so easy to trim away the tip of the goose, isn't it? And making sure the seams travel perfectly to each corner at the same time...it's enough to make you avoid them altogether. And this project requires almost 400! I think that's officially called a gaggle.

Last year, at International Quilt Market, I discovered the Bloc Loc ruler! It promised to help me trim the little fowls perfectly and effortlessly! It was true to it's promise!

This little ruler accommodates the 1.5" x 3" unit. See that little groove, placed where the flying goose seam will lie, cut into the back side of the unit? It's exactly 1/4" wide, which makes it lock in place over the seam allowance! It allows you to trim the unit without having to study the ruler to make sure you've lined up every corner and seam and goose beak!

Here is a close up view of the ruler placed on the unit, ready for trimming. Because the ruler actually locks onto the fabric, you can even spin the unit for easier trimming!

Here is a close up view of the trimmed unit! Perfect in every way!

Late night trimming in the hotel room did produced a gaggle! Bloc Loc rulers are available in a variety of sizes and styles, including half square triangles and more. You'll find this little flying goose ruler on my shopping page, with others to be added soon. And watch for a new video in the near future!

Thanks for visiting! Happy Sewing and God bless. Maxie


Corey Yoder: aka Little Miss Shabby!

Today I want to introduce you to an amazing quilter, designer and blogger. Meet Corey Yoder of Little Miss Shabby! You're most likely familiar with her work, and maybe you've seen her book, Playful Petals. When I saw her book cover, it was love at first sight. When I opened it, crush! So many beautiful projects, from pillows, quilts and more!

Her blog is as delightful as her book, and you'll find lots of tutorials for a wide variety of projects to suit just about any sewing mood, from quilts, pillows and even a cross stitched sampler!

The Rainbow Row Along is a row by row experience, complete with instructions for each individual row. Corey's instructions are clear and very easy to follow

Just a few patterns from her Quilty Stitches Sampler.

Beautiful pillows abound!

Corey made the quilt above from Bonnie Christine's very first fabric line, Reminisce for Art Gallery Fabrics.

This is going to be my version of her Petal Play quilt...Bonnie's Winged fabrics on a linen background!

Everyone at my quilt shop has caught the Petal Play bug! The quilt above is Andrea's version! To help her perfectly arrange the petals, her husband even made her a thingamajig to mark a grid for placement!

I see she's using my favorite iron off pen! I'll have to post pictures of this most perfect quilt when she's finished!

Thanks for visiting! Grab another cup of coffee and head over to Little Miss Shabby! Happy Sewing and God bless! Maxie


Lovely Ribbons...What Can You Do with Them?

Lovely ribbons. Renaissance Ribbons are the most beautiful in the world. Last week I mentioned that Bonnie is hosting a Ribbon Blog hop, currently underway. Since I'm one of the participating bloggers, I'm working on a fandangled project that I'll be sharing with you on April 1. But, in the mean time you can see one project per day from 18 different talented sewists! Simply visit Bonnie Christine's New Ribbon Blog Tour Post for a link to each blogger. And for a look at all of Bonnie's ribbons, click here.

In addition to this blog hop, let me share even more inspiration with you! At quilt market last fall, I had the opportunity to meet the talented author of Ribbon Embellishments, Elaine Schmidt. She has written several books featuring ribbons, and each publication is a beautiful work of art!

Look carefully at the title...How to make 100 Ribbon Embellishments! Where would you use such adornment? The obvious comes to mind: little girls dresses, home decor (curtain tiebacks, pillows), shoes, bags, etc. Even the most simple tote could be elevated to a much higher level with the addition of a beautiful Jacquard ribbon trimming. Or, you could put a bar pin back on the it and call it done! I love the cockades with a vintage button or broach in the center. (I made one for my Mrs. Clause, below.) Elaine wrote a free tutorial to show you how to make a cockade for Sew4Home! In fact, she has several tutorials that you'll enjoy! And to celebrate ribbons, I'm offering the book to you at a 20% savings!

Mrs. Santa (from the Tilda book series), is so festive with her cockade, nestled on a doily and trimmed with a sparkling snowflake brooch.

Make two of these and attach to a pair of summer sandals! Photo from Elaine's book.

What little girl wouldn't love this goldfish on a hairbow or dress? Photo from Elaine's book.

So, let's get the ribbon fever! Happy Sewing and God bless! Maxie