Making a Tied Quilt

I had hoarded this fabric long enough. A whole bolt of Bliss Bouquet by Amy Butler. One day, I'll make something beautiful with it, because anything at all made from it would have to be beautiful.

Then my niece sent me a picture of a baby quilt, made from this very fabric, asking if I had any instructions that I could send to her so that she could make one for her little girl, Charleigh. I asked her, "Is it the quilt you like, or is it the fabric?" Of course she answered that it was the fabric she loved. And she wanted a quilt for Charleigh's new toddler bed.

This is the quilt I made for her (above)! I think she'll like the soft plush backing and the very soft batting. You can see in the photo that this quilt is tied and not quilted! It made up fast and easy, and today I'm going to share the process with you and show you a trick or two that you might find helpful!

Here's what you'll need to make this quilt:

1 3/4 yard for the quilt top, 1 1/4 yard for the ruffle, (was able to add one of Bonnie's fabrics from Sweet as Honey!), 1 1/4 yard of 60" wide plush type fabric for the backing, and one package of polyester batting. I love Soft High Loft from The Warm Company.

1. If you are using a polyester backing like the plush fabric shown above, I would advise pre-washing all fabrics, because the cotton will shrink, but the polyester won't. I just toss it all in the washer and dryer.

2. Trim up the top fabric to be nice and straight, so that it measures about 60" long and 44" wide. Trim away the selvages.

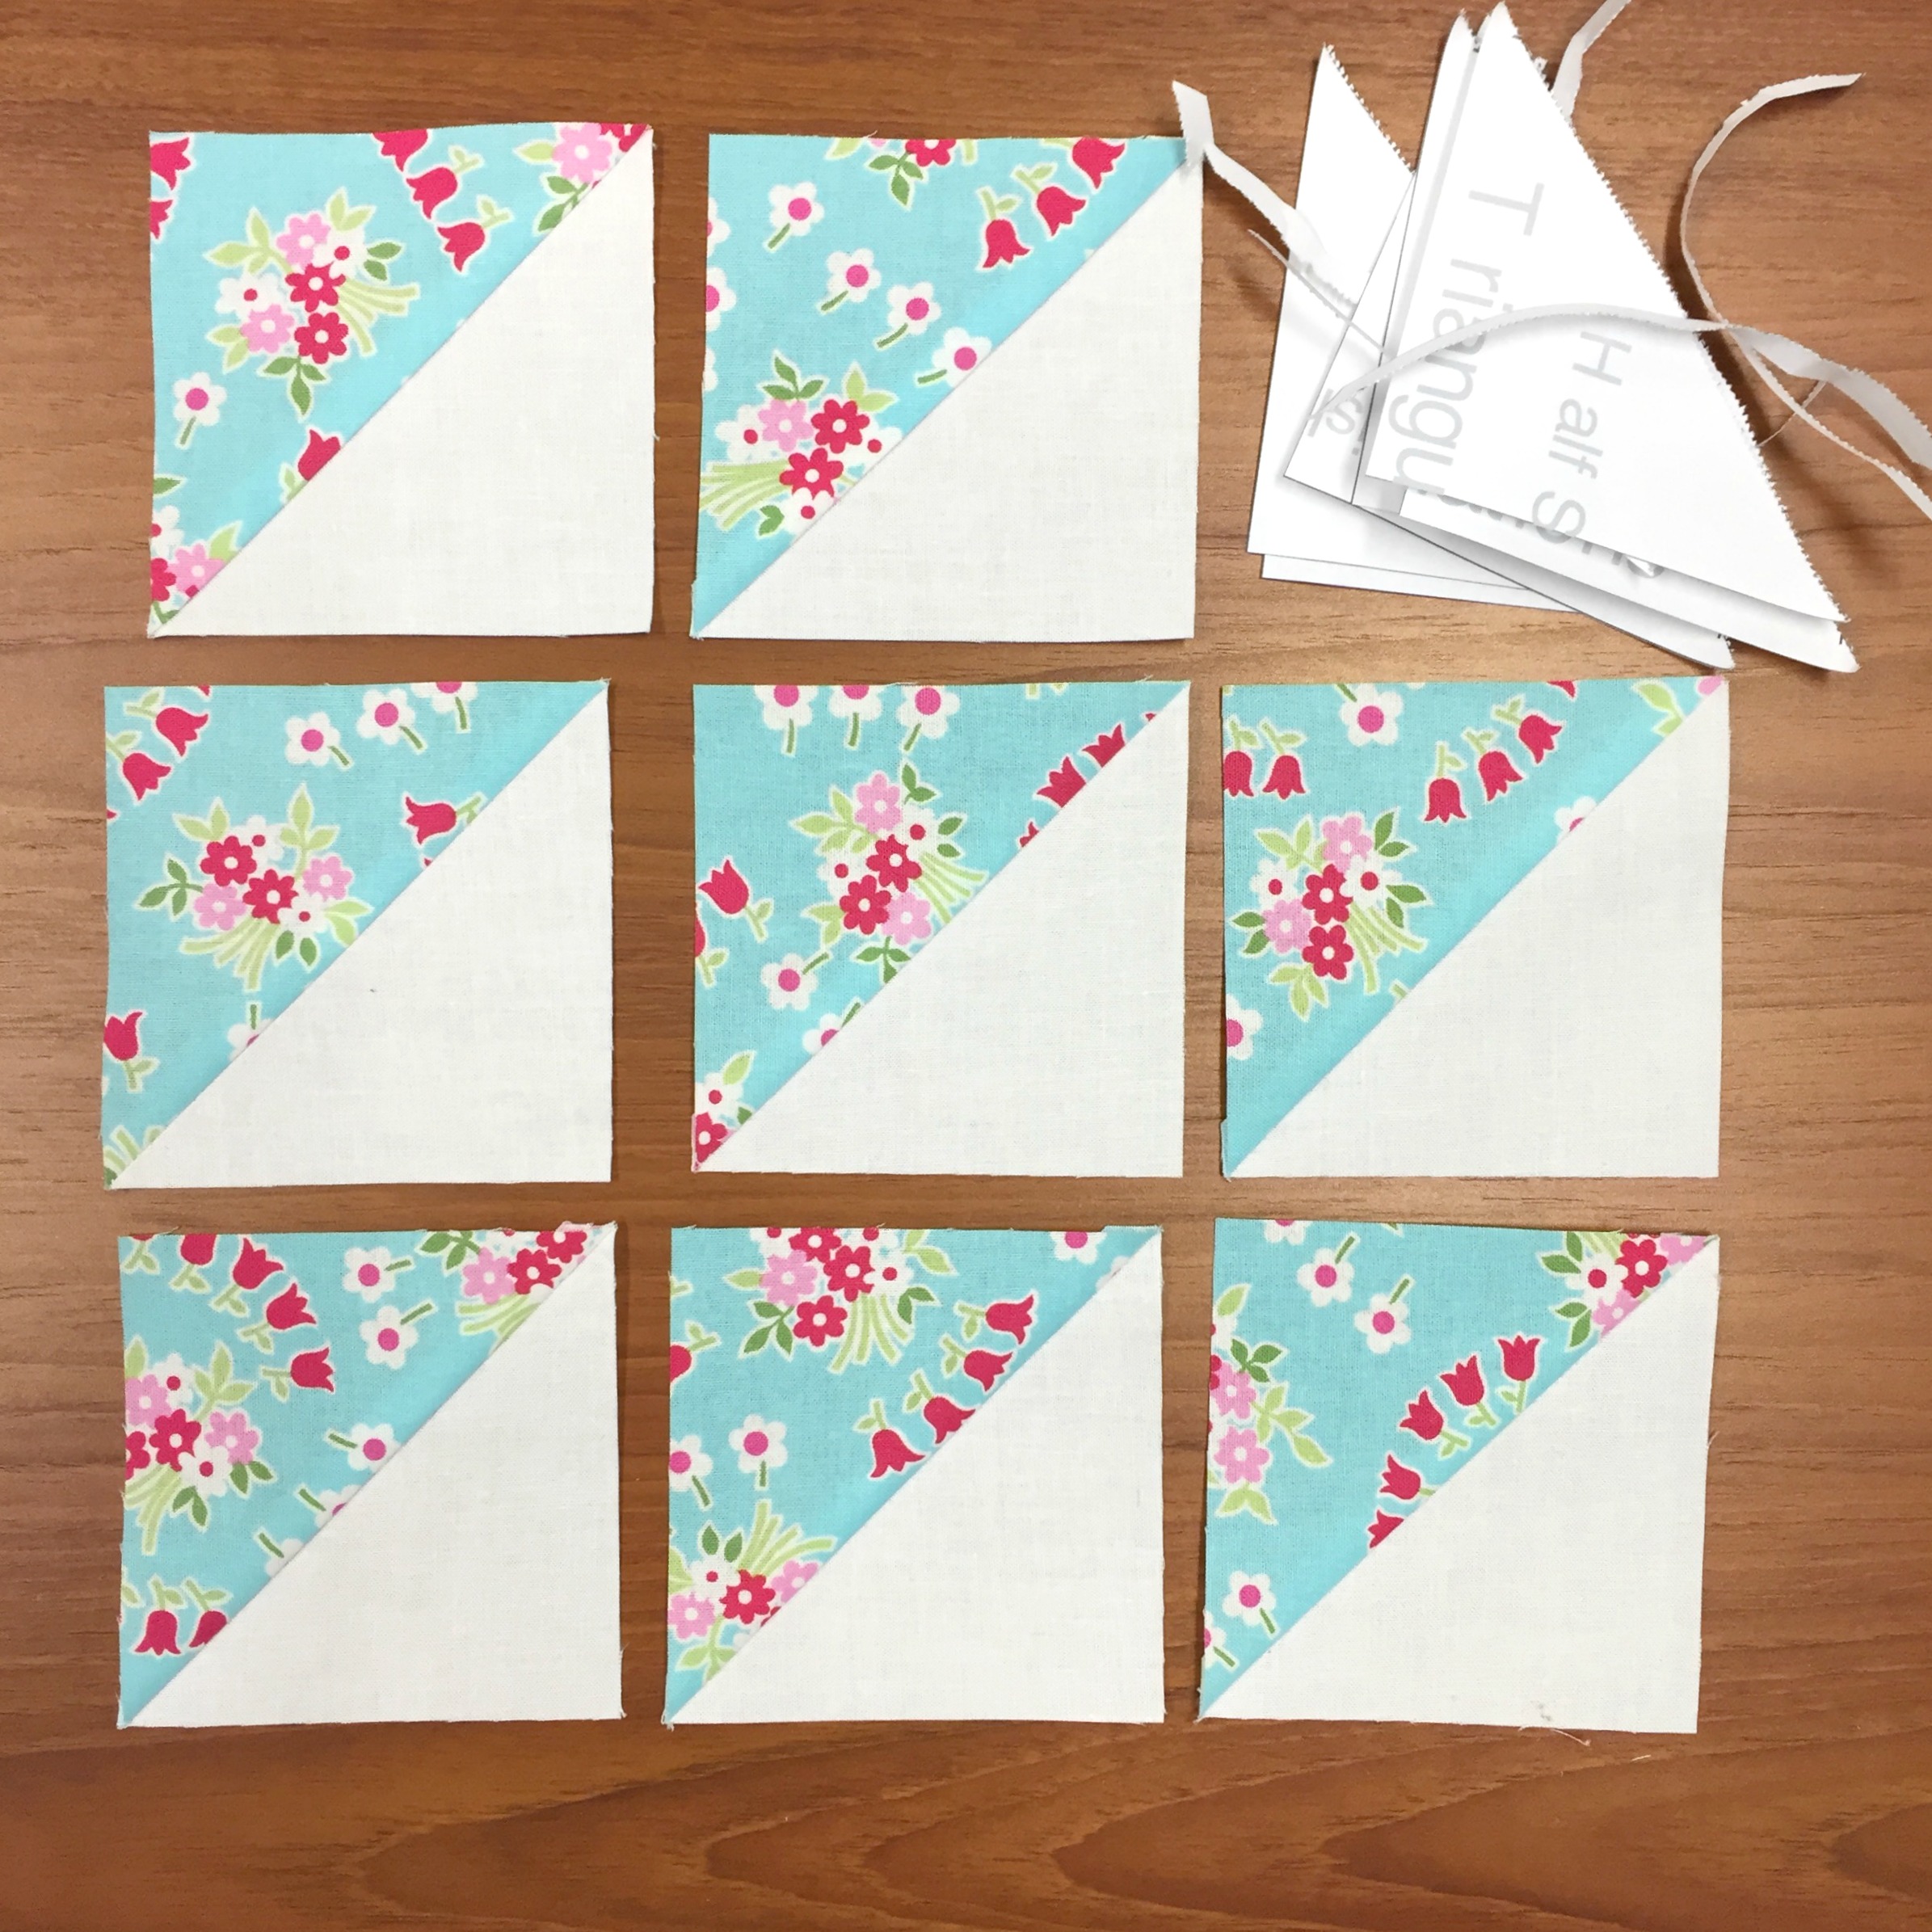
3. Make the ruffle. I tore strips, width of fabric, to be 4 1/2" wide. Press them well, and sew them all together to make one long strip as shown below (clicking on any of the images will enlarge them for more detail):

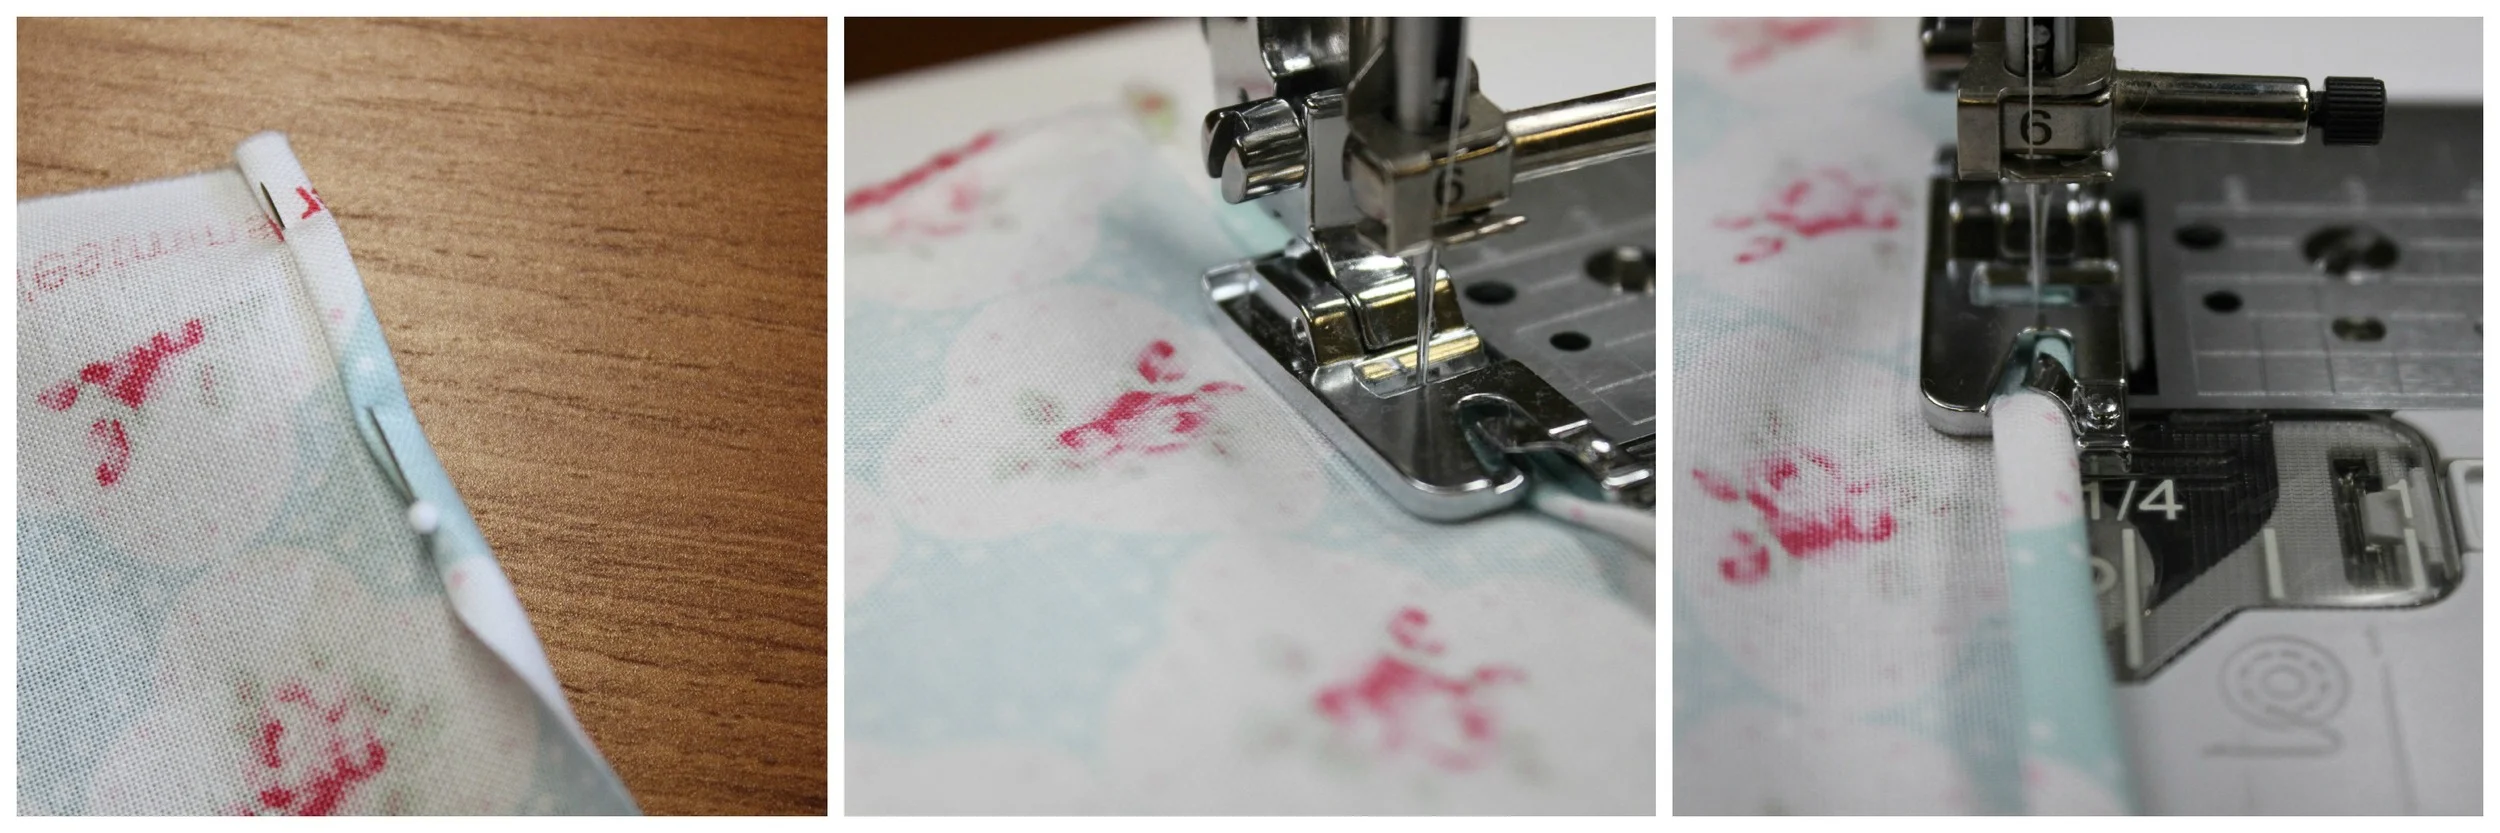
Join the strips, end to end, with a diagonal seam. The best way to do this is to layer two strips, both right side up, as shown in he first photograph. Place a ruler's 45ยบ line on the long edge and make a cut. Then, flip the top strip over and place it on the bottom strip, right sides together now, with the cut edges even, and shifted slightly so that there are tiny triangles extending at each end (middle photo).  I've drawn the seam line with a pen, which begins and ends right at the corner of the triangles.  The seam allowance is decided by the size of those tiny triangles, because you'll drop your sewing machine needle right down at the corner of the overlap. The third photo shows the seam pressed open. Sew in pairs of two, then continue sewing together until you have one long strip. Now for the gathering!

You may use any method you like for gathering the strip into a ruffle, but my favorite way for working with very long strips is to use my Baby Lock serger! Setting the differential feed and stitch length up to their highest settings will gather quickly and evenly! Bonus: the edge of the ruffle is finished with a nice overcast stitch! It may have taken me 3 or 4 minutes to do this...

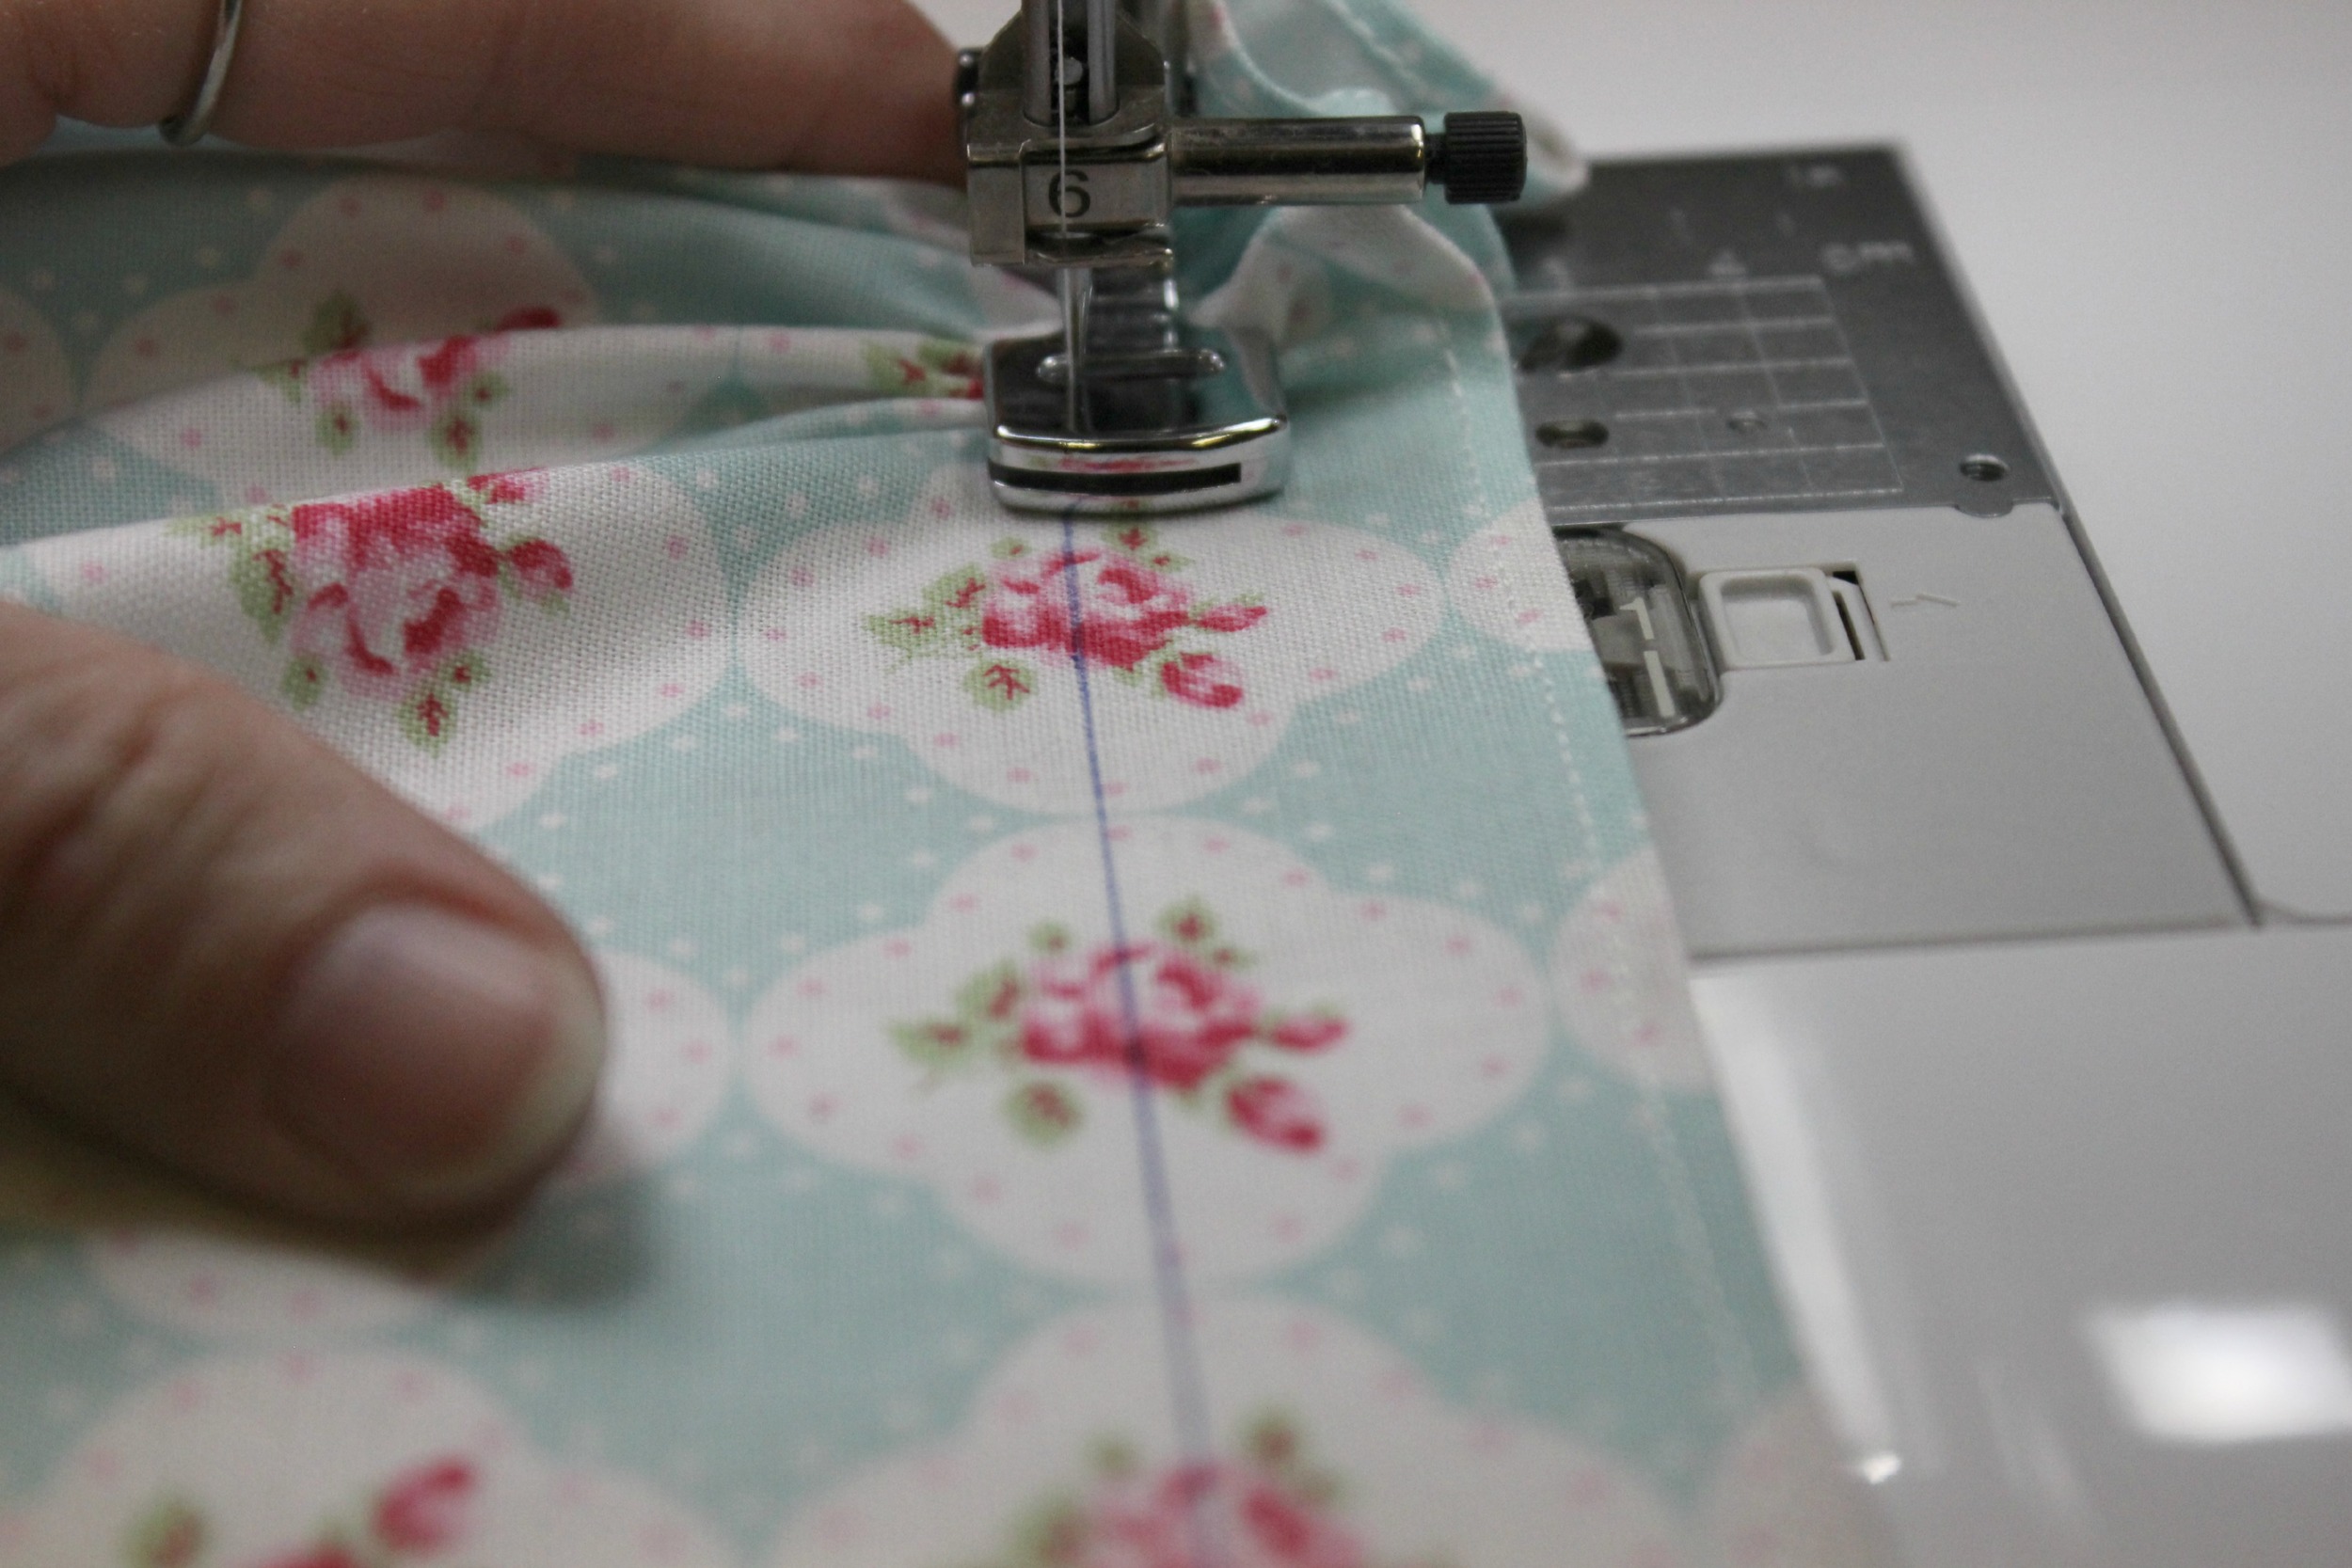
4. Attach the ruffle to the quilt top using a scant 1/4" seam allowance. Over lap the edges a bit at the beginning and end, tucking the raw edges into a fold.

5. Now it's time to layer the quilt top, backing, right sides together, as show below.

Next, add the batting on top of both layers. Smooth it out nicely, and make sure the batting covers the edges of the quilt top.

You can pin everything together, if you like, but my preferred technique here is to hand baste around the edges. Don't whine, it only took a few minutes, and it was worth the effort!

6. Next, take it to the sewing machine and stitch around the outside edges, using the quilt top as your guide. I used almost a 1/2" seam allowance to make sure I was catching both the ruffle and batting in the seam. Be sure to leave about 8" open for turning. Trim the backing and batting (where necessary) even with the quilt top around all four sides as shown below. My favorite scissors work wonders for all these layers! Clip the excess fabric in the corners away.

7. Turn your quilt right side out and press the edges at the ruffle well.  Stitch the opening left for turning closed (I used the machine to do so.)

8. The quilt is ready to be tied. Place it on a large flat surface and use safety pins to mark each tie point. I used a 6" x 24" ruler to help me place my pins in a 5" grid (recommended by the batting company). No need to close the safety pins, they will hold in place quite well leaving them open, and they will be easily removed at the sewing machine.

9. We're ready to tie!  Roll up the quilt as shown below and take it to the sewing machine. I use my Baby Lock machine for this. Not only is it a time saver, I know it's securely tied and will hold up under wear and tear and repeated washings! The little indentations on the quilt back in the photo are the safety pins.

The hardest part was choosing a stitch from the vast array available! I finally landed on a spiraling circle. Engaging the tie-off feature and the scissor cut made it even more effortless because all I had to do was move the quilt to line up a safety pin under the needle, slip the safety pin out and go!

That's it! I'm finished, and I think Bobbie-Leigh and Charleigh are going to love this!  I may even bring myself to part with an extra yard of that hoarded fabric so that she can make a valance or a pillow or two.

Thanks for visiting! Happy sewing and God bless. Maxie


Announcing the Bonnie Christine and Renaissance Ribbon Blog Tour!

I'm very excited to share with you today that I will be participating in the Ribbon Blog Hop by Bonnie Christine and Renaissance Ribbons!
ย 

If you know what a shop hop is, you have a general idea of what a blog hop is...except you can drink coffee and keep your slippers on for this one! A blog hop is a set time frame during which a group of bloggers post about a topic and share links to the previous day's blog post and the next day's blog post so that you can easily visit each one of them! We have 18 bloggers participating, so each day, for 18 days, you'll be able to see a new project using the wonderful Renaissance Ribbons designed by Bonnie Christine! It will be so much fun to see what each blogger will create and share with you. It begins on Monday, March 16, so mark your calendars and watch for the first post to be announced on Bonnie's blog on that day! Be sure to like my facebook page, too, as there will be regular announcements there. And by all means, please sign up for my emails (do that right here on the right sidebar) to receive all my announcements!

Bonnie Christine is a surface pattern designer, mother hen of the Roost Tribe and author of Going Home to Roost - a blog dedicated to living an extraordinarily creative life. She is inspired by the great outdoors and is passionate about sharing what she knows and creating community around creativity.

Bonnie Christine's ribbons were inspired by a love for nature and sunshine. They represent working in the garden, growing flowers and watching the bees, birds and butterflies take flight. Bonnie most enjoys using the ribbons to add cheer to everyday objects like notebooks, bags, key chains and clothing. Her goal has always been to create patterns that are organic and natural, joyful and lovely. She believes patterns are one of the ways we can express ourselves and make our spaces beautiful.

You can get started on ribbon projects now! Visit Renaissance Ribbon's beautiful free idea page!

Thanks for visiting! Happy Sewing and God bless! Maxie

Sew Something You Love, Just for You, Today...

I think this is going to be perfect for me. That's what sewing is all about, right? These colors and fabrics are what I love to work with.

Sew Something you Love

And, with these fabrics, I'm going to show you two of my favorite presser feet for my Baby Lock sewing machine. Chances are good that you can find these feet for your sewing machine, too.

Baby Lock Gathering Foot and Rolled Hemmer Foot

The presser foot on the left is the Gathering foot, and the presser foot on the right is the Narrow Rolled Hemmer. They are both pretty remarkable, and easy enough to use! We'll begin with the Narrow Rolled Hemmer, so let's place that on the machine.

Using the Narrow Rolled Hemmer Presser Foot

I've cut the blue floral print into a strip about 4 1/2" wide, across the width of fabric. I am going to use the narrow rolled hemmer foot to finish both long edges of the strip. In the first picture, above, I have folded the edge over 1/8" two times and pinned it in place to hold the first inch or so. In the middle picture, I am stitching that first inch, very close to the edge of the fold. Next, with the needle in the down position, I lift the presser foot and gently tug the raw edge of the fabric up into the curled opening in the foot. This rolls the edge of the fabric and holds it for stitching. You can see the rolled fabric in place in the last picture. Tip: stitch slowly and watch the folded edge under the needle. If necessary, adjust the needle placement one space to the right.

Finished Rolled Edge

Just look at that very precisely stitched hem! Stitch both long edges. Hem the short ends by folding in 1/2" twice and stitching in place. I like a little deeper hem on the sides, so I don't use the Narrow Hemmer for this step. With a fabric marker that has removable ink (I like this one), draw a line 1" away from the edge on one long side. (Right photo.) This will be the gathering line. Replace the Narrow Hemmer foot with the Gathering foot.

Using the Gathering Foot

Before gathering, a few adjustments need to be made on the machine. First, choose a straight stitch and place the needle in the far left position. Increase your stitch length to about 4 or 5, and increase your tension to almost as high as it will go. I do recommend that you practice on a strip to see that you like the amount of gathers you're achieving, because fabrics of different weights and types gather differently. The longest stitch length and highest tension settings yield the most gathers. Sheer fabrics won't need as high a tension setting as regular weight cotton.

Place the fabric underneath the Gathering foot, right side up. With the needle aligned with the drawn line, begin to stitch. Gathers will magically feed out the back of the presser foot! To increase the amount of gathers, simply place your finger behind the presser foot and hold the fabric against the back of the foot, as shown above. Leave thread tails long enough to allow you to adjust the gathers, if necessary.

Attach the ruffle to the tea towel.

I'm attaching this ruffle to this lovely teal tea towel. Using the fabric marker, draw a line about 2" up from the end. Pin the ruffle in place with the upper hemmed edge on the drawn line. Stitch to the towel on the gathering stitches. Next, I placed rick rack over the gathering stitches and stitched it in place. Finished! It's just perfect for me.

Finished Tea Towel

So, find some fabric and a lovely tea towel that suits your liking and make one that is perfect for yourself. Then enjoy a cup of tea. Thanks for visiting! Happy sewing and God bless! Maxie

ย 

Half Square Triangles the Easy, Accurate Way!

I need to make a lot of half square triangles. In a hurry. I'm working on a new video project that requires 88 of the little things, and I don't want to make them two at a time; I want to mass produce them. (The last quilt I made had 360 of them!) Triangulations to the rescue!

Triangulations for making half square triangles.

I found  Brenda Henning's Triangulations a few years ago, and have tried several other types of triangle papers, and these are by far my very favorite. Why? Let me count the ways:

  1. Because this is a CD with a pdf file of triangle papers in every size imaginable in 1/16" increments! Sizes range from 1/2" to 7 1/2". A pdf file means that you just open it and print it. There is no software program to figure out; simply scroll to the size you're looking for and click print! Hint: make sure 'actual size' or 'no scale' is chosen in your printer dialogue box.
  2. They are accurate! Every time! There's no way to miss this.
  3. The CD includes four quilt patterns...worth the $27.95 price alone.
  4. Another bonus: there are flying geese papers and quarter square triangle papers, too!
  5. You use regular computer printer paper; no need to purchase special paper piecing paper.
  6. You own the CD and can print as many papers as you need for life!
How to layer Triangulations and fabric.

So, here is a Triangulation paper for 3" finished triangles. I will make 8 units from this one sheet! Simply layer your two fabrics right side together and place the paper on top. Pin in place. Stitch on the dotted lines. In most cases you can continuously stitch around the grid.

Cutting the Triangulations apart.

After stitching, cut on the solid lines. I usually use a rotary cutter and ruler for this. Even the little 'dog ears' have solid lines so that you can cut them away. At this point, remove the papers easily by pinching the seam allowance at the center point and, with your other hand, swiftly popping the large triangle away in one quick tug.

Finished half square triangles.

It took about 5 minutes to make these 8 half-square triangle units, measuring a perfect 3 1/2". Notice the 'dog ears' are trimmed away, and the diagonal seam travels perfectly from corner to corner (a very important thing). 8 down, 81 to go! Yes, you will find Triangulations on my shopping page.

Thanks for visiting! Be sure to share, pin, and leave me a comment so that I know you stopped by! Happy sewing and God bless, Maxie

ย 

ย 

Using Your Quilt Backing as Binding

Binding your quilt. Almost finished. Wish I was finished so I could start on another quilt. Shortcuts aren't always called for or even desirable, but sometimes, when they are befitting, they are so refreshing! So today, I'm going to show you a great shortcut for your quilt binding that works wonderfully on those quilts that won't be judged in a show, or passed down as a family heirloom. But for the quilts that are loved, used and washed, over and over again, it just makes sense.

The quilt I'm showing you is one that I made for my grandson, Bear, and you've watched the progress of it along the way. Now it's time to bind it! I'm going to simply use the backing as the binding. It's an easy technique, with just a simple little trick of a fold in order to miter the corners properly.

Trimming the batting and batting.

After quilting your quilt, trim the excess batting away. (Above left.) Applique scissors are very helpful for this and prevent accidentally cutting into your backing. Next, trim the backing away, using a rotary cutter and ruler edge placed 1" from the edge of the quilt. (Above right.) Trim all four sides.

Folding the quilt backing to use for binding.

Next, working with one side at a time, press the 1" backing edge in half. (Above left.) Press it in half again. (Above right.) Pin in place to the quilt.

Miter the corner of the quilt binding.

The corner fold is very important to your finished outcome, and it's very simple. In the left photo (above), the right side of the binding has been pressed over twice and pinned in place to the quilt. The top edge has not been pressed. Fold the top edge over so that the folded edge is in line with the quilt edge. The white dashed line indicates the fold you need to make. Press well to hold it in place. You will make one more fold (above right), to bring the raw edge of the backing to the edge of the quilt. The white dashed line in this photo indicates this second fold. Press well.

mitered quilt binding using the backing

Fold the edge over onto the quilt, and the corner will be perfectly mitered! Pin in place. Repeat for the remaining three corners.

Machine stitching quilt binding.

Stitch very close to the edge of the binding, removing pins as you stitch. A walking foot is very helpful for this step. (Above left.) Just look how nice! Now, give it! (Yes, Bear did love it!)

Bear loves his quilt.

Thanks for visiting! Happy sewing and God bless! Maxie