Hello, Bear Tag Blankie

I've heard these soft little baby blankies called Church Toys because: 1) they're small enough to carry in your purse; 2) because the ribbons and soft fabrics pacify the baby, and, 3) because if it's dropped in church it won't make a sound! While they are great on the go, they are also a must-have at home, too. I made my new grandson, Bear, a couple of them so he could keep one in the diaper bag and have another always available. I'll show you how easy they are to make! But first, a word about the fabrics I've used today.

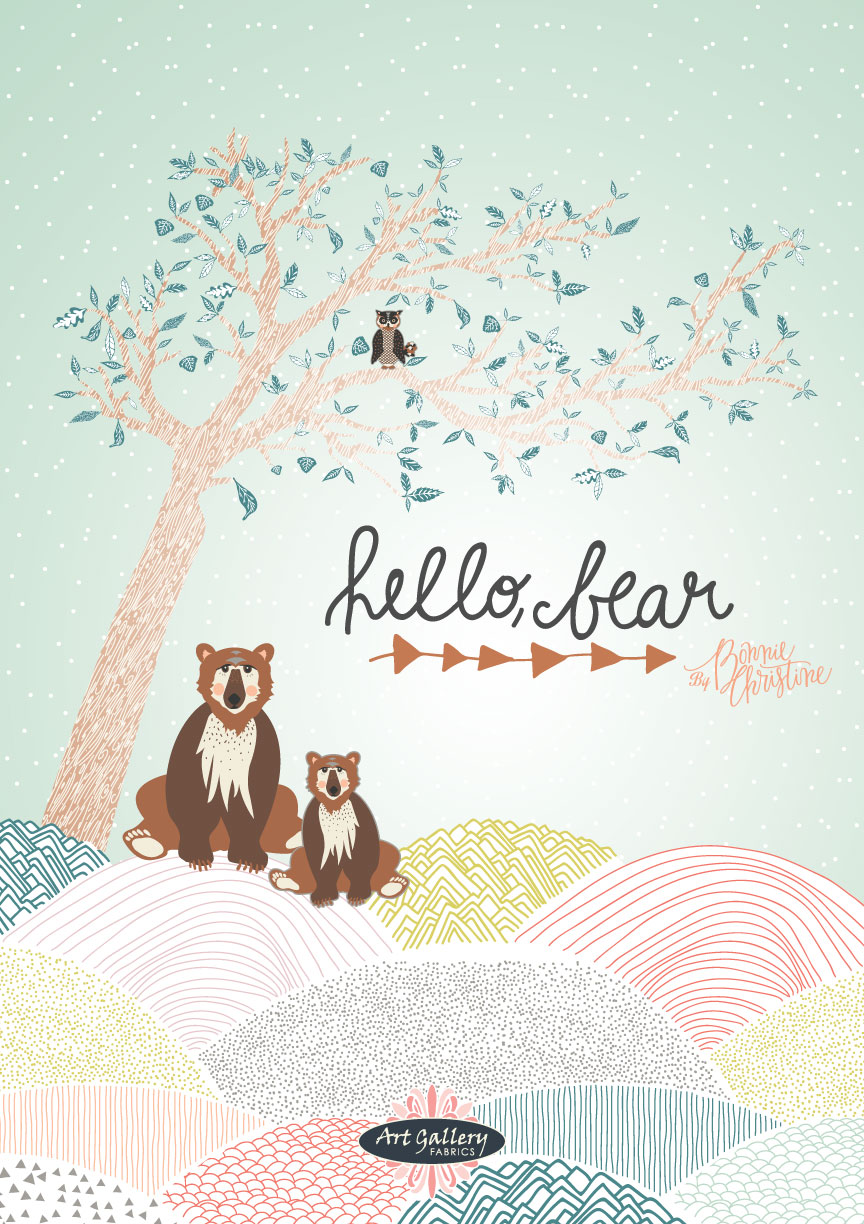
I've been anxiously awaiting my daughter's (Bonnie Christine) newest fabric line, Hello, Bear, to arrive, and it was delivered today! The fabric tells a story of woodland creatures and adventure, but the deeper story is that it was all inspired by her sweet son, Bear!

The fabric requirements are minimal, with a small square or rectangle for the top (mine is about 12" x 14", a plush Minkee for the back, and about twenty to thirty 1/8 yard cuts of assorted ribbons. Bonnie also designs ribbons for Renaissance Ribbons, so you know that I had to use them here!

Cut a square or rectangle of your focus fabric for the front of your blankie. This one is larger than I usually make them, but I wanted to get every forest creature in! To make sure it’s nice and straight, I cut it on a mat with a rotary cutter, placing the ruler on the lines on the mat to make the cuts.

Next, lay it on top of the backing and trim the backing to the exact size as the front. Minkee, a knit fabric with an incredibly soft nap, is the perfect choice for these little quilts.

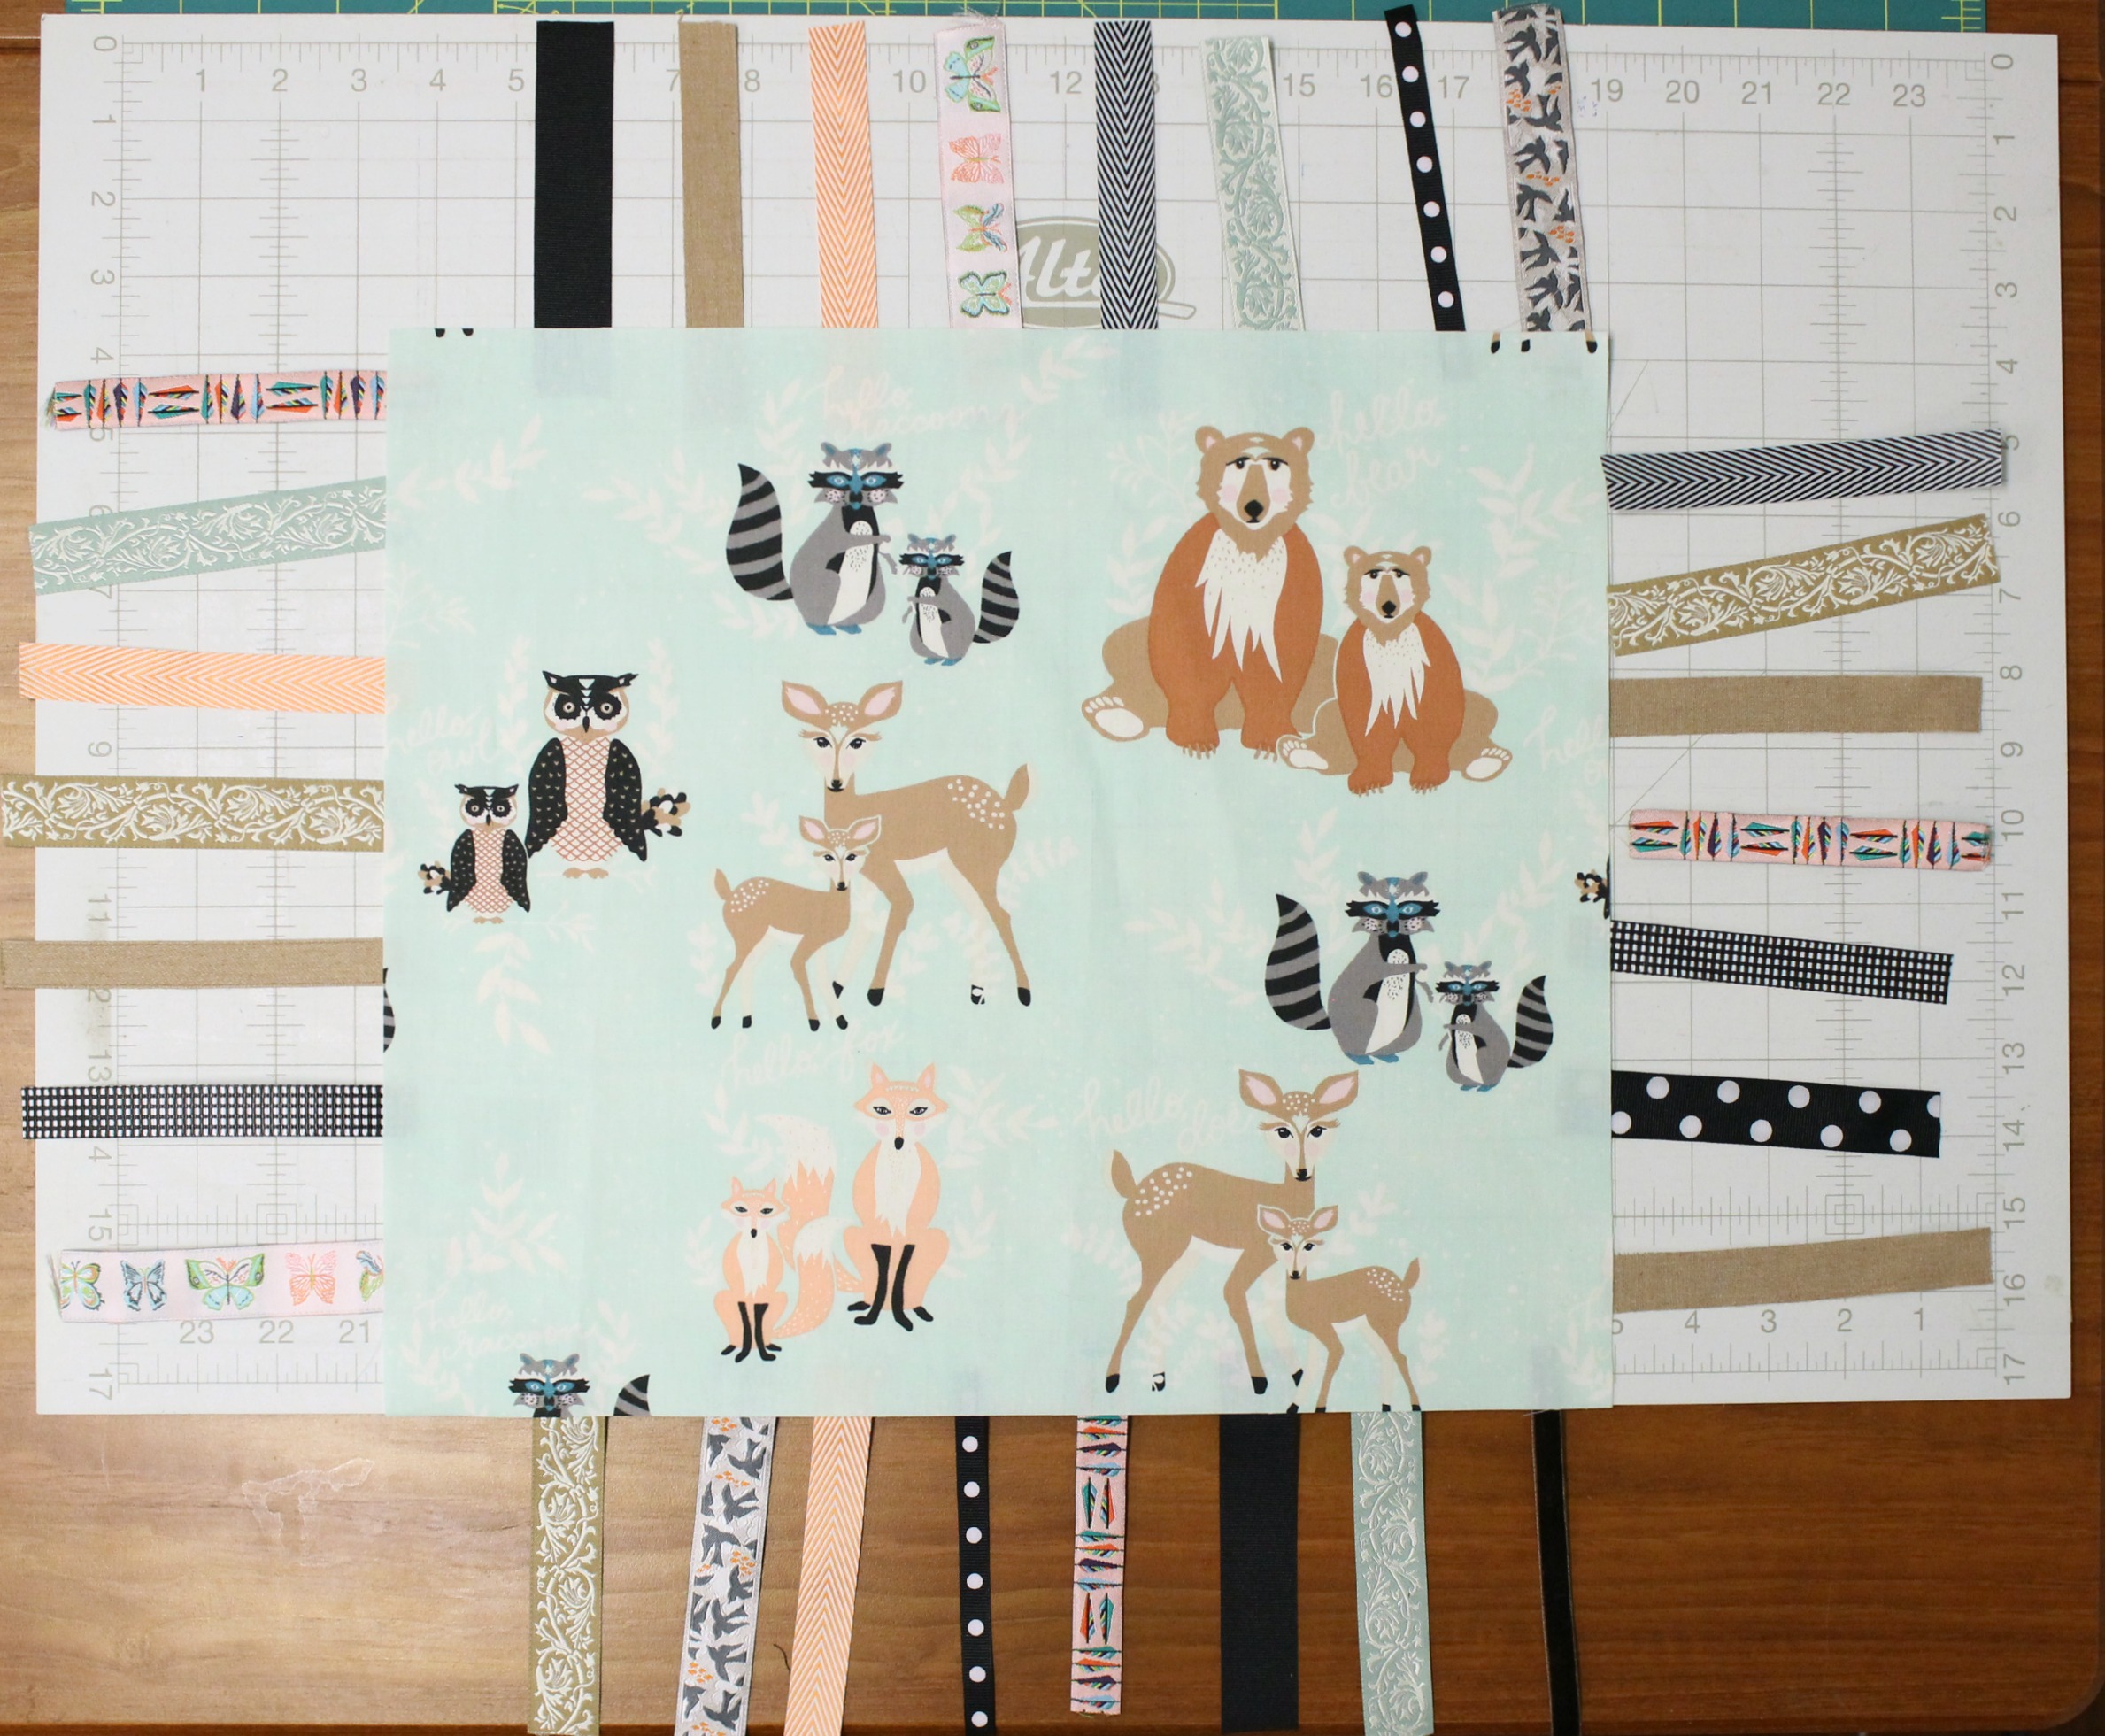
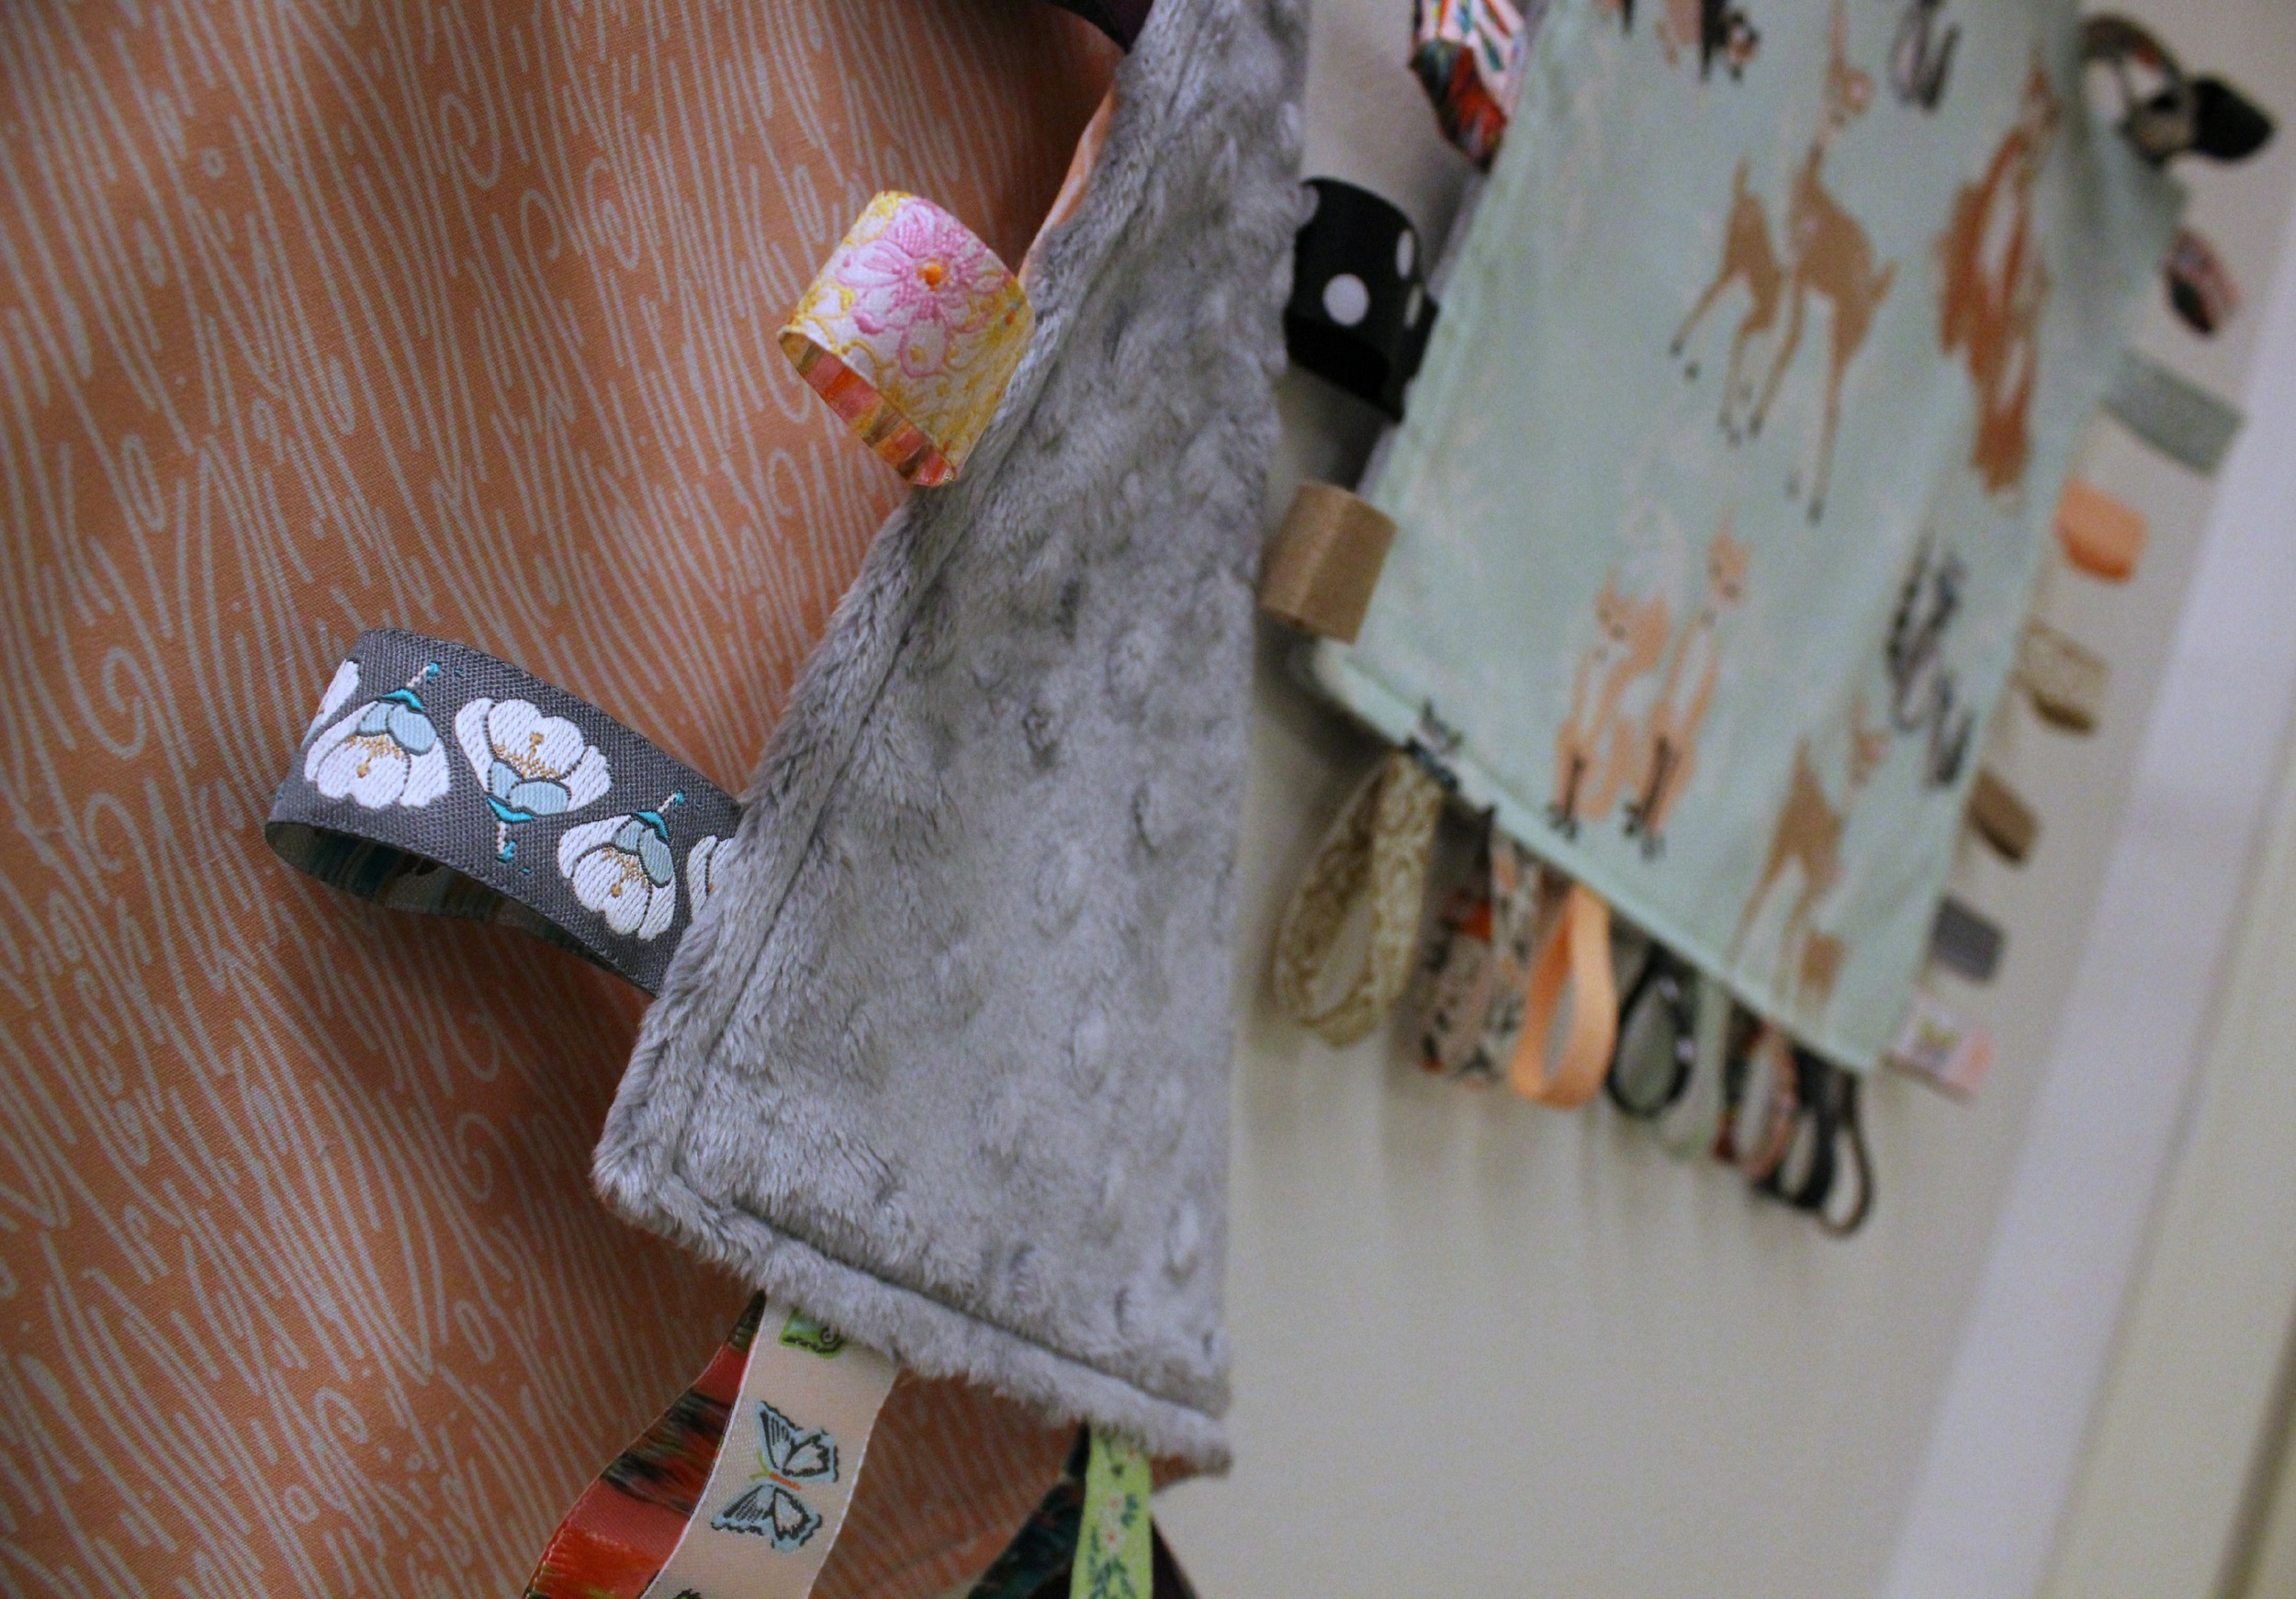
Now…you need ribbons! Lots of charming ribbons! Exactly how many is determined by how large your blankie is. You’ll want a ribbon about every 2”, and each piece only needs to be about 4” long. I have lots of ribbons in my quilt shop, and my favorites are from Renaissance Ribbons. Arrange them to your liking around the edges of your top. This is just a trial run to determine placement, don’t pin them in place yet. (See above photo.)

Lay the Minkee (or backing) fabric right side up. Fold your 4” ribbons in half, wrong sides together and pin in place, matching the cut edges of the ribbon with the cut edges of the backing. (The fold is laying inside the square, as in the photo above.) Don't fuss too much with the placement; keeping the distance between them a little uneven adds to the charm. (Right?)

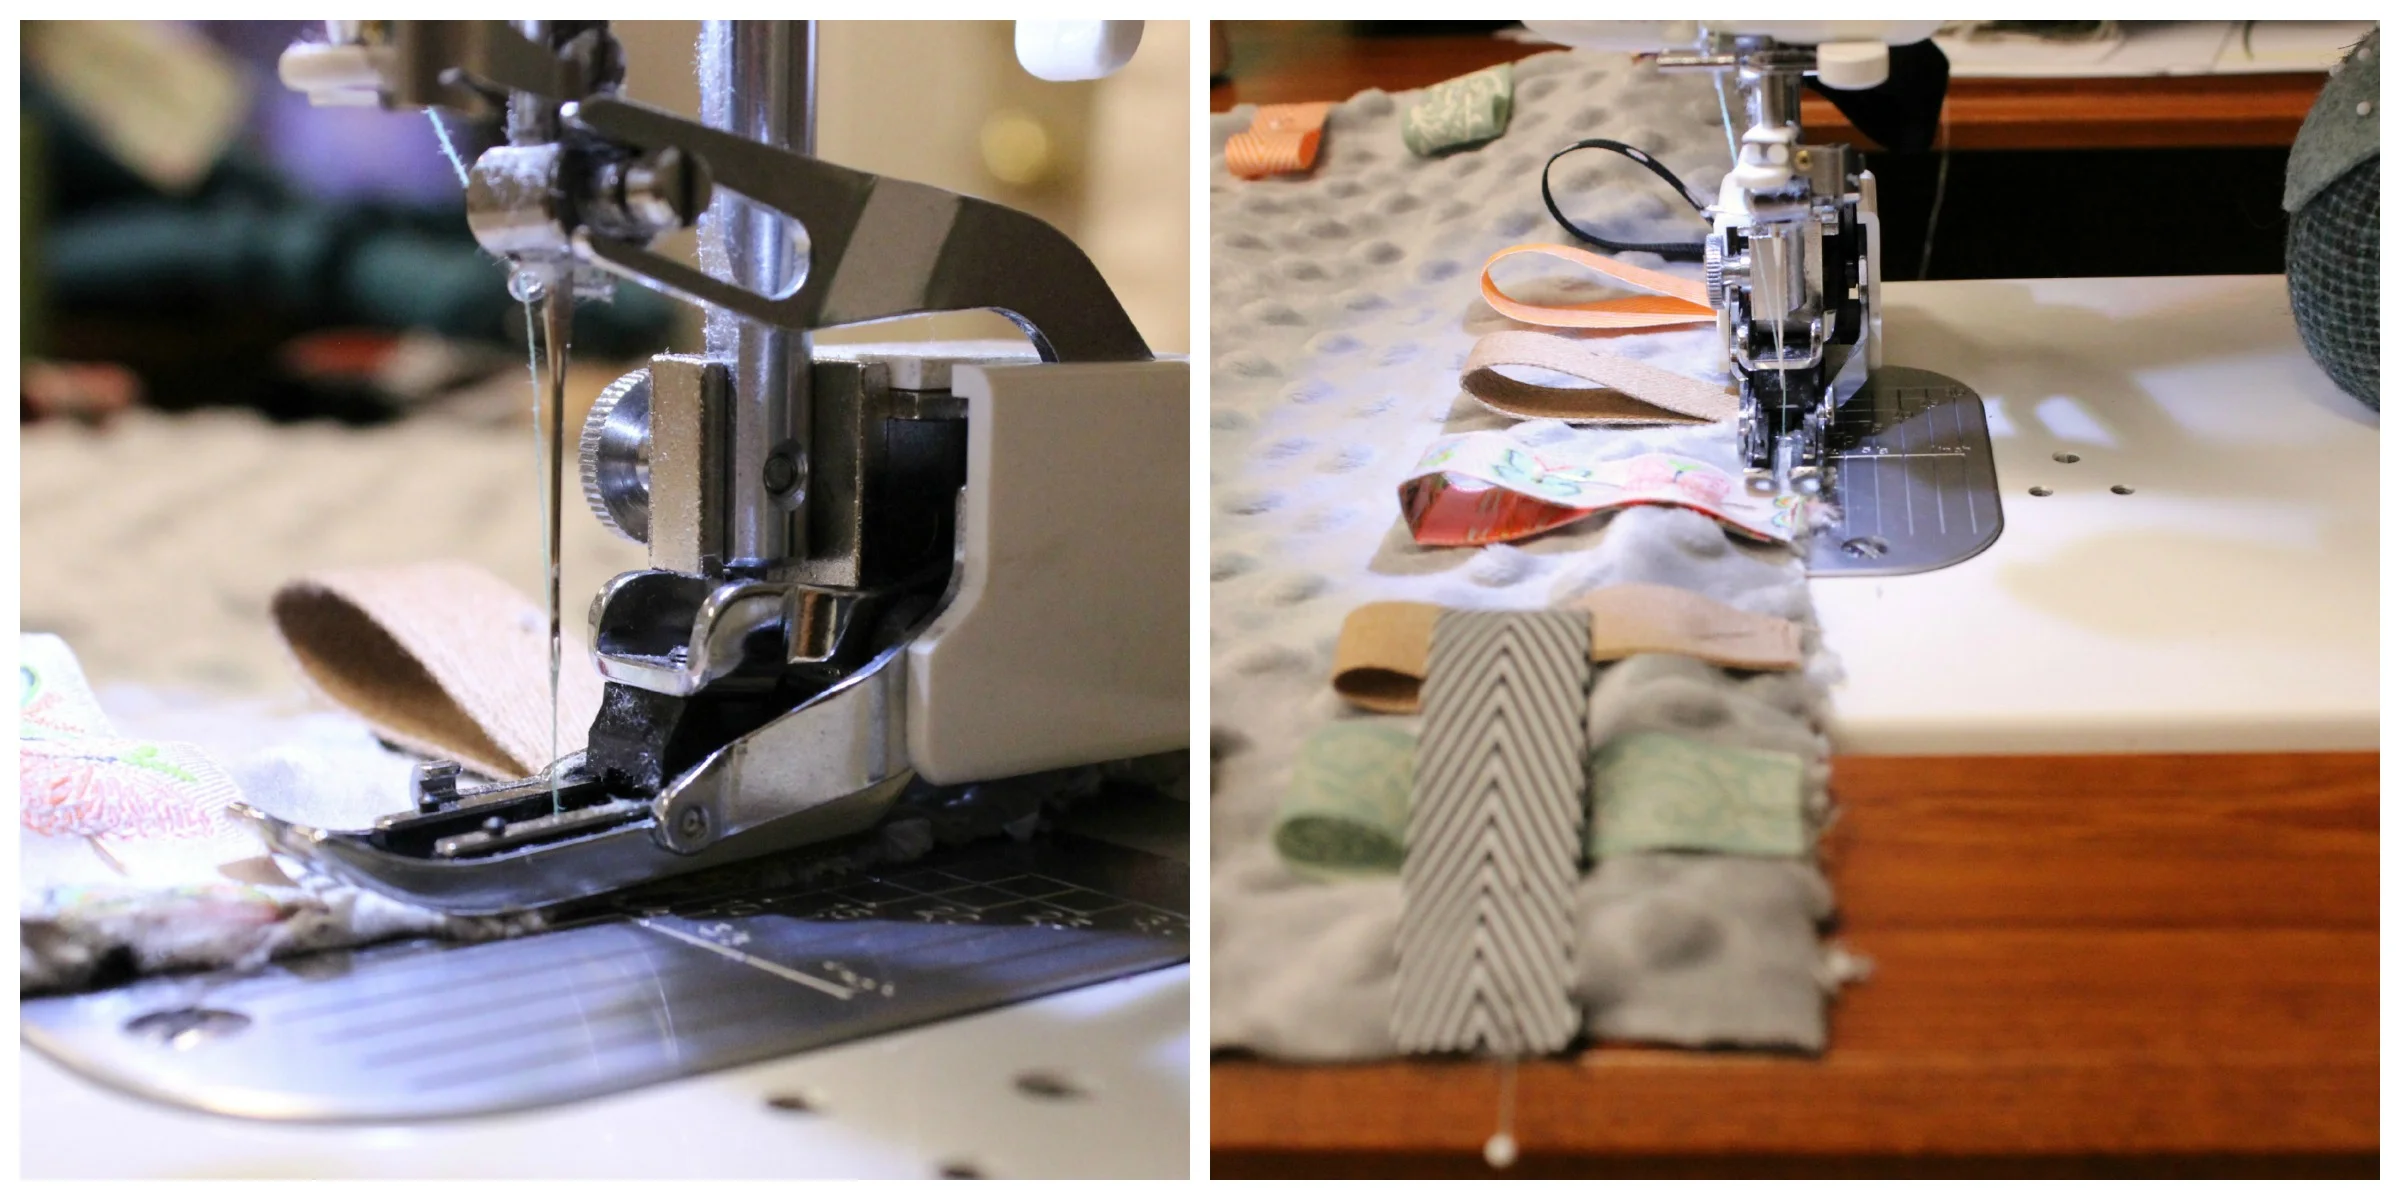
A walking foot will be very helpful for this next step. A walking foot has a set of feed dogs on the bottom of it that work in conjunction with the feed dogs on your sewing machine. It feeds the top layer of fabric to the needle, while the machine’s feed dogs feed the bottom layer to the needle. This results in both layers reaching the needle at the same time. A lot of people ask me what a walking foot looks like, so here is a picture of mine (above left). Stitch the ribbons in place, with a seam allowance just shy of 1/4" (right picture).

Next, lay the Minkee, right side up, on your workspace. Place the quilt top, right side down, over the Minkee. Match the edges, making sure the ribbons remain tucked inside. Pin in place. Stitch around the blankie with a 3/8" seam allowance, leaving a 3” opening on one side for turning.

Trim the corners at an angle to remove bulk from the seam allowance. Turn right side out, using a point turner to get the corners turned sharply. (My favorite point turner.)  Press well. Stitch around the entire outer edge, about 1/4" from the edge, enclosing the opening left for turning with this stitching.

And that's it! I made two in a jiffy. The one on the left also features Bonnie's fabrics and the ribbons are all from her collection. The one on the right is also made from Hello, Bear, with an assortment of ribbons by several designers. Want another tip? When I made Bear's blankies, I attached a teething ring to one of the ribbons. It made it easy for him to pick it up and I so enjoyed watching him go for the ring!

Thanks for visiting! Happy Sewing and God bless! Maxie

Quilt Binding (on a Beautiful Quilt!) Made Easier

It's time for Friday's Feature ad today I actually have two things to share with you. You've most likely seen the first...Clover's truly wonderful Wonder Clips! The second: the quilt I'm finishing with this binding! But more about that in a minute. I've really fallen in love with what Wonder Clips do for you. You know how much of a struggle it can be to fold over the binding and hold it in place while you stitch? Third hand, please. They make stitching binding pretty much effortless. Especially when, after stitching to the quilt front, you press the binding flat (away from the quilt) from the front side before clipping it in place. If you skip this pressing, the binding wants to stay on the front of the quilt. Press it out and it will roll to the backing side very easily. Clip in place and stitching is a picnic! A little thread heaven, a straw needle, Aurifil thread and a good movie and I'm good to go!

Let me share this funtastic quilt with you! When I visited International Quilt Market in Houston this past October, this quilt stopped me in my tracks. I had ordered and stocked this fabric in my quilt shop before market, so I already loved it. But, seeing this quilt in person (along with all the other beautiful items in Tim Holtz's booth) just captivated me. Designed by a guy, Eclectic Elements fabrics are very manly, with prints that include yardsticks from the hardware store, Soda pop bottle caps, a world map, reptile skin, cancelled postage stamps, and so much more. So...I made sure we would be able to make it and offer kits to you! I present to you a quilt every guy will love...Hashbrowns for Breakfast!

The generous 58" x 70" size is perfect for the sofa or recliner. I especially like it on my sofa!

The stars are constructed wonky style...no points to match and no tips to accidentally cut off!

The images below are from Tim Holtz's booth at International Quilt Market in Houston. Inspiration abounds!

Thanks for visiting! Happy sewing and God bless!

Maxie

Quilts for Bear and Eric

I know jar quilts abound. I've always wanted to make one, and I had few fabrics at my quilt shop that were good candidates for jar contents. The only problem with these particular fabrics was that they were scattered prints, and nothing that would fill a jar in a pleasing way. For example, I have some fruit and veggie fabrics that would work nicely by cutting to size and having a jar full of, say, strawberries or tomatoes. But the fabrics I wanted to use had creatures scattered all around and would be difficult to cut for the jar unit without cutting the creature next to it in half. What to do?

 Here's what I came up with! The blue bug quilt (pictured top) is the one that I made for my Grandson, Bear, while drafting a pattern. The Hungry Caterpillar quilt- aptly named Captivated Caterpillars, (pictured directly above) is the one that Sarah made for her son, Eric, and the one that I'm offering as a kit. She took the design and ran with it, having so much fun with the fabrics. We used the scattered prints successfully by building around each jar content motif, log cabin style. The sashing idea was meant to be reminiscent of a starry summer night of bug collecting! Just look how much they both enjoyed their quilts!

You know that feeling you get when you give something to someone you love and they love it? My Grandson, Bear, melted my heart. He knew it was his and his alone.

This is Sarah's little Eric. He's underneath his Captivated Caterpillar quilt, reading his Hungry Caterpillar book! He even has a stuffed Hungry Caterpillar, so this quilt is extra special to him!

Here's how we built the jar block: (Note: the pattern has all the specific measurements for each step.)

  1. Cut the motif from your fabric that you want to place in a jar. Your motif doesn't have to be a square, but be sure to cut each side straight with a rotary cutter and ruler. It could even be a hexagon or triangle shape! Also cut some strips of fabric, width of fabric, to build around the motif. Our background on the strawberry print is white, so we cut white strips. Look closely at the large pictures of both quilts (top) and study the seam lines around the motifs.
  2. Build onto this motif unit log cabin style. Sew a white strip on one side of the motif. Press it open and trim the edges straight, in line with the motif's edges, with a ruler.
  3. Sew another strip on a side of the motif unit. (That's Sarah, Eric's mama and one amazing quilter/sewist!)
  4. Trim the new strip's edges straight.
  5. Continue to sew strips around the motif until the unit is large enough to trim down to the needed square size.

Snowball the block by sewing a square onto each corner of the square.

Make the jar lids. Cut a strip of yellow jar lid fabric. Cut two strips of green fabric and sew one on each side of the yellow strip. Subcut this into nine units for the jar lids. (See 1, below.) Again, the pattern has all the specific measurements.

Sew green strips around the block to frame the jar. Now, on to the sashing! The great thing about this technique is that your star tips are supposed to be wonky! Sew them on as shown below:

  1. Place a star tip rectangle on the sashing strip so that you can stitch from the center (on short edge) to the side. You don't have to be dead center. Make the tips different lengths. This just adds to the twinkle effect.
  2.  Press it over and trim away the excess star tip fabric, so that the edges are even with the sashing.
  3. Repeat for the other side of the star.
  4. Press, flip and trim.

Make eight (8) with star tips on one end of the sashing, and four (4) with star tips on both ends.

That's just about it! Arrange your jar blocks and sashing stars and sew them all together into rows, then sew the rows together.  Add borders, layer, quilt as desired...and give to someone you love!

For kit information, click here. For the pattern, click here. Thanks for visiting, and God bless! Maxie


Favorite Scissors

Working with scissors that just won't cut the mustard can put a little stress in the sewing room and on the joints in our hands. About a year ago, I was perusing Quilt Market and came across the Kai Scissors booth. There were no sparkles or dazzling displays...only simple tables filled with perfectly aligned scissors. I stopped and focused on the different sizes and shapes of scissors. But the love happened when I picked up a pair of Tailoring Shears and the gentleman handed me a piece of fabric to cut. First of all, the feel and comfort was so different than any other scissor I had ever held. I could sense the quality just by opening and closing them, but I was totally amazed at how they cut! I couldn't even feel the fabric between the blades. So...I placed my order for a few pair, just to try.


When I returned home and my order arrived, I was eager to use them in my sewing room. I will admit that I am a bit of a scissor junkie. I set out to test them as I made a heavy tote bag. I always use an interlining of heavy cotton canvas and batting between the facing and lining fabrics. Admittedly, this is sometimes hard to trim, especially in seams. These scissors cut right through all of it like butter! There was no strain on my hand and no stalling by the scissors. I was completely in love! So I placed a larger order for the store...gave all my employees & sewing family members a pair for Christmas, and removed my rotary cutters from our shop's cutting tables and replaced them with Kai scissors! (Boy, do I save money on rotary blades!).

So, let me introduce to you Kai scissors...the best in the world! Made in Japan from fine stainless steel for extra long life and high cutting efficiency. The duplex interlock screw makes the blade tension last; I've used mine heavily for over a year and they still cut just as fine as when they were brand new. Detailed below, but you can find more information about each pair on my shopping page.


A: Model 7230 9" Tailoring Shears. Great for trimming quilts and layers of fabric. I use these for general sewing use as well. My 'go to' scissors.

B: Model 7205 8" Tailoring Shears. A shorter version, every bit as wonderful as 'A'.

C: N5100C: A small 4" scissor with curved blades for trimming close to the fabric. Great for machine or hand embroidery. The blades are serrated, for trimming fabric close to applique´stitches.

D: N5100: A small 4" scissor just like 'C', but with a straight blade. These are great for the sewing box and trimming threads when hand sewing.

E: N5130DC: Double Curved scissors. The handles are curved, and the blades are curved for easy cutting of hooped fabrics. The tips are blunt so that you won't accidentally cut the fabric. Wonderful for all types of embroidery or quilting.

F: N5000: 5 1/2" scissor for general embroidery. Ergonomically soft handles make cutting easy on the hands.

Thanks for visiting today! Happy sewing and God bless!

Maxie


Layer and Quilt as Desired. (?)

Those five little words seem to be the last sentence in just about every quilt pattern instruction sheet, yet this part of the process might take longer to accomplish than all the previous steps in the pattern! Sometimes things really are easier said than done. So, I thought today I'd share some tips that I've learned over the years that might help you with this arduous task. Well, at least with the 'layer' part!

First of all, you need to begin with a very straight, squared up and on grain backing. The best way to do that is to tear your backing on all four sides. Or, you could leave the selvages on the two lengthwise sides and only tear the two crosswise sides. In the sample above you can see that I needed to sew a seam in my backing because my quilt was wider than the width of fabric. By the way, your backing should extend about 3" beyond your quilt top on all four sides. You can achieve this by adding 6" to the finished length and width of your quilt top. For example: if your quilt top is 50" x 50", make your backing 56" x 56". (If you're making your backing for a long arm quilter, typically they will ask you to add 8".)

Using masking or painter's tape, tape the two lengthwise sides (opposite from each other) to a smooth surface. Make sure your backing is wrong side up. I'm using my hardwood floor, but you could use a table. Tape them taught, but don't stretch the fabric. Then, tape the two crosswise sides. (See above photo.) You can gently tug out any loose fabric areas, but don't stretch here, either. If you skip the tape, you will most likely experience pleats and puckers on the back side of your quilt!

The next step is to smooth your batting on the backing fabric. Batting typically doesn't have a grain. Your backing should extend about 2" beyond your quilt top on all four sides.

Roll, or fold up your quilt top as shown above. Lay a ruler on the edge of the quilt, with the 3" line on the edge of the backing. Place the quilt top on the batting, aligning the edge right next to the ruler. If you have more than a 3" extension, that's ok, just make sure you use a ruler, as pictured, to help keep your quilt top and backing straight.

Unroll your quilt, smoothing as you go. Want this pattern?? Watch for next Tuesday's post!

Time to baste. There are several basting methods, but I prefer pin basting because it's a pretty fast process. Slip a small rotary cutting mat underneath the backing to pin into and protect your floor or table. Place a safety pin about every 5-8" apart. Try to avoid areas where you'll be placing quilting stitches. If I plan to stitch in the ditch, for example, I avoid placing pins in the seams. Remove pins as you quilt.

After pinning, untape your quilt from the floor. Now you can 'quilt as desired'!  Maybe we'll cover that in another post! Thanks for visiting and God bless,

Maxie