Put Your Best Foot Forward!

When we sew, sometimes using the right tool can mean the difference between homemade and handmade. I prefer handmade, but I'm no stranger to homemade! I've been sewing for a long time and I've paid my homemade dues, and that's one reason why I love to share things that make our sewing easier and, at the same time, offer a more professional finish. Today I want to share one of my very favorite and most useful presser feet, the Edge Joining Foot. This foot isn't likely in your accessory box because it is usually an option. Looking a bit like the blind hem foot, you might inadvertently think you have it, but upon inspection you'll notice the difference. Below is a shot of my foot as I sew in the ditch (seam) of this placket on a robe I made for my mother. With a small needle and a 60 wt. cotton thread, the stitching is virtually invisible. Show off!

Using the Edge Stitching Foot.

Pictured below are both the blind hem foot (left) and the Edge Joining Foot (right). Notice that the blind hem foot's center guide has a curve in it that wraps around the needle. The center guide on the Edge Joining Foot doesn't even extend into the needle area, allowing the needle to sew at any position you choose. Keeping your needle in the center position, as in the picture above, allows you to stitch perfectly in the ditch because the blade will guide your fabric. If you want to stitch on either side of the ditch, just move your needle into a right or left position. The blade will still remain in the ditch, but the needle will impeccably stitch the perfect distance from the ditch! Show off!

I use the Edge Joining Foot to sew many of my quilt bindings. The blade keeps your stitching line uniform on the binding's folded edge. You can see all four edges of this quilt's binding in the photo below (two sides show the front and two show the back). Show off!

Machine Sewn Quilt Binding with the Edge Sewing Foot

There is so much more that this little jewel of a foot can do for you, making you look like the best sewist ever!

  • Sewing edges of laces, trims or ribbons together.
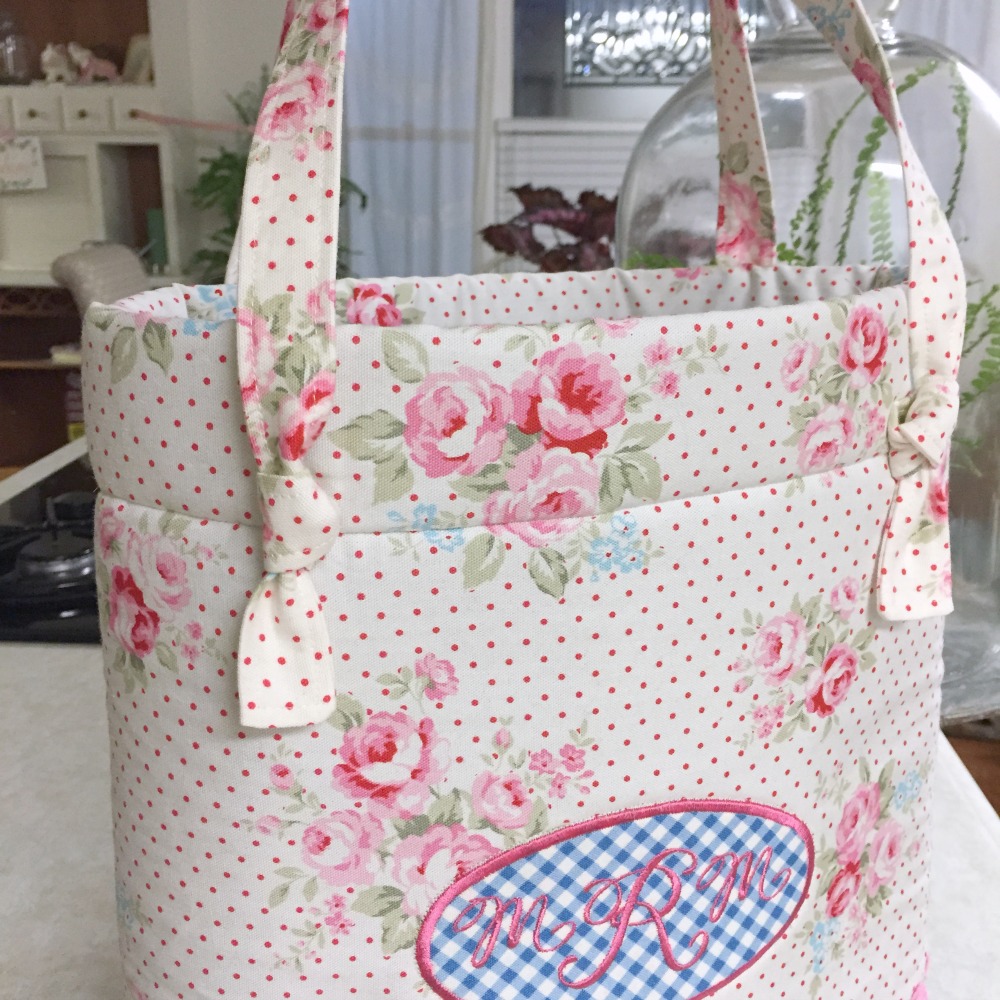
  • Topstitching any edge (bindings, purse handles, etc.)
  • Sewing pockets into totes or clothing.
  • Sewing applique´edges in place.
  • Fagotting two folded edges together with a decorative stitch.
  • And more!

Do you have your Edge Joining Foot yet? Let's get out there and show off!

Thanks for visiting! Happy Sewing and God bless! Maxie


Easy to Sew Bag Handles

I made another bag...and this one is for me! I made sure of that by embroidering my monogram on it so that one of my daughters couldn't 'call' it. (I'm not sure where that started, but if they want something of mine, they think that the first one who 'calls' it gets it.) Since their initials are different from mine, this bag is safe in my arms! Today I want to share a new way of making handles...the way they attach might surprise you, and I have an embroidery tip for you!

The Perfect Whatever Bag by Maxie Makes and Bonnie Christine

The pattern is the Perfect Whatever Bag, designed by my daughter, Bonnie Christine and me. I've posted in the past about this free, downloadable pattern, but today called for another post because of the new variations. This bag pattern is so versatile. If you make it, please send me a picture of your version! I used a canvas border print (I yard, 60" wide) for both the inside and outside of the bag, flipping the lining so that the blue check was at the top inside of the bag. See the pattern for cutting measurements and instructions.

Cutting the fabric for the bag.

I decided to monogram the bag with an applique´ made from the leftover scrap of blue check fabric. It fit just perfectly! I monogrammed a sample first, and discovered that the tearaway stabilizer made a perfect template for placement of the final monogram. I simply creased the center of the fabric and stabilizer and placed the creases together to find the exact center.

Marking the embroidery placement for the bag front.

I love my Baby Lock machine...      Love the font? I found it here.

The Baby Lock Destiny makes it easy to design your own monograms! This monogram is applique´d with a simple oval frame surrounding a fancy font for an elegant look.

And I just had to sew a little ric rac trim on, right? Pink, please.

Sewing the ric rac trim on The Perfect Whatever Bag.

So, from here on out you'll just follow the instructions in the aforementioned free downloadable pattern. Except for the handles. Since I didn't have any leather pre-made handles on hand, I would have to make them. I wanted a very fast and easy way to make and attach them, too, because my Saturday was running out. This method sort of just happened without a master plan, and I loved them in the end!

The Perfect Whatever Bag Handles.

To make the handles:

  1. Cut two 2 1/2" x 27" strips.
  2. Fuse a lightweight stabilizer on the wrong side.
  3. Sew them into a tube, sewing the ends closed and leaving a 2" opening along the center area for turning. 
  4. Turn each end right side out through the center opening. I used a tube turner for this step.
  5. Press well and topstitch around all the edges, stitching the opening closed.
  6. Measuring 3" in from each side of the bag and about 1.5" down from the top, make a mark for placement.
  7. Pin the handles in place as shown in the photo below. Stitch from top to bottom, as indicated by the black arrows. I stitched twice to reinforce the handle attachment.
  8. Tie the end of the strap in a half knot by holding the strap up in the center and wrapping the short end over, around and down through the loop. Pull snugly to form a knot.
handleplacement.jpg

9. Love it! Sturdy handles, easy and fast. Saturday even still has some daylight left.

Knotted bag handles on The Perfect Whatever Bag.

Thanks for visiting today! Happy Sewing and God bless! Maxie


Beautify Your Ironing Board

Ironing boards are akin to household appliances. Necessities, and sometimes unsightly.  Why not make them into a lovely accent piece for your sewing or laundry room? Let the room be more beautiful just by its presence! A new ironing board cover may be in order!

How to make an ironing board cover.

They are so easy to make...this one took me about 20 minutes to sew! I've made instructions for you in the form of a .pdf file so that you may print it and keep for your reference! Just click the photo below to download the file.

One more thing. My daughter, Becky, gave me a tin of vintage sewing items for Mother's Day. Inside the tin was, among other things, a vintage fabric sprinkler. These sprinklers, fitted with a cork, were placed in the top of a soda bottle filled with water. It brought back memories of my Mother ironing; she sprinkled the clothes, rolled them up and placed them in the refrigerator until she could iron them. This allowed the dampness to evenly distribute throughout the fabric, and kept it from drying out. When she removed them from the fridge and ironed them, they were so crisp and perfect. If you don't remember them, ask your mother or grandmother if she does! Please leave me a comment below about your fabric sprinkler memories!

Vintage Fabric Sprinkler
Vintage Bottle Fabric Sprinkler

Did you know that fabric sprinklers are still available to purchase? They sure are...you'll find them over at Lehman's website.

Thanks for visiting! Happy Sewing and God bless! Maxie