I Made a TeePee...

I have two daughters. I know how to sew and smock and embroider and make ruffles and tatting and lacey things in hues of any soft pastel. And then my grandson arrived. Would I enjoy sewing for him as much as I did for my girls? Bonnie tested my abilities when she made her first request before he was born:
 A TeePee for the nursery, please!

Make a TeePee

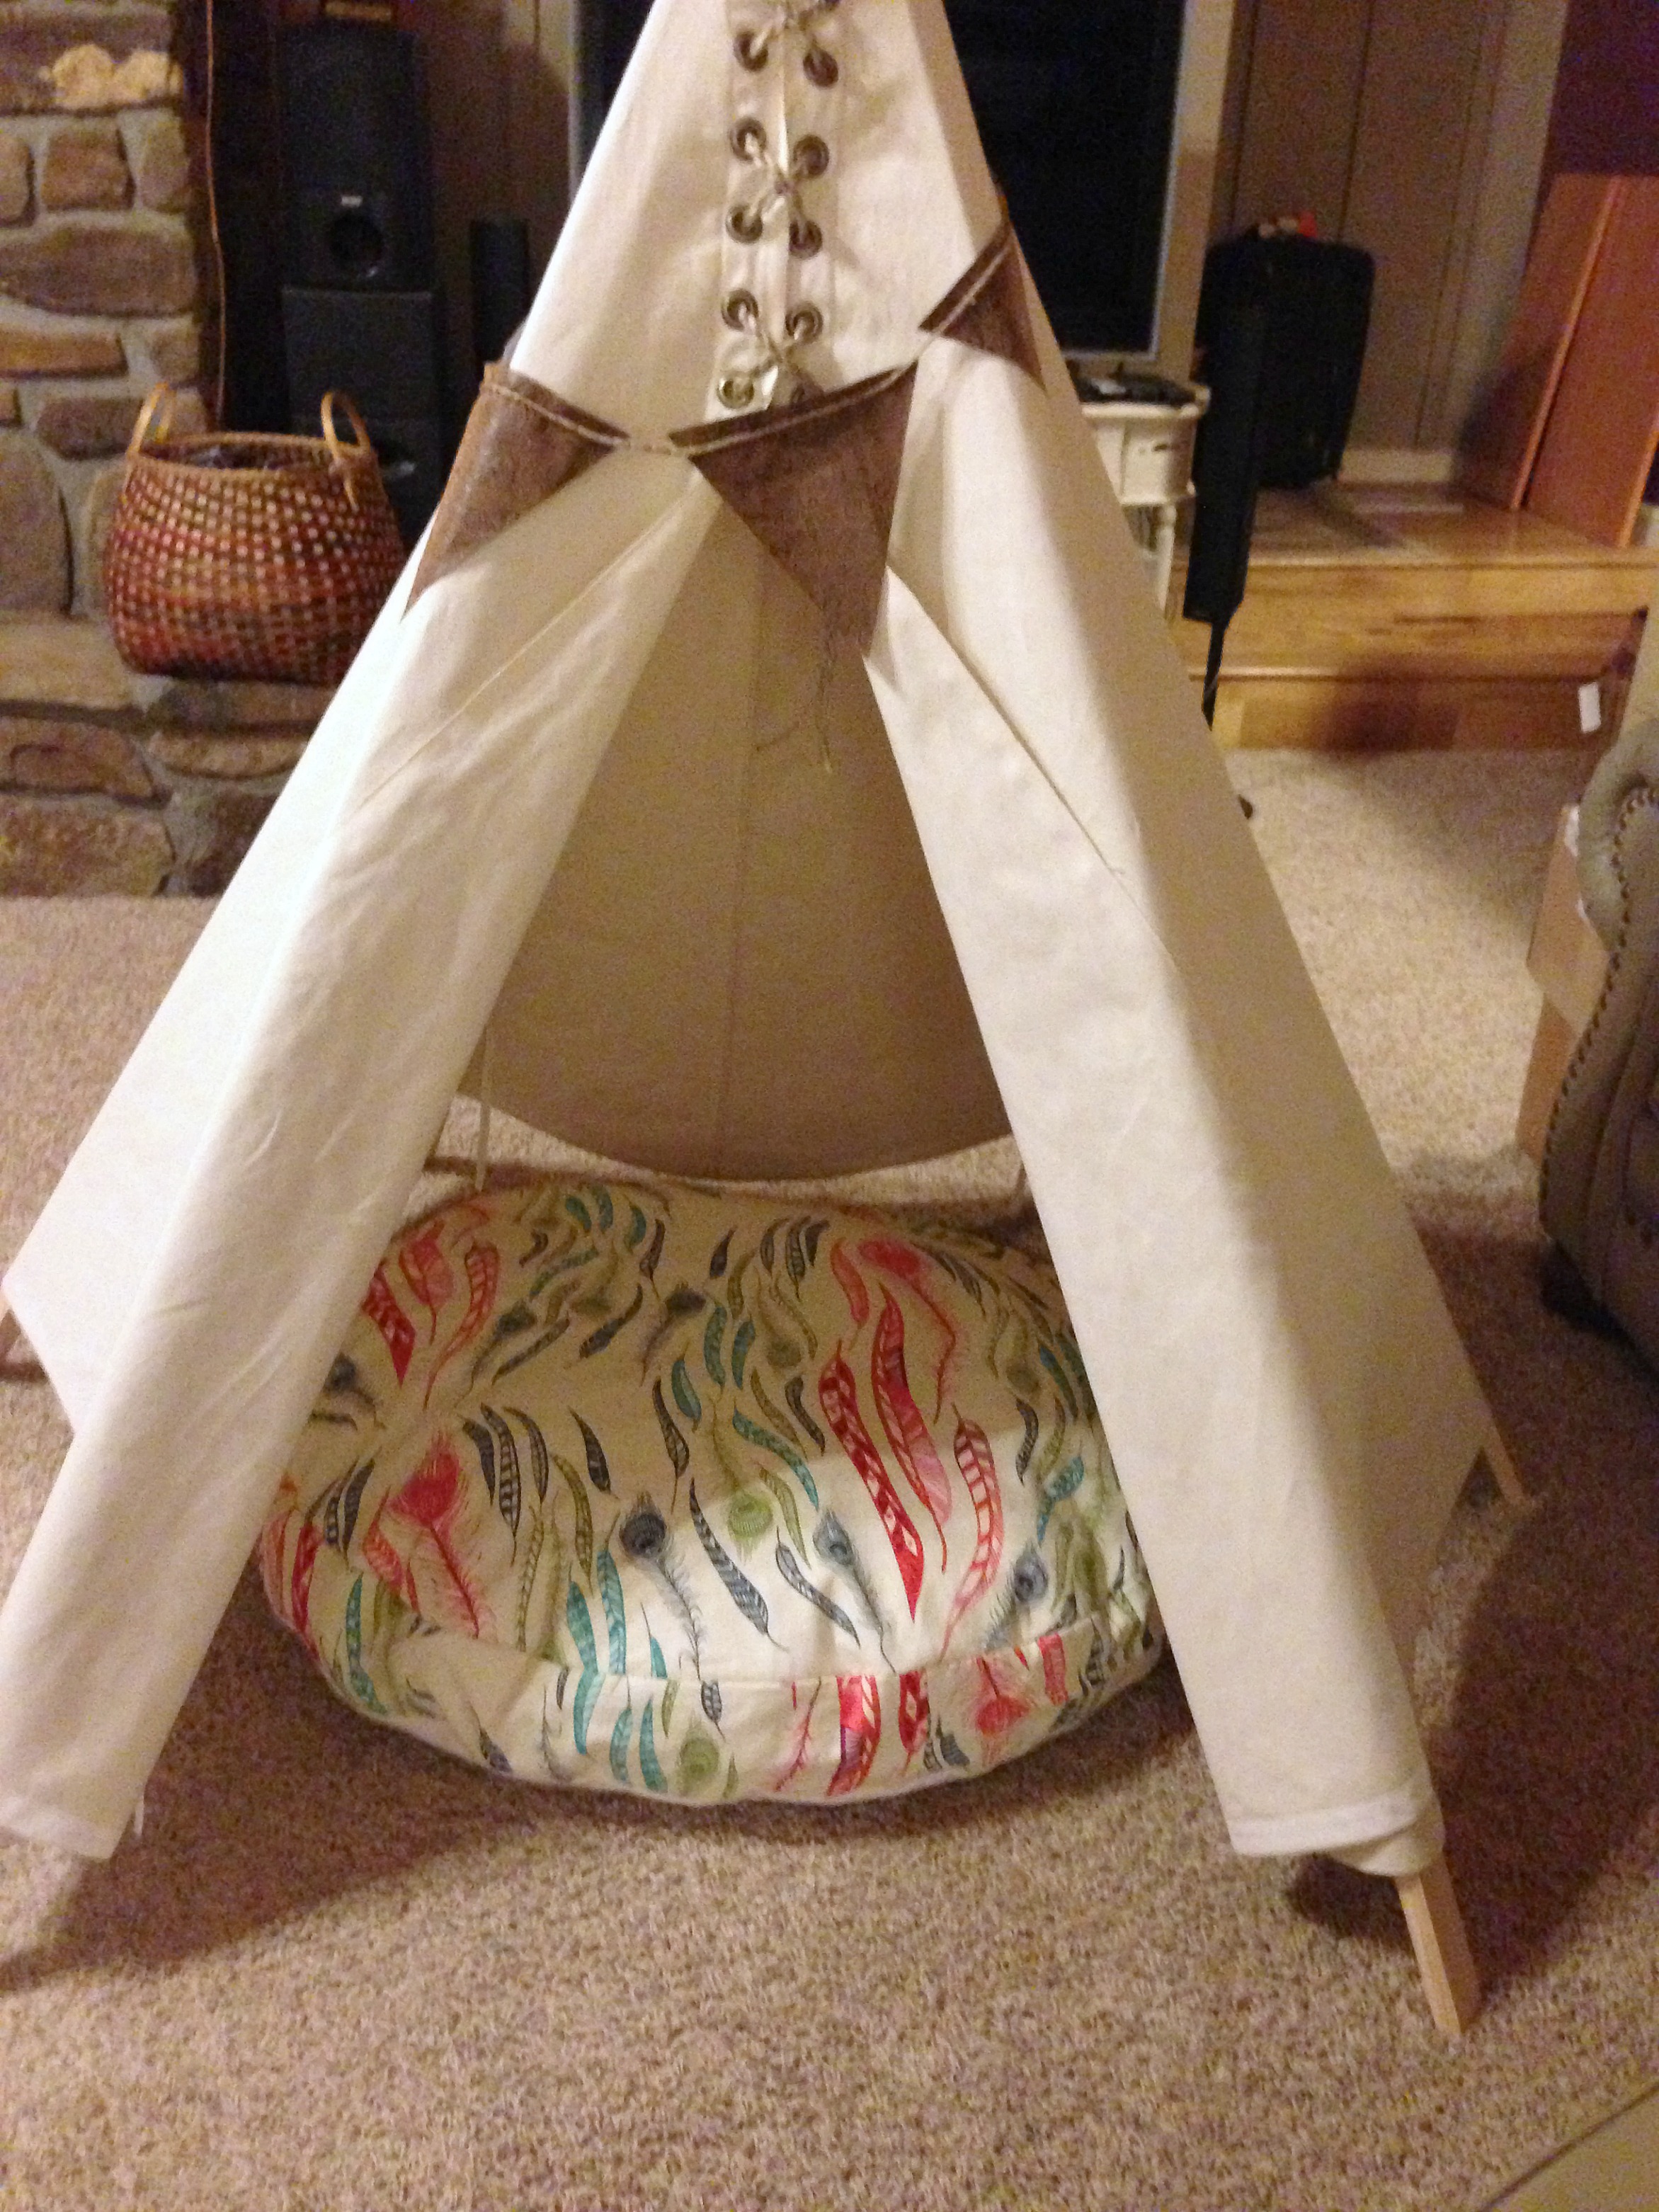
Yeah, I can do this boy thing! I made it as a shower gift, so we used it at the shower to hold her gifts!

Homemade TeePee

It almost held them all! What you can't see is the cushion underneath all the gifts. It's made from a brand new dog bed that I recovered in a lovely feather print canvas!

Making a Cushion for a TeePee

Basically, a TeePee is a semi-circle, with another small semi-circle cut out of the top to allow for the top of the poles. I hemmed the cut edges and around the outer edges of the semi-circle. Then I added grommets at the top for the closure and laced it all with Jute. I pretty much followed the easy directions from this blog (minus the painting!): Sew Mama Sew. A little faux leather banner finished it off perfectly!

Oh, and I find I do love to sew for this little fellow. And he loves everything I make, which makes me run back to the sewing machine time and time again! I made the outfit below from his mama's fabric line, Hello, Bear!

hello_bear_lookbook.jpg


Thanks for visiting and happy sewing! God bless, Maxie


Ric-Rac Quilt Binding

I posted this photo of my ric rac quilt binding on Instagram and Facebook this past weekend, and received some requests for a tutorial! Here ya go...!

Ric Rack Quilt Binding

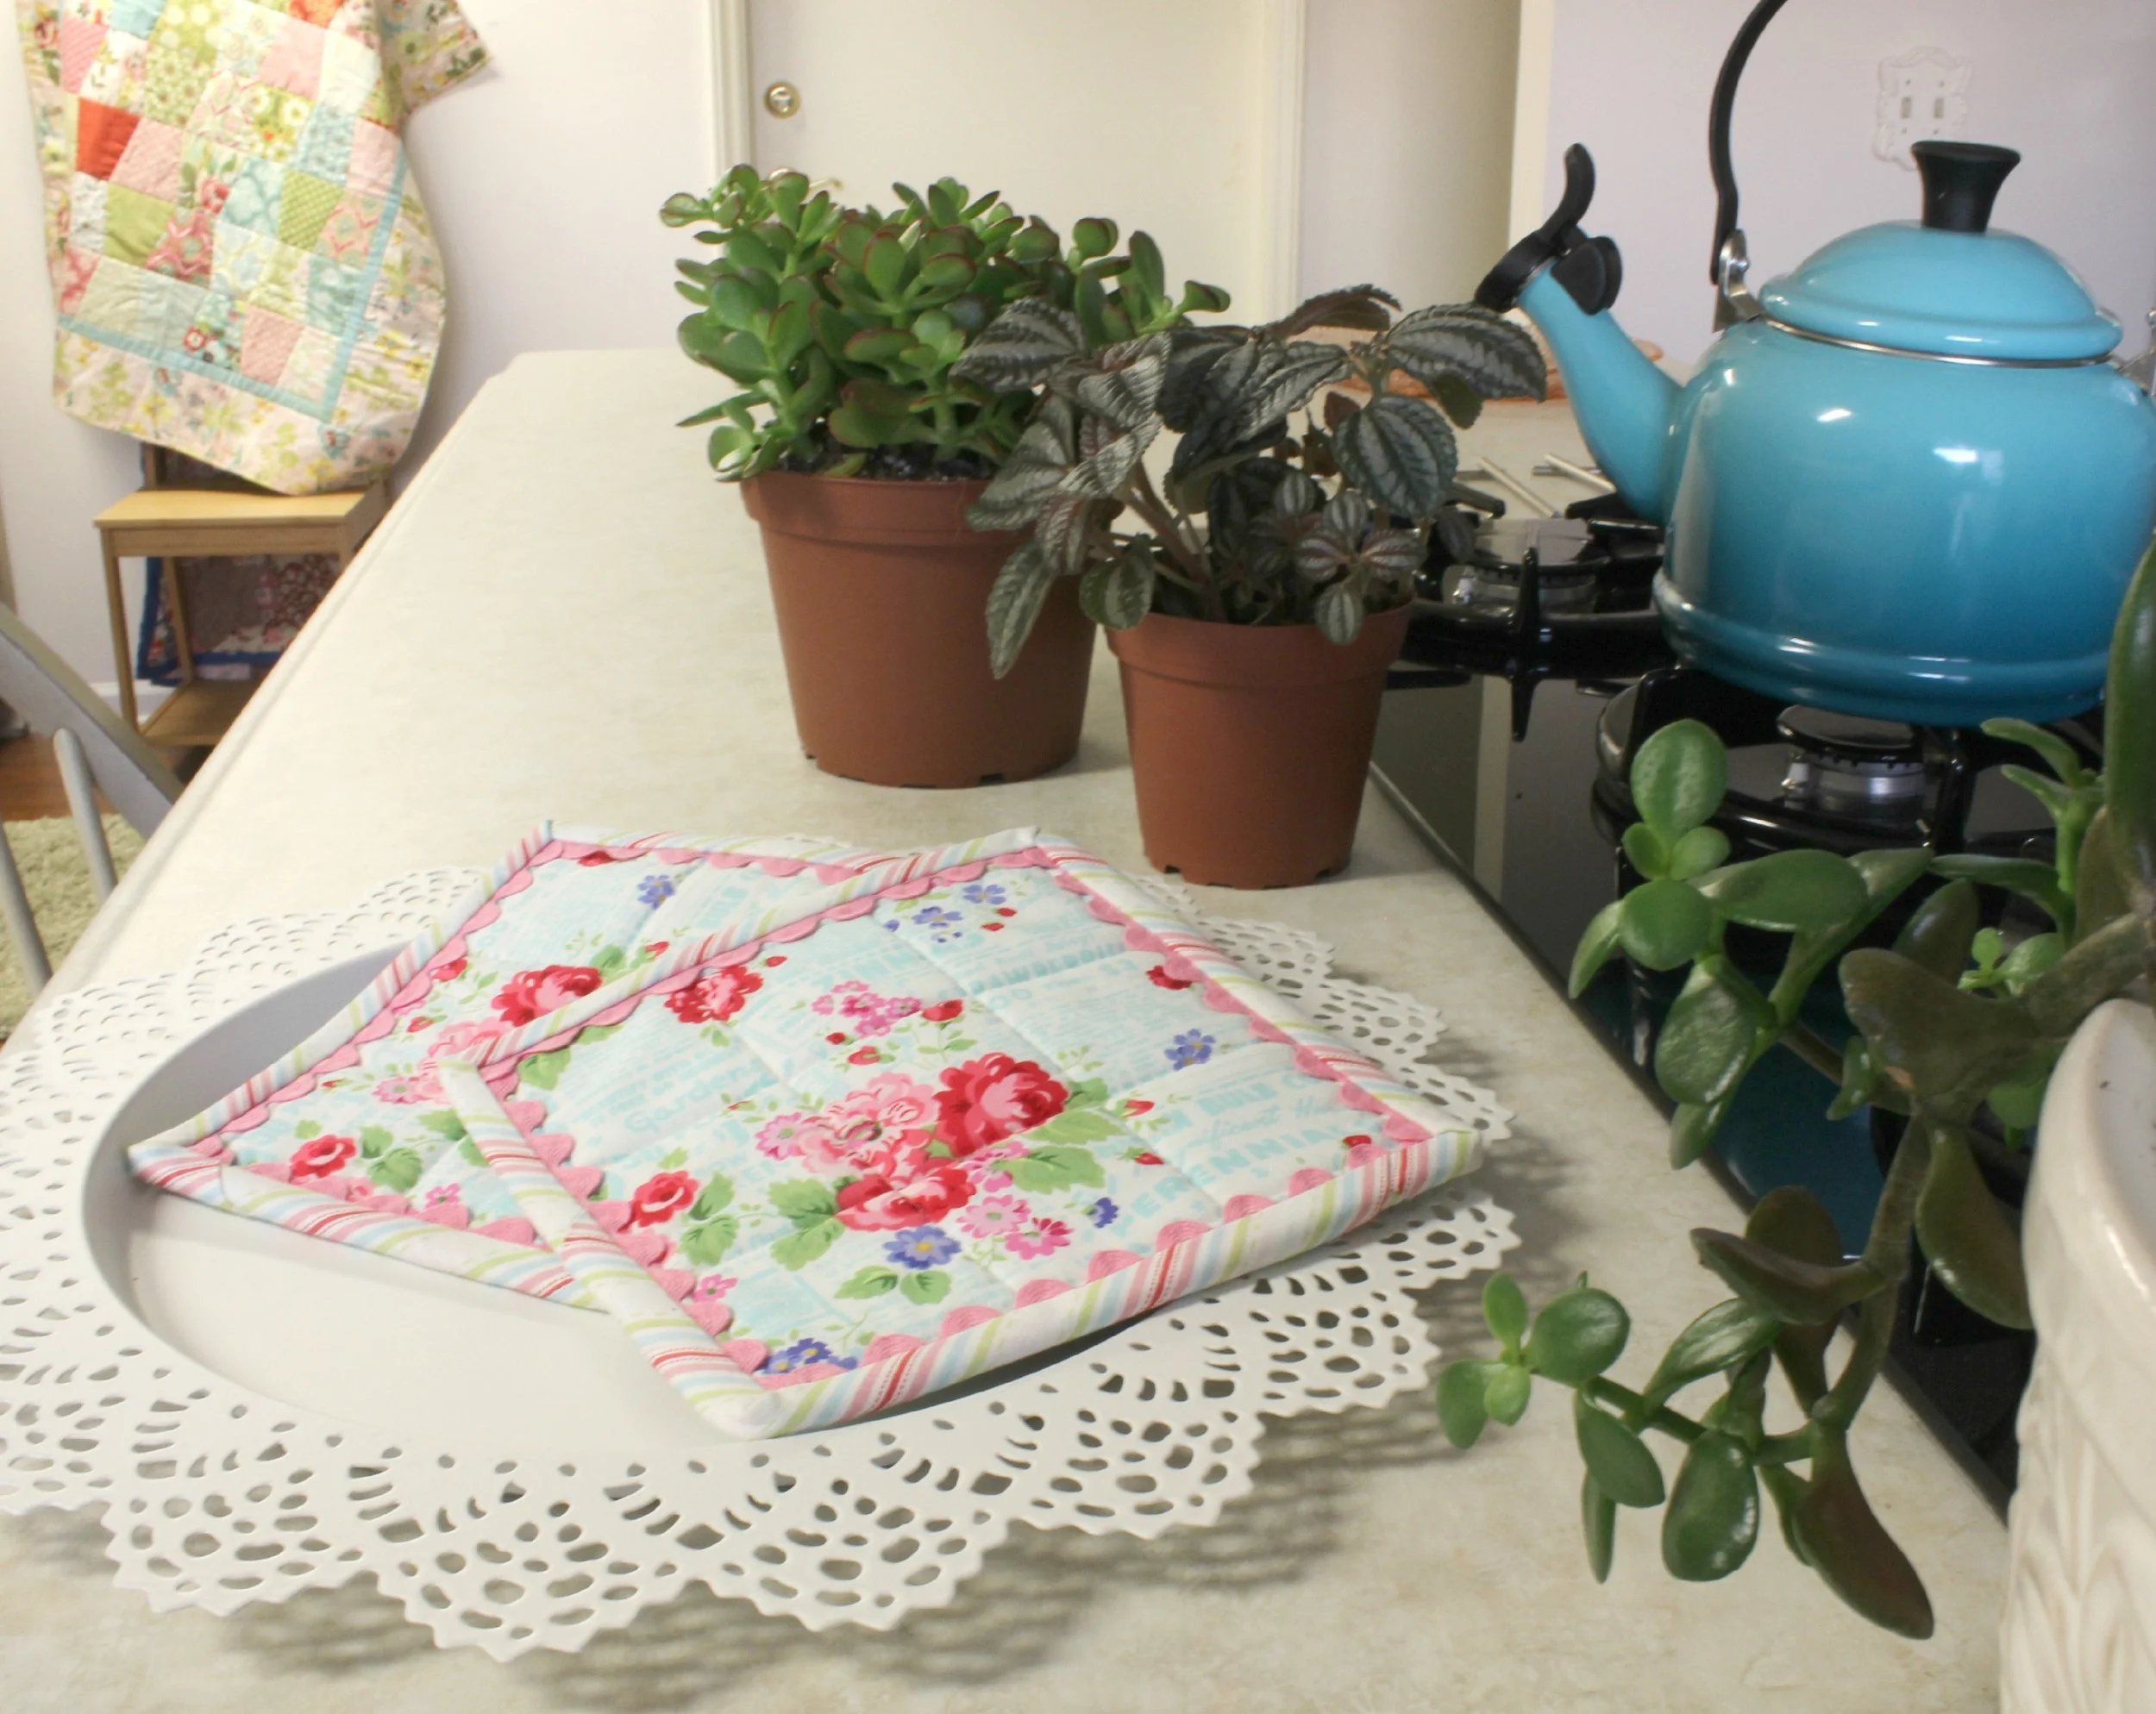
It sure made a sweet little edging on this quilt, and it was so easy to do! (If you need help with bias binding, refer to last Friday's post.) The photos below demonstrate the technique on a pot holder, but it is applied exactly the same on a larger quilt. This ric rac is about 1/2" wide, and fits perfectly in the binding's seam allowance. If you use a different size, just adjust the alignment of the edges (as described below). I use a separate piece for each side so that I don't have to fold it in the corners. This makes for a neater corner with less bulk. Click on the images below to enlarge them.

1. The first photo shows the rick rac placed even with the edge of the quilt. Let the ends extend a bit past each corner; it will be trimmed later. Cover the ric rac with the binding, placing it as you normally would when attaching it to your quilt. I don't find it necessary to pin or baste the ric rac in place, even on a large quilt. A walking foot is helpful. My Baby Lock's belt-driven walking foot (available for several models) does a super job of keeping all the edges even!

2. Stitch in place, stopping every few inches to make sure the ric rac is still sandwiched evenly, and at the edge of the quilt. Stop sewing a little more 1/4" from the end at the corner. This small amount of extra distance is helpful when slipping in the next piece of ric rac, and it doesn't affect the miter.

3. Lift the binding and place another piece of ric rac on the next side, making sure the edges extend past each corner.


4. Miter the binding as you normally would.

5. The ends of the ric rac will extend beyond each corner. After stitching all four sides, trim the ends away, removing as much bulk as you can. Be careful that you don't accidentally cut the binding!

6. The last photo shows the potholder with the ric rac trimmed, the binding attached and ready to flip to the back side.

Flip the binding to the back side, mitering the corners. I love Wonder Clips, do you? I have to admit that I was skeptical at first because I had lived without them for my whole sewing life. Then I used them. Devoted! I use them for holding heavy seams together on things like tote bags and wallets. No pins needed! The back side is flat in order to move smoothly across the bed of your sewing machine. Tip: I keep my favorite needle for stitching binding right in the box of Wonder Clips! Back to the potholder: stitch the binding in place and and your ric rac binding is complete!

Ric Rac Quilt Binding Tutorial

Thanks for visiting! Be sure to sign up for the MaxieMakes email list! Happy sewing and God bless. Maxie


Bias Quilt Binding...Why? How?

Sometimes a quilt binding just calls for bias. Not always, though, and I usually do use straight grain binding. There is really only one 'rule', as far as I know: Always use bias binding when the quilt has curved edges. A scalloped edge, for example, or curved corners. But there are also important structural reasons to use bias binding, even when a quilt's edges are straight.

Bias quilt binding


Fabric has three named grains: straight, cross and bias. The straight runs parallel to the selvage edge. Cross runs across the fabric from selvage to selvage. The bias grain is on a 45º angle from the selvage edge. There are lots of illustrations to help us visualize this. Once you can envision the difference between bias threads and straight grain threads, it's easy to imagine how those threads fall on the edges of our quilts. Have you ever seen an antique quilt and noticed that the binding was worn much more than the interior of the quilt? It's probably because straight grain binding was used. Straight grain binding only has one or two lengthwise threads laying on the fold of the binding as the outer edge. Crosswise threads weave over and under those two threads, but those aren't really adding much strength. What happens when the lengthwise threads get weak? mmhhmmmmmm.

Bias binding, however, has multiple threads woven together across the fold.  Many bias threads are interlaced together, adding strength to the edge of the quilt. And, as an added bonus, it has stretch, which is why it works well on curved edges!

Bias binding is much easier and faster to make than straight grain binding! Here is a great video tutorial, from McCall's Quilting: How to Make Continuous Bias Binding.

Oh yes, there may be one more 'rule' that is my own: When using a stripe fabric, always make it bias because it twirls and twirls around the edge of the quilt, making a very fun 'candy cane' effect (as in the photo above)!

Thanks for visiting! Happy sewing and God bless, Maxie

A Handstitched Rose

Take a break from the sewing machine today. Make something a little more beautiful, with your hands. I'll show you how to make a Spider Web Rose! They are so easy, much easier than they look and they only take a minute to make.

Hand Embroidered Roses

The little bouquet above includes three roses amongst a couple of lazy daisies and french knot hydrangeas. I've made a pincushion, but they would be lovely just about anywhere you wanted to stitch them...on a pocket, a shirt collar, a broach or a pillow (like this one that was my inspiration).

You can stitch these roses with just about any kind of thread or ribbon. Silk ribbon in any width gives wonderful results!

Embroidered roses.

So, let's get started! The first thing is to gather an embroidery needle, floss, matching thread and scissors. Just about any kind of needle with a large eye will do. I'm using a large milliner's needle. Thread it with a thread that matches the embroidery thread or ribbon that you will use for the rose. For instructional purposes, I've used black thread in the photos below.

Flystitsch for embroidered rose.
  • Begin to make a 'Y' shaped stitch by bringing the thread up from the back. Take the needle down again, about 1/4" to the right, and then back up again, forming a triangle with your needle 'stabs' (first photo). Let this last stitch pass through the thread loop (first photo).
  • Take the thread to the back again, forming a 'Y' shape (middle photo).
  • Bring the needle back up at the center of the 'Y'. Make a stitch towards the left, evenly dividing the space between the 'Y' stitches on the left. Repeat for the right side. You should have 5 (fairly) evenly spaced stitches. This is called a 'fly' stitch.
Embroidered Spider Web Rose

Remember that the black thread is to help you visualize the process. I used pink thread in the actual project. 

  • Using all 6 strands of embroidery thread, bring the thread up from the back, center position.
  • Begin to weave the floss around the fly stitch, passing over and under each stitch.
  • Over and under, around and around. Because you used 5 stitches, (an odd number) the weaves will alternate on each stitch.
Spider Web Rose

A Rose is a Rose is a Rose!

Hand Embroidered rose pincushon

Won't you give hand embroidery a try? It's portable, relaxing and rewarding! Thanks for visiting! Happy sewing and God bless. Maxie


Applying Color Wheel Logistics to Quilting

You've seen those Color Wheels hanging on the notions wall in your quilt shop. You may even own one...but do you know how to use it? Recently, at my quilt shop, we had the colorful Lee Monroe of May Chappell visit to teach a Color Study Workshop. The students learned all about color theories and how to apply the lessons learned. The result was more confidence when choosing fabrics, and more beautiful results in their projects!

The colors on the color wheel are identically aligned to the order of colors in the spectrum of light. God designed, color rules apply even to our quilting! Let me point you to a great article at craftsy.com that easily explains how the color wheel can help us. There is even a link in the article for a Craftsy Class by Joen Wolfrom, Color Play for Quilters.

Did you know you can make your own color wheel? Here is my version (thanks to my friendly Sherwin Williams store)!

Make your own color wheel!

Thanks for visiting! Have a colorful, blessed day! Maxie